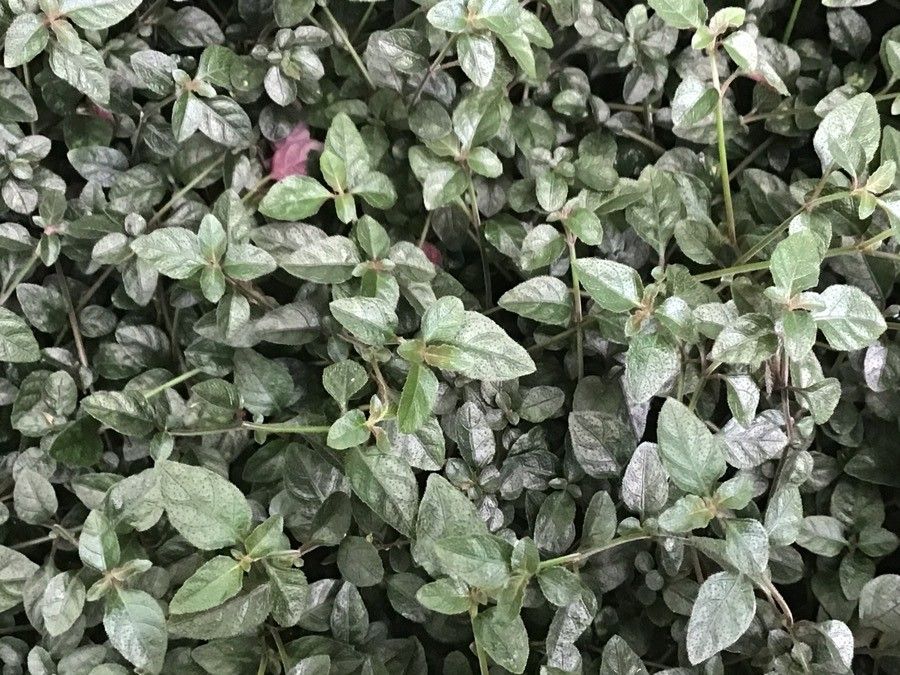
Hello fellow plant lovers! Today, we’re diving into the wonderfully lush world of Phaulopsis pulchella. You know, those gorgeous plants with the velvety, often patterned leaves that just add such a touch of elegance to any space. If you’ve got one of these beauties and have been eyeing its potential to spread a little joy (and foliage!), then you’ve come to the right place. Propagating Phaulopsis pulchella is a truly rewarding experience, giving you more of these stunning plants to share or simply to fill your home. And the good news? It’s relatively easy, even for folks just dipping their toes into the world of plant propagation.
The Best Time to Start
Spring is really your golden ticket for propagating Phaulopsis pulchella. As the days get longer and the plant bursts back into vigorous growth after its winter rest, it’s just brimming with energy. This means your cuttings will be more robust and have a better chance of taking root quickly. Look for fresh, healthy new growth. Avoid taking cuttings from old, woody stems.
Supplies You’ll Need
Gathering your tools beforehand makes the whole process so much smoother. Here’s what I usually have on hand:
- Sharp Pruning Shears or a Clean Knife: A clean cut is crucial for preventing disease.
- Potting Mix: A well-draining mix is key. I like to use a blend of equal parts peat moss and perlite, or a good quality houseplant potting mix with some added perlite.
- Small Pots or Trays: For your new cuttings.
- Rooting Hormone (Optional but Recommended): This isn’t strictly necessary for Phaulopsis pulchella, as they root fairly easily, but it can definitely speed things up and increase success rates.
- Plastic Bag or Propagator: To create a humid environment.
- Watering Can or Mister: For gentle watering.
Propagation Methods
Phaulopsis pulchella is a fantastic candidate for propagation via stem cuttings. It’s straightforward and has a high success rate.
Stem Cuttings:
- Select Your Cuttings: Gently examine your healthy, mature plant. Look for stems that have at least two sets of leaves. Using your sharp pruning shears or knife, take cuttings that are about 4-6 inches long. Make your cut just below a leaf node (where the leaf attaches to the stem).
- Prepare the Cuttings: Carefully remove the lower leaves from the cutting, leaving at least one or two sets of leaves at the top. This is important so that any leaves you leave don’t rot when placed in the soil or water.
- Apply Rooting Hormone (If Using): Dip the cut end of the stem into your rooting hormone powder. Tap off any excess.
- Plant Your Cuttings: Fill your small pots or tray with your prepared well-draining potting mix. Make a small hole in the center of the soil with your finger or a pencil. Gently insert the cut end of your stem cutting into the hole, ensuring it’s firm. You can plant several cuttings in one pot, giving them a little space.
- Water Gently: Water the soil lightly, just enough to moisten it. Avoid waterlogging.
- Create Humidity: This is where the plastic bag or propagator comes in. Place a clear plastic bag over the pot, securing it loosely with a rubber band around the rim. This creates a mini-greenhouse effect, keeping the humidity high, which cuttings absolutely love. You can also use a propagator lid.
Water Propagation (An Alternative):
If you prefer, you can also root stem cuttings in water.
- Prepare Cuttings & Pots: Follow steps 1 and 2 above.
- Place in Water: Fill a clean glass or jar with room-temperature water. Place your cuttings in the water, making sure no leaves are submerged – don’t let the leaves touch the water!
- Find a Spot: Place the container in a bright spot, but out of direct sunlight.
- Change Water Regularly: Change the water every few days to keep it fresh and prevent bacterial growth.
The “Secret Sauce” (Pro Tips)
Here are a few little tricks I’ve learned over the years that can really boost your propagation success:
- Bottom Heat is Your Friend: While not strictly essential for Phaulopsis pulchella, placing your pots on a heating mat designed for seedlings can significantly speed up root development. It mimics the warmth of spring soil and gives those tender roots a happy start.
- Don’t Overwater: It’s easy to get a little too enthusiastic with the watering can, but consistently soggy soil is a fast track to rot for cuttings. Let the top inch of soil dry out slightly before watering again.
- Gentle Air Circulation: Even with that humidity dome, it’s a good idea to open the plastic bag daily for a few minutes to allow for fresh air exchange. This helps prevent fungal issues.
Aftercare & Troubleshooting
Once your cuttings have developed a good root system (you’ll see roots peeking out of the drainage holes or, in water propagation, they’ll be a few inches long), it’s time to treat them like little seedlings.
- Transplanting: If you propagated in water, carefully transplant your rooted cuttings into your well-draining potting mix. If you propagated in soil, you can either let them grow in their propagation pots or transplant them into slightly larger ones if they become crowded.
- Gradual Acclimation: Once roots are established, you can slowly start to acclimate your new plants to less humid conditions by gradually removing the plastic bag over a few days.
- Light and Water: Continue to provide bright, indirect light and water when the top inch of soil dries out.
Troubleshooting:
The most common problem you’ll encounter is rot. If your stem cuttings turn black and mushy, it’s usually due to too much moisture and poor air circulation. Discard any rotted cuttings and try again, ensuring your soil is well-draining and you’re not overwatering. If leaves start to yellow and drop, it could be a sign of transplant shock or that the cutting isn’t taking. Don’t give up too quickly, though! Some fluctuations are normal.
A Little Patience Goes a Long Way
Propagating plants is a journey, and with Phaulopsis pulchella, it’s a beautiful one. Be patient with your new little sprouts. It can take anywhere from a few weeks to a couple of months for roots to fully establish. Enjoy the process, observe the changes, and soon you’ll have a whole collection of these delightful plants to admire. Happy propagating!
Resource:
https://identify.plantnet.org/k-world-flora/species/Phaulopsis%20pulchella%20Mankt./data