Oh, hello there! Come on in, pull up a chair. I’ve got a fresh pot of coffee brewing, and I’m just brimming with excitement to talk about one of my absolute favorites: Pandanus!
Welcome to the Wonderful World of Pandanus Propagation
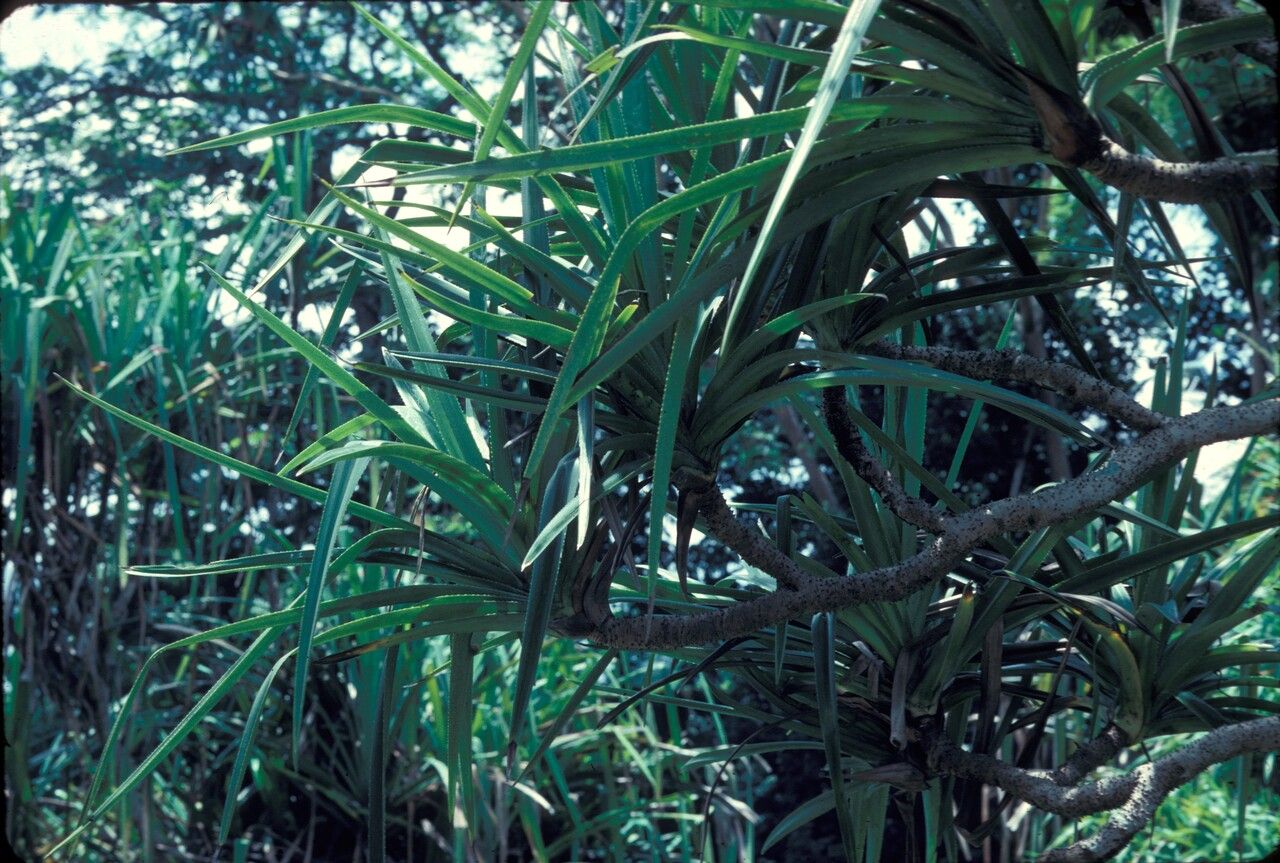
There’s something truly special about these architectural beauties. They bring a touch of the tropics right into your home or garden with their striking, strappy leaves and often architectural forms. And the best part? You can easily grow more of them yourself! Propagating Pandanus isn’t just about getting more plants; it’s about understanding the life cycle of these fascinating specimens and experiencing the deep satisfaction of creating something new from a parent plant. For beginners? I’d say Pandanus is moderately easy. With a little patience and a few key steps, you’ll be well on your way.
When is the Best Time to Get Started?
The sweet spot for propagating Pandanus is generally during their active growing season. For most of us, this means late spring through summer. The warmer temperatures and longer daylight hours provide the ideal conditions for cuttings to root and new plants to establish themselves. Trying to propagate too early or too late in the year can slow things down considerably and increase the risk of failure.
Your Propagation Toolkit: What You’ll Need
Before we dive in, let’s gather our supplies. Having everything ready will make the whole process so much smoother!
- Sharp Pruning Shears or a Clean Knife: For making clean cuts that heal quickly.
- Rooting Hormone (Optional but Recommended): A powder or gel can significantly boost your success rate.
- Well-Draining Potting Mix: I like a blend of equal parts perlite, peat moss (or coco coir), and good quality potting soil. This ensures no soggy roots!
- A Small Pot or Container: For your cuttings. Make sure it has drainage holes.
- Water: For watering your cuttings.
- Plastic Bag or Propagating Dome: To create a humid environment for your cuttings.
- A Label and Pen: To remember what you’ve planted and when!
Let’s Get Propagating: Simple Steps to Success
Pandanus are most commonly propagated through division or by taking stem cuttings (which often become pups or offsets). Let’s go over these:
Method 1: Dividing Offshoots (Pups)
Many Pandanus varieties will naturally produce little baby plants, called offshoots or pups, around the base of the main plant. This is the easiest method!
- Gently Unpot: Carefully remove your mature Pandanus from its pot.
- Examine the Base: Look for any small plantlets growing from the sides of the mother plant. They’ll usually have their own roots already forming.
- Separate with Care: Using your clean knife or pruning shears, carefully cut the offshoot away from the mother plant, making sure to get as many of its roots as possible. If an offshoot has no roots yet, that’s okay too – it can still root!
- Pot Up: Plant the separated offshoot in its own small pot filled with your well-draining potting mix.
- Water Lightly: Give it a gentle watering.
- Provide Humidity: Place the pot inside a plastic bag or under a propagating dome to keep the humidity high.
Method 2: Stem Cuttings (for varieties that produce them)
Some Pandanus will produce more substantial stems that can be cut and rooted.
- Select a Healthy Stem: Choose a healthy, mature stem that has at least a few leaves.
- Make the Cut: Using your sharp shears, cut the stem cleanly, about 4-6 inches long if possible. Make sure it has a few leaves at the top. Remove any lower leaves that might be submerged in soil or water later.
- Apply Rooting Hormone (Optional): Dip the cut end of the stem into rooting hormone, tapping off any excess.
- Plant or Water:
- For Soil Propagation: Plant the cutting about 2 inches deep in your pre-moistened potting mix.
- For Water Propagation: Place the cutting in a jar of water, ensuring no leaves are touching the water’s surface.
- Create a Humid Environment: Cover the pot with a plastic bag or a dome (for soil cuttings). For water cuttings, you don’t need to cover them, but placing them in a warmer spot helps.
The “Secret Sauce”: Insider Tips from My Garden
Here are a few things I’ve learned over the years that can make a real difference:
- Don’t Let Leaves Touch Water: If you’re doing water propagation, this is crucial. Leaves submerged in water tend to rot, which is the last thing you want when trying to encourage new root growth. Pop them out of the water before that happens.
- Bottom Heat is Your Friend: Pandanus just love warmth. If you can, place your pots or jars on a heat mat designed for propagation. This is particularly helpful if your home tends to be a bit on the cooler side. It mimics the lovely warm soil they’d find in their native environment.
- Patience is Paramount: Seriously, I can’t stress this enough. Some cuttings will root in a few weeks, others might take a couple of months. Don’t give up too soon! Keep an eye on them, but resist the urge to constantly pull them out to check for roots.
Aftercare and When Things Go Wrong
Once you start seeing those first tiny roots poking through the drainage holes (or if your water cutting has developed a good root system), it’s time for a little tender loving care.
- Gradual Acclimation: If your cutting was in a plastic bag or dome, gradually start removing it for increasing periods of time over a week. This helps it adjust to lower humidity.
- Watering: Water your new plant when the top inch of soil feels dry. Avoid letting it dry out completely, but also don’t let it sit in soggy soil.
- Light: Place your new plant in bright, indirect light. Direct sun can scorch young leaves.
Now, what if things aren’t going to plan? The most common issue is rot. This usually happens if the cuttings are too wet, lack good air circulation, or are kept in too cool of a temperature. If you see your cutting turning mushy or black, it’s likely rotted. Remove it immediately and try again, adjusting your watering and temperature conditions. Sometimes, no matter what you do, a cutting just won’t take. Don’t take it personally! Nature has its ways, and it’s all part of the learning process.
Happy Propagating!
See? It’s really quite straightforward once you know the basics. The joy of watching a tiny cutting grow into a beautiful, thriving plant is incredibly rewarding. So, gather your supplies, find that perfect Pandanus to take a cutting from, and dive in. Be patient, observe your new little plant’s progress, and most importantly, enjoy the journey of creating more green goodness in your life. Happy gardening!
Resource:
https://identify.plantnet.org/k-world-flora/species/Pandanus%20cephalotus%20B.C.Stone/data