Oh, hello there! Come on in, pull up a chair. I’ve got a fresh pot of coffee brewing, and I’m so excited to chat with you about one of my favorite orchids: Maxillaria longipetala.
Welcome to the Wonderful World of Maxillaria longipetala
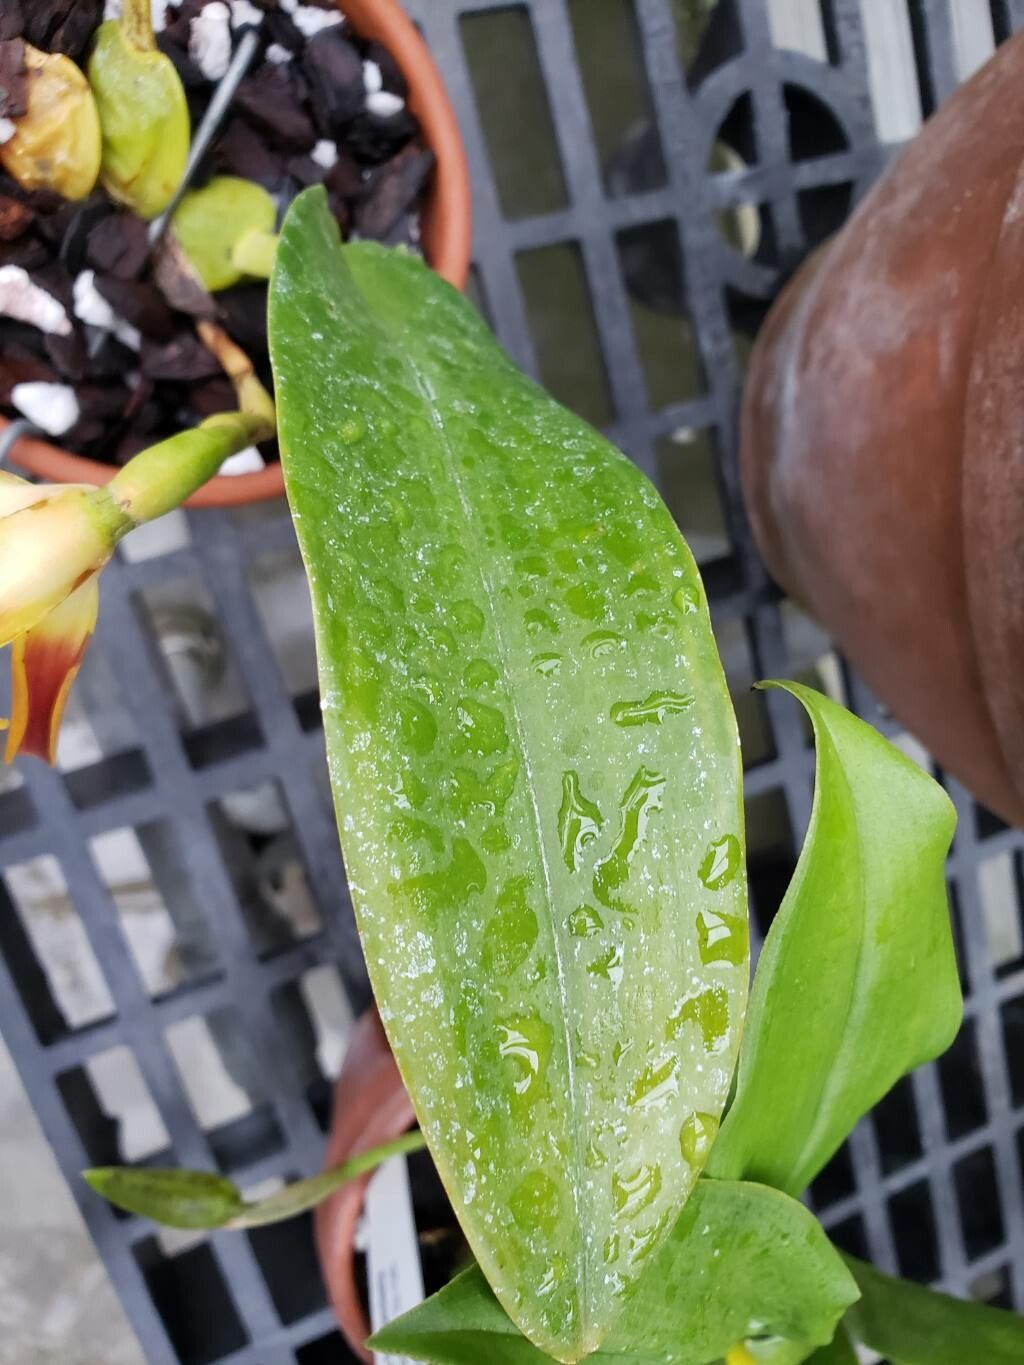
This beauty, with its delicate, often fragrant, long-petaled blooms, feels like a little secret whispered from a lush rainforest. There’s something incredibly satisfying – almost magical, really – about taking a single plant and nurturing it into several new little lives. It’s a fantastic way to expand your collection or share a piece of that magic with a fellow plant lover. Now, if you’re wondering if this is a beginner-friendly plant for propagation, I’d say it’s moderately easy. It’s not as foolproof as some easier houseplants, but with a little attention and the right approach, you’ll be rewarded.
When is the Perfect Time to Get Started?
For Maxillaria longipetala, the absolute best time to think about propagation is during its active growing season. This usually falls in the spring and early summer. You’ll know it’s a good time when you see new leaf growth or even developing flower spikes. Trying to propagate when the plant is dormant will be much less successful, as it simply doesn’t have the energy to put into developing new roots.
What You’ll Need for Your Propagation Adventure
Gathering your supplies upfront makes the whole process so much smoother. Here’s what I always have on hand:
- Sharp, sterilized pruning shears or a clean knife: This is crucial to prevent spreading any diseases. A quick wipe with rubbing alcohol works wonders.
- Well-draining potting mix: For orchids like this, a bark-based orchid mix is ideal. You can find this at most garden centers.
- Small pots or seedling trays: Something that will hold the new divisions snugly.
- Hormone rooting powder (optional, but helpful): This can give your cuttings a little boost.
- Sphagnum moss (optional): Some growers like to use this to retain a bit of moisture around new divisions.
- Clear plastic bags or a propagator: To create a humid environment for your new plants.
- Watering can with a fine rose or spray bottle: For gentle watering.
Unlocking the Secrets: Propagation Methods for Maxillaria longipetala
The most effective way to propagate Maxillaria longipetala is through division. This is essentially splitting a mature plant into smaller, healthy sections.
-
Gentle Removal: First, carefully remove the Maxillaria from its pot. If it’s been in the pot for a while and the roots are a bit stuck, you might need to gently loosen the edges with your knife or even rinse away some of the old potting mix to clearly see the root structure. You want to avoid tearing the roots as much as possible.
-
Assess and Divide: Look at your plant. You’re looking for sections that have at least two to three healthy pseudobulbs (those swollen, bulb-like structures at the base of the leaves) with some viable roots attached. Using your sterilized shears or knife, gently cut between these sections. Try to make a clean cut to minimize damage.
-
Preparation for Replanting: Once you have your divisions, it’s a good idea to let the cut surfaces air dry for a few hours, or even overnight if it’s humid. This helps to create a callous and prevents rot. If you’re using rooting hormone, lightly dust the cut surfaces before planting.
-
Planting the New Starts: Place each division into its own small pot, ensuring the pseudobulbs are at or slightly above the surface of the well-draining orchid mix. Don’t pack the mix too tightly; you want air to circulate.
My “Secret Sauce” – Expert Tips for Success
Over the years, I’ve learned a few little tricks that really make a difference.
- Don’t Go Crazy with Water Right Away: After dividing and repotting, I resist the urge to water heavily for the first few days. Just a very light misting is enough. This gives the damaged roots time to heal and prevents immediate rot.
- Embrace the Humidity Dome: New divisions love a humid environment. I pop mine into a clear plastic bag or a small propagator, making sure the leaves don’t touch the sides of the bag. This creates a mini-greenhouse effect that encourages root development. I usually poke a few small holes in the bag for a bit of air exchange.
- Warmth is Key: Orchids generally love a bit of warmth, and propagating divisions are no exception. Bottom heat from a seedling mat or placing them in a warm spot (but out of direct sun!) can significantly speed up root formation.
Aftercare and What to Watch For
Once your new divisions are potted up and comfy in their humid environment, patience is your best friend. Keep them in bright, indirect light. Mist them lightly every few days, or as needed, to keep the potting medium slightly moist but never waterlogged.
You’ll know they’re happy when you start to see new root growth – little green or white nubs emerging from the pseudobulbs. You might also see new leaf growth appearing.
Now, about troubleshooting – the most common issue you’ll face is rot. If you see a pseudobulb turning mushy and brown, it’s a sign of too much moisture or a fungal infection. In this case, you might need to carefully remove the rotting section and try to salvage any healthy parts. Overwatering is the usual culprit, so ease up on the water! If your divisions are just sitting there and not showing any signs of life after several weeks, they might not have had enough healthy roots to begin with, or the conditions weren’t quite right. Don’t be discouraged; it happens to all of us!
Go Forth and Grow!
Propagating Maxillaria longipetala is a truly rewarding experience. It’s a chance to connect with your plants on a deeper level and witness the miracle of new life. Be patient, embrace the process, and enjoy watching your little orchid babies thrive. You’ve got this!
Resource:
https://identify.plantnet.org/k-world-flora/species/Maxillaria%20longipetala%20Ruiz%20&%20Pav./data