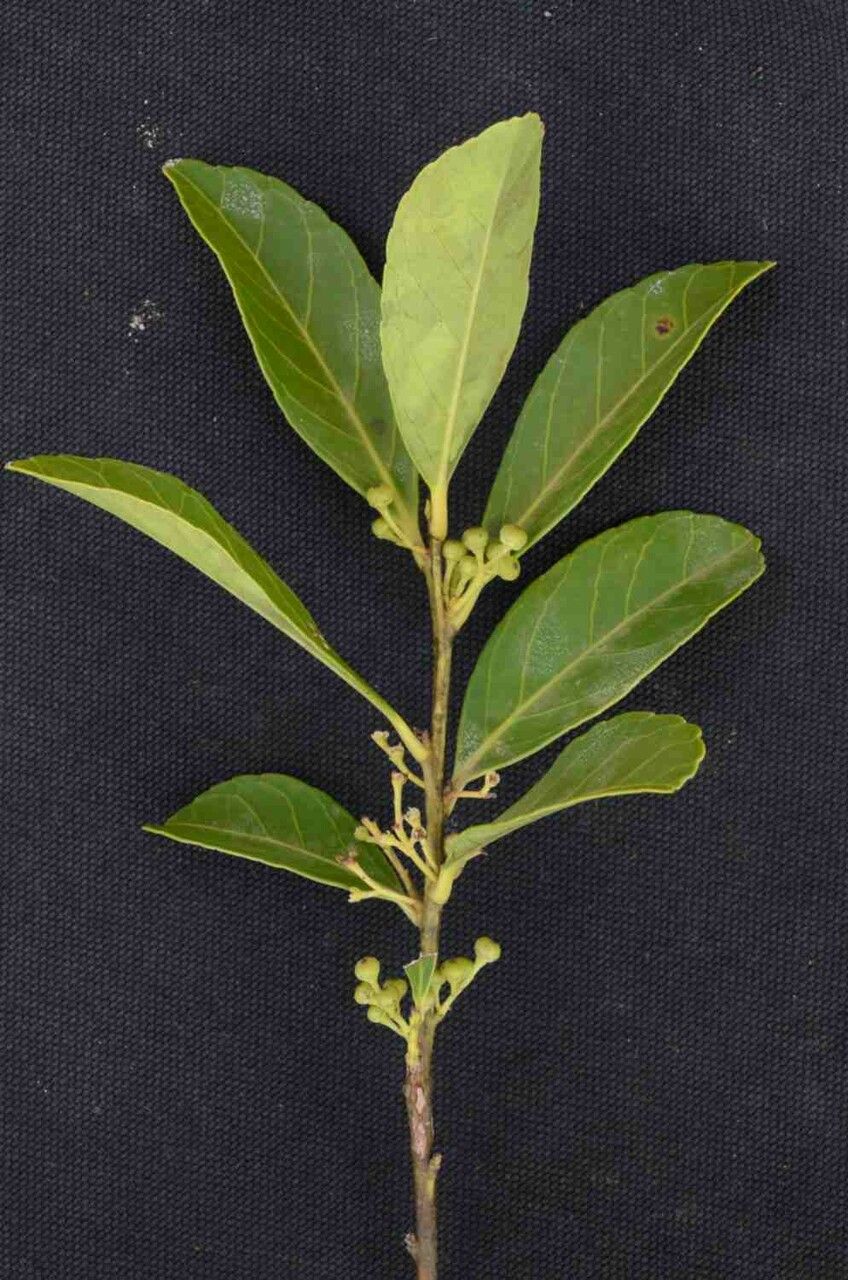
Oh, Ilex affinis! What a gem for the garden. If you’re looking for a shrub that offers year-round interest with its glossy, dark green leaves and subtle, often attractive berries (though not as showy as some hollies), then you’ve found a winner. Its elegant habit makes it wonderful for foundation plantings or even as a stunning container specimen. And the best part? Propagating it yourself is incredibly satisfying. It’s not the absolute easiest plant for a brand-new beginner, but with a little patience and a few key steps, you’ll be well on your way to a whole new batch of Ilex affinis.
The Best Time to Start
For Ilex affinis, the sweet spot for taking cuttings is in late spring to early summer. This is when the plant is actively growing, and the new shoots are semi-hardwood. They’ve developed enough to be sturdy but haven’t gone fully woody, which makes them more pliable and responsive to rooting hormones. Aim for shoots that are flexible when bent but snap cleanly rather than bending over limply.
Supplies You’ll Need
Gathering your tools beforehand makes the whole process smoother. Here’s what I always have on hand:
- Sharp, clean pruning shears or a sharp knife: For making clean cuts.
- Rooting hormone: A powdered or liquid form works well. I usually reach for a powder for ease.
- Small pots or trays with drainage holes: For your cuttings to grow in.
- Well-draining potting mix: A blend of peat moss, perlite, and a bit of compost is ideal. You want good aeration.
- Plastic bags or a propagation dome: To create a humid environment.
- Watering can with a fine rose: To water gently.
- Labels and a permanent marker: To keep track of your efforts!
Propagation Methods: Stem Cuttings
This is my go-to method for Ilex affinis, and I find it yields the best results. Here’s how I do it:
- Take Your Cuttings: On a mild day, select healthy, vigorous stems from your parent plant. Using your sharp pruning shears, cut stems that are about 4-6 inches long. Make sure each cutting has several sets of leaves. At the base of the cutting, just below a leaf node (where the leaf attaches to the stem), make a clean cut.
- Prepare the Cuttings: Gently remove the leaves from the bottom half to two-thirds of the cutting. You want to expose the nodes where roots will form. Leave 2-3 sets of leaves at the top to help with photosynthesis. If the remaining leaves are large, you can trim them in half to reduce water loss.
- Apply Rooting Hormone: Dip the cut end of each prepared cutting into the rooting hormone. Tap off any excess.
- Plant Your Cuttings: Fill your pots or trays with the well-draining potting mix. Make a small hole in the center of the mix with a pencil or your finger. Insert the end of the cutting into the hole, ensuring the rooting hormone is covered, and gently firm the mix around it.
- Water Gently: Water the pots thoroughly until water drains from the bottom. This helps settle the soil around the cuttings.
- Create Humidity: Place a plastic bag over each pot, or cover the tray with a propagation dome. Make sure the bag or dome doesn’t touch the leaves too much. This creates a mini-greenhouse effect, keeping the humidity high, which is crucial for successful rooting.
The “Secret Sauce” (Pro Tips)
Little details can make a big difference. Here are a couple of things I’ve learned over the years that boost my success rate:
- Think “Bottom Heat”: If you can, place your pots on a heating mat set to around 70°F (21°C). This gentle warmth encourages root development from the bottom. It’s like giving the roots a cozy little incubator!
- Scrape for Success: Before applying rooting hormone, try making a shallow scrape on one side of the stem at the very bottom, about ½ inch long. This exposes the cambium layer, which is rich in growth hormones and can significantly speed up and improve rooting. Just be gentle; you’re not peeling the stem!
Aftercare & Troubleshooting
Once your cuttings are in their humid homes, the waiting game begins.
- Keep them Moist, Not Soggy: Check the soil moisture regularly. You want the mix to be consistently moist, like a wrung-out sponge, but never waterlogged. If the humidity is good, you might only need to mist occasionally.
- Watch for Roots: This can take anywhere from 6 weeks to a few months. You can gently tug on a cutting; if there’s resistance, you likely have roots! You can also look for tiny white root tips peeking through the drainage holes.
- Remove the Cover Gradually: Once you see good root development, start gradually acclimatizing your new plants to normal humidity. Poke a few holes in the plastic bag or lift the dome for a few hours each day.
- Troubleshooting: The most common issue is rot. If your cuttings turn black and mushy, it’s usually due to too much moisture and not enough air circulation. Ensure your soil mix is airy and don’t overwater. Also, leggy or spindly growth without roots could mean they need more light or consistent warmth.
A Encouraging Closing
Don’t get discouraged if not every cutting takes. Gardening is a journey of learning and experimentation! Be patient with your Ilex affinis cuttings, provide them with a consistent, loving environment, and celebrate each tiny root that emerges. There’s a special kind of joy in nurturing a new plant from just a stem clipping. Happy propagating!
Resource:
https://identify.plantnet.org/k-world-flora/species/Ilex%20affinis%20Gardner/data