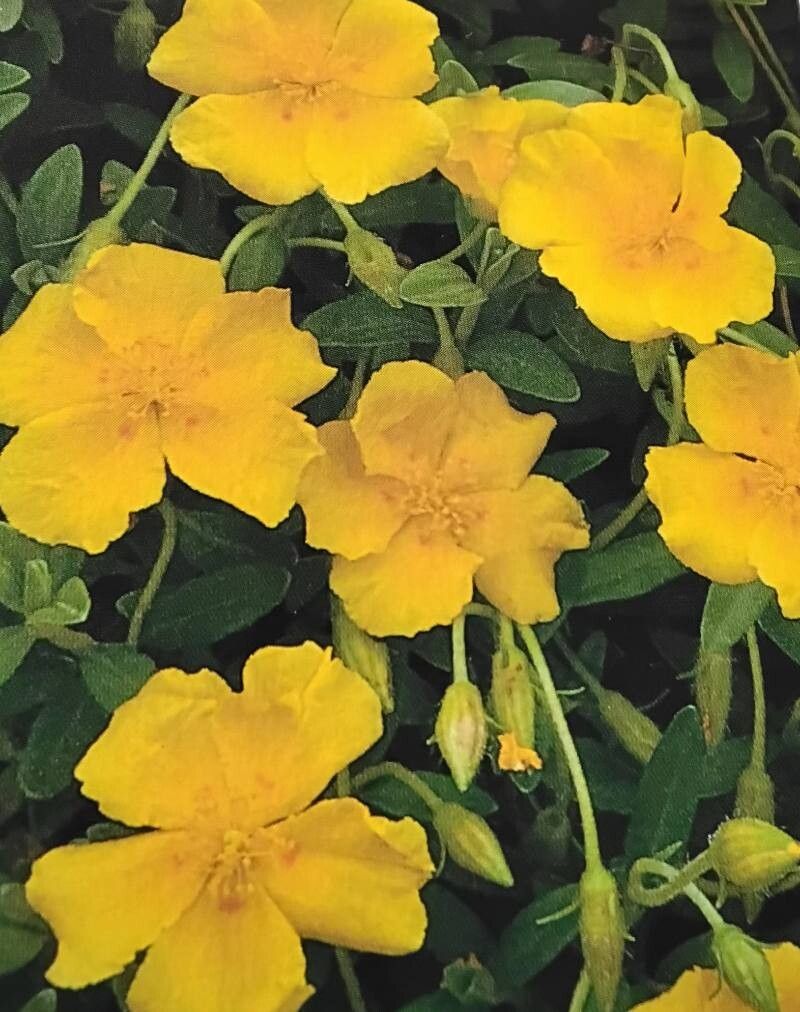
Oh, hello there! Pull up a chair and let’s talk about one of my absolute favorite plants: Helianthemum lunulatum, or as many of us affectionately call it, the Moonstone Rockrose. Isn’t its delicate, silvery foliage and those cheerful yellow blooms just captivating? They practically shimmer in the sunlight, and they’re such workhorses in a sunny, well-drained spot. If you’ve ever admired a clump of these beauties, you’ll be pleased to know that propagating them is a truly rewarding experience. While it’s not the absolute easiest plant for a complete beginner to start from scratch, with a little care and attention, you’ll be well on your way to multiplying these little wonders.
The Best Time to Start
For Helianthemum lunulatum, I’ve found the sweet spot for taking cuttings is late spring to early summer. This is when the plant is actively growing, and the stems have matured enough to have a good chance of rooting. You want to look for new growth that has started to firm up a bit, not the super soft, floppy tips. Think of it as looking for growth that has a little bit of character, a slight woody texture developing. This makes them much more robust for the propagation process.
Supplies You’ll Need
Before we dive in, let’s gather our trusty tools. You won’t need much, but having the right bits and bobs makes all the difference:
- Sharp Pruning Shears or a Craft Knife: Cleanliness is key here!
- Rooting Hormone Powder (Optional but Recommended): This gives your cuttings a good head start.
- Small Pots or Seed Trays: Clean and with drainage holes, of course.
- A Gritty Potting Mix: I like a blend of seed starting mix with about 50% perlite or coarse sand. Helianthemum hates wet feet!
- A Watering Can with a Fine Rose: For gentle watering.
- A Clear Plastic Bag or Humidity Dome: To keep our cuttings from drying out.
Propagation Methods
We’ll focus on the most reliable method for Helianthemum lunulatum: stem cuttings. It’s tried and true!
- Take Your Cuttings: On a pleasant morning, head out to your healthy Helianthemum. Using your sharp shears, snip off pencil-thick stems that are about 4-5 inches long. Make your cuts just below a leaf node (where a leaf attaches to the stem).
- Prepare the Cuttings: Gently remove the lower leaves from each cutting, leaving just two or three sets of leaves at the top. You can even trim the very top leaves in half if they’re quite large, just to reduce water loss.
- Dip in Roots: Lightly dip the cut end of each stem into your rooting hormone powder. Tap off any excess. This step isn’t strictly mandatory, but I find it really helps those roots form more quickly and reliably.
- Plant Them Up: Fill your small pots with your gritty potting mix. Make a small hole in the center of each pot with your finger or a pencil. Insert the prepared cuttings into the holes, making sure the leaf nodes that were below the soil line are covered. Gently firm the soil around the base of each cutting.
- Water Gently: Water the pots thoroughly but gently. You want the soil to be moist, not waterlogged.
The “Secret Sauce” (Pro Tips)
Now, for a couple of little tricks I’ve learned over the years that really boost success rates:
- Don’t Let the Leaves Touch the Water (If Water Propagating): While we’re doing soil cuttings, a related tip for water propagation is crucial – if you ever try that with other plants, never let the leaves dip into the water! They’ll just rot. For our soil cuttings, this just reinforces the need to keep the leaves above the soil line.
- Bottom Heat is Your Friend: If you have a heated propagator or can place your pots on a sunny windowsill that gets gentle warmth, this can be a game-changer. It encourages root development from below, giving your cuttings a real head start. A temperature of around 70-75°F (21-24°C) is ideal.
- A Spritz Can’t Hurt: Once your cuttings are planted and you’ve enclosed them in your plastic bag or under a humidity dome, give them a gentle mist of water. This keeps the humidity high around the leaves, reducing stress.
Aftercare & Troubleshooting
Keep your pots in a bright spot but out of direct, scorching sun. The plastic bag or dome is there to maintain humidity, so you don’t need to water them very often – perhaps just a quick, light mist every few days if the soil looks dry.
The real sign of success is when you see new growth appearing at the tip of the cutting! It might take anywhere from 4 to 8 weeks, so patience is a virtue here.
If things go wrong, the most common culprit is rot. This usually happens if the soil stays too wet, or if the cuttings are left in very cold conditions. If a cutting turns mushy and black, it’s best to discard it and try again on a new one. Don’t be disheartened if you lose a few; it’s all part of the learning curve!
A Encouraging Closing
And there you have it! Propagating Helianthemum lunulatum is a wonderful way to expand your garden and share these delightful plants with friends. Remember to be patient, observe your cuttings closely, and most importantly, enjoy the magic of bringing new life into the world. Happy gardening!
Resource:
https://identify.plantnet.org/k-world-flora/species/Helianthemum%20lunulatum%20(All.)%20DC./data