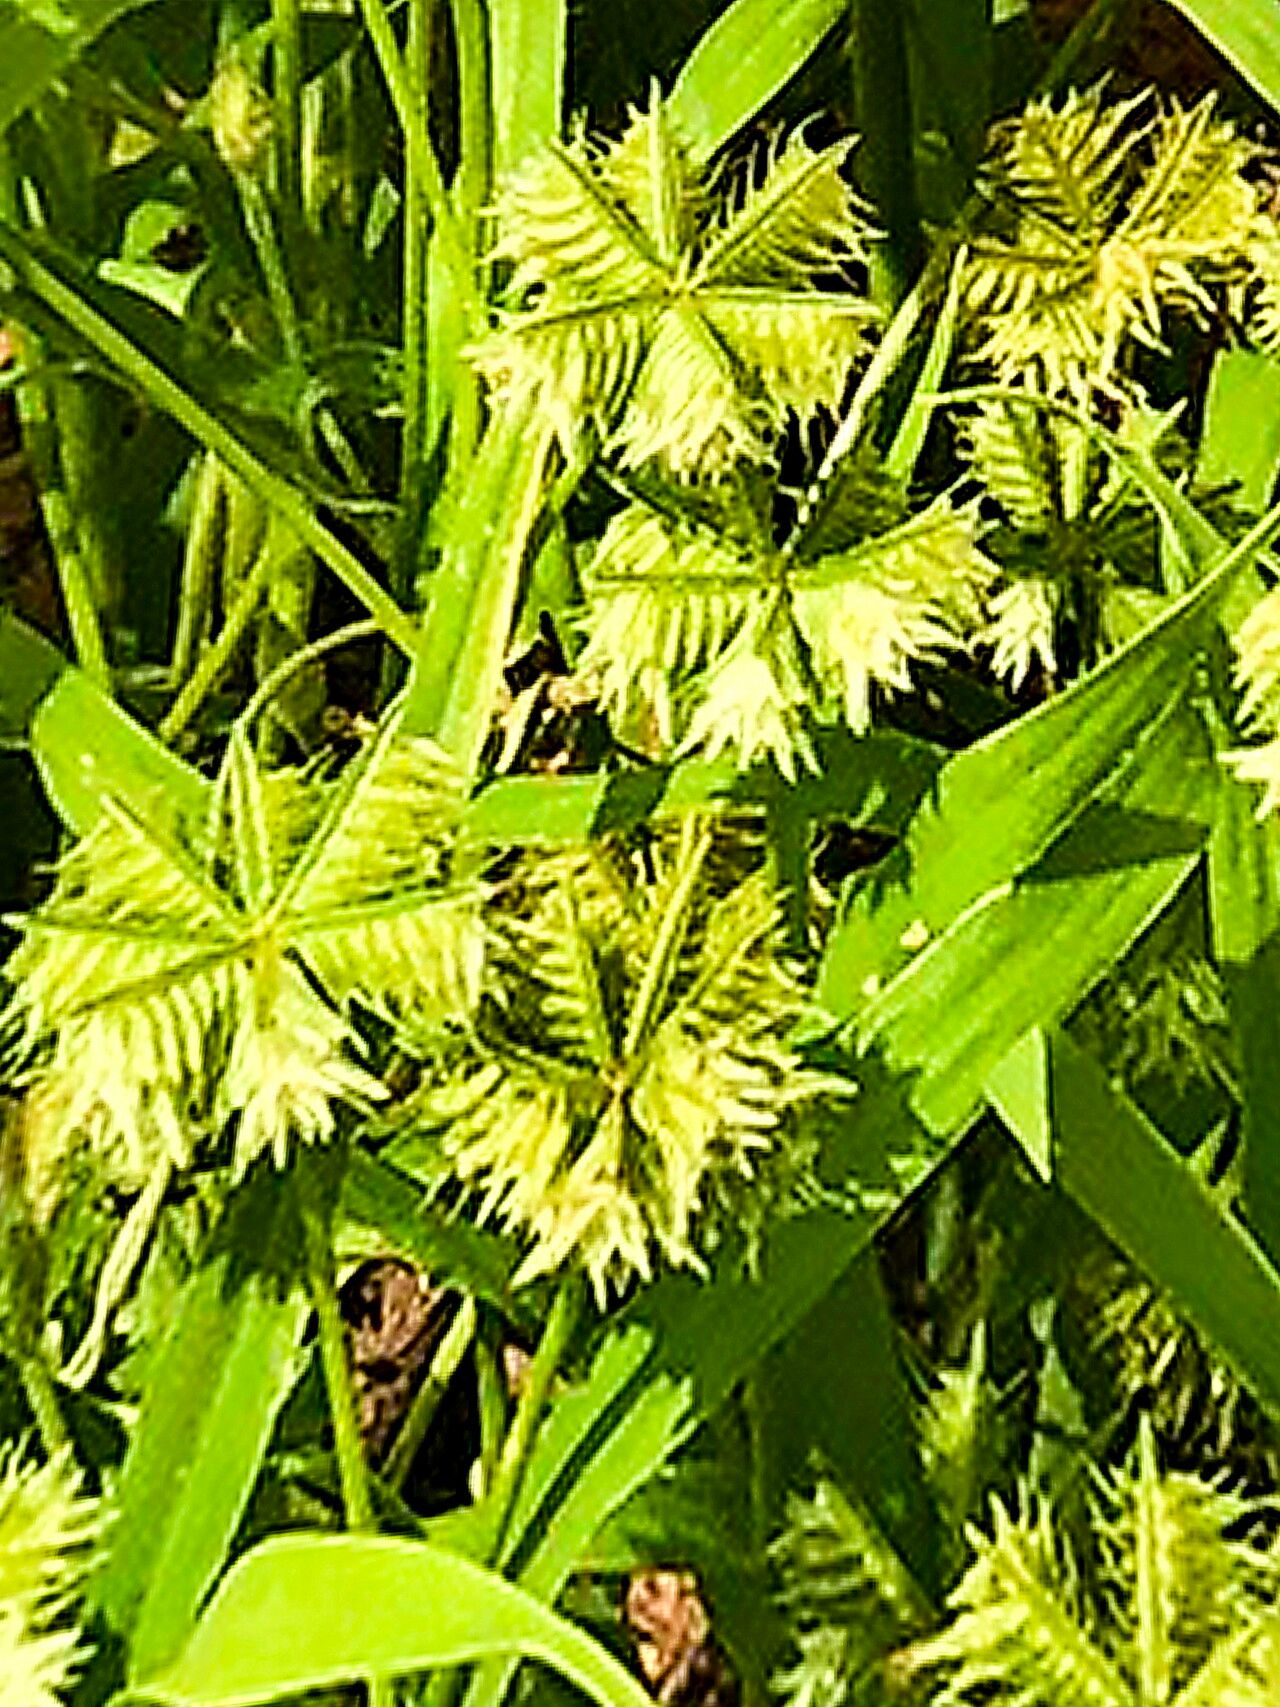
Hello there, fellow garden enthusiasts! Today, I want to chat about a plant that’s a real charmer, and one that’s surprisingly rewarding to multiply: Dactyloctenium radulans, or as some affectionately call it, “Razor Grass.” It’s a lovely native Australian grass that brings a touch of wild beauty to any space, with its delicate seed heads and beautiful texture. If you’re looking to fill out a garden bed, create new container specimens, or simply love the satisfaction of nurturing a new life from an existing one, propagating this grass is a fantastic endeavor. And I’m happy to share that for most gardeners, Dactyloctenium radulans is quite forgiving, making it a great choice even if you’re just dipping your toes into the world of propagation.
The Best Time to Start
When it comes to Razor Grass, the sweet spot for propagation is definitely late spring through early summer. This is when the plant is usually in its most vigorous growth phase. You’ll find it’s producing healthy new shoots, making it easier to take cuttings or divide clumps successfully. Waiting until after the last frost is crucial, as those tender new propagules won’t appreciate a chilly reception.
Supplies You’ll Need
Gathering your tools beforehand makes the whole process so much smoother. Here’s what I usually have on hand:
- Sharp pruning shears or a clean knife: For making precise cuts.
- A good quality potting mix: Something well-draining is key. I like a mix of potting soil, perlite, and a bit of coarse sand. Avoid anything too heavy.
- Small pots or trays: For your new plant babies. Make sure they have drainage holes!
- Rooting hormone (optional but helpful): Especially useful for stem cuttings.
- A spray bottle: For misting.
- Labels or plant markers: So you don’t forget what you’ve planted where!
- A watering can or gentle hose attachment.
Propagation Methods
Razor Grass is wonderfully versatile, and I’ve had great success with a couple of methods.
1. Stem Cuttings
This is my go-to for a quick start.
- Select healthy stems: Look for stems that are about 4-6 inches long, with several nodes (the little bumps where leaves emerge). Try to avoid flowering stems if possible.
- Make the cut: Using your sharp shears or knife, make a clean cut just below a node. You can take multiple cuttings from a healthy parent plant.
- Prepare the cutting: Gently remove the lower leaves from the stem, leaving just a couple of leaves at the very top. If you’re using rooting hormone, dip the cut end into it now.
- Plant the cutting: Fill your small pots with your prepared potting mix. Make a small hole with your finger or a pencil and insert the cutting, ensuring at least one or two nodes are buried in the soil. Gently firm the soil around it.
- Water and cover: Water the soil lightly. To create a humid environment, you can cover the pot loosely with a plastic bag or a clear dome. Just make sure the leaves don’t touch the plastic. Place the pot in a warm spot with bright, indirect light.
2. Division
If your Dactyloctenium radulans has formed a nice, mature clump, division is an excellent way to get more plants.
- Gently excavate: Carefully dig up the entire plant from its pot or the ground. Try to keep as much of the root ball intact as possible.
- Tease apart: You can often gently tease the root ball apart with your hands. If it’s a bit stubborn, a clean knife or trowel can help you divide the clump into smaller sections. Each section should have plenty of roots and some healthy shoots.
- Pot them up: Plant each divided section into its own pot filled with your potting mix. Water thoroughly.
The “Secret Sauce” (Pro Tips)
Here are a couple of tricks I’ve learned over the years that really make a difference:
- My absolute favorite tip for cuttings is to use bottom heat. A simple heating mat placed under the pots can dramatically speed up root formation. It mimics the warmth of spring and makes those little roots so eager to sprout.
- For stem cuttings, don’t let the leaves touch the water if you’re trying water propagation (though I find potting them up directly is usually more successful). If leaves sit in water, they tend to rot, which can then take the whole cutting down with them. Keep them dry!
Aftercare & Troubleshooting
Once you see those tiny roots peeking out of the drainage holes or new growth emerging, it’s time to give your new Razor Grass a little extra TLC.
- Gradually acclimate: If you’ve used a plastic dome or bag, slowly start to acclimatize your new plants to drier air by removing the cover for longer periods each day.
- Watering: Continue to keep the soil consistently moist but not waterlogged. As the roots establish, you can gradually introduce them to more sunlight.
- Signs of failure: The most common issue you might see is rotting, especially if the soil is too wet or drainage is poor. Cuttings might turn mushy and dark. If you see this, it’s usually a sign that the conditions are too damp. You might also see wilting from lack of roots or extreme stress, but with proper care, this is less common.
Don’t be discouraged if not every single cutting or division takes. Gardening is a journey, and sometimes even the most experienced among us have a few plant casualties. The key is to be patient, observe your plants, and learn from the process. Enjoy the magic of seeing new life sprout from your efforts. Happy propagating!
Resource: