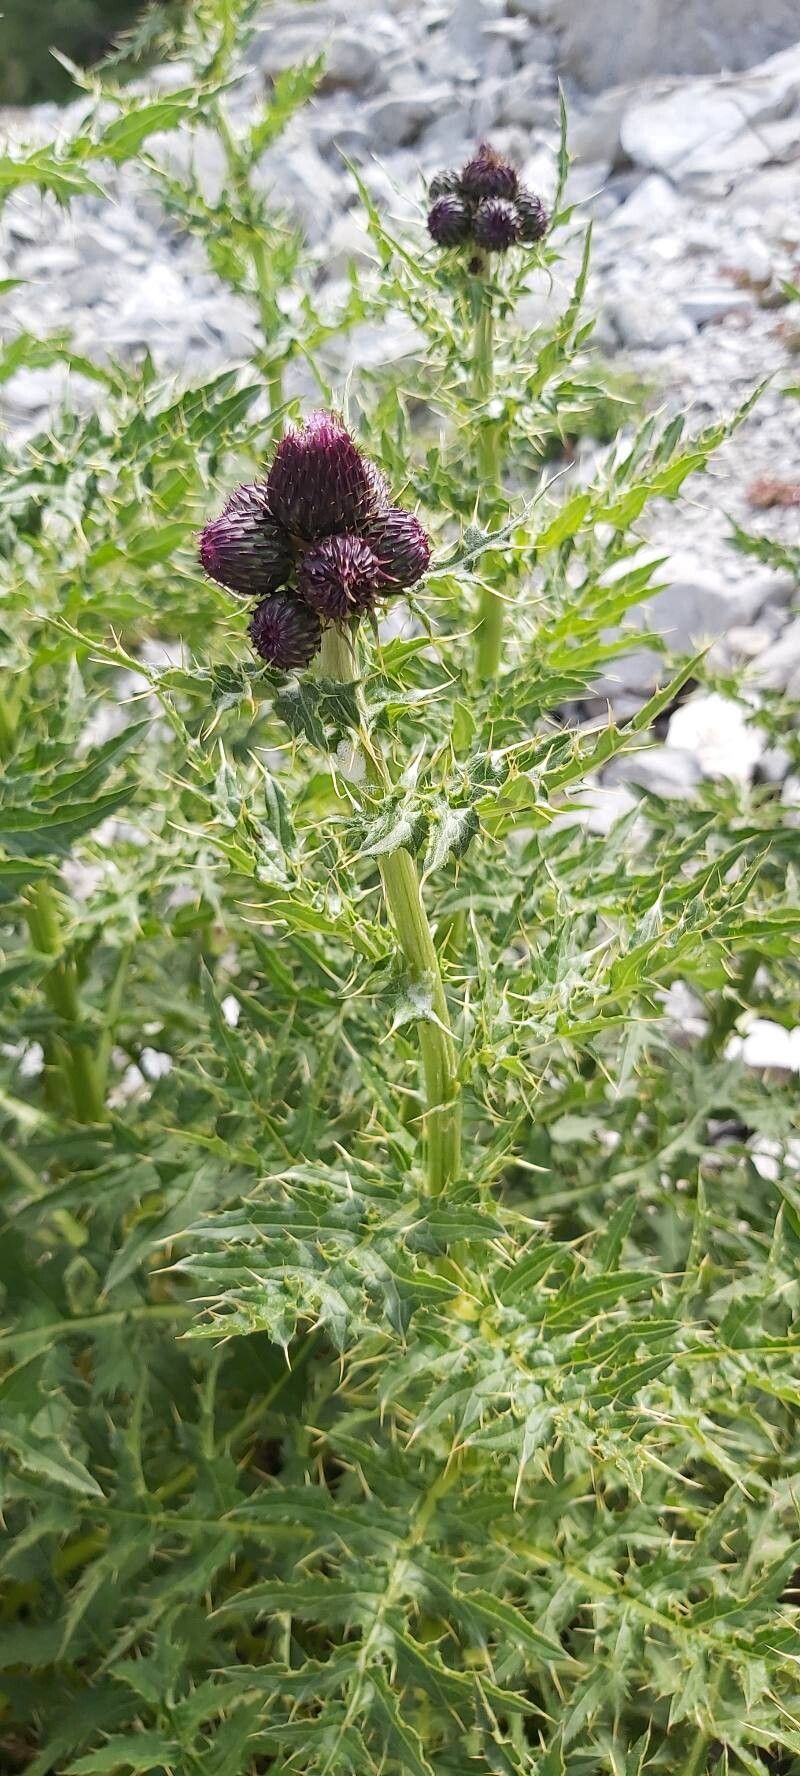
Oh, Cirsium appendiculatum! What a gorgeous thistle, isn’t it? I’ve always been drawn to its delicate, fringed petals and the way it draws in all sorts of beneficial pollinators. It’s a bit of a wildflower of distinction, and propagating it yourself is such a satisfying endeavor. You get to experience the magic of life beginning anew, all thanks to your own two hands. Now, if you’re a total beginner, I’d say Cirsium appendiculatum falls into the moderately challenging category. It’s not a push-button plant, but with a little care and attention, you’ll absolutely find success.
The Best Time to Start
For the highest success rate with Cirsium appendiculatum, I’ve found that early spring, just as new growth is emerging and before the plant gets too leggy, is your sweet spot. You’re looking for those fresh, vibrant shoots. Wait until the risk of hard frost has passed, but you still have that cool, moist air working in your favor.
Supplies You’ll Need
Here’s what I always have on hand when I’m ready to get propagating:
- Sharp pruning shears or a clean knife: For making clean cuts.
- Seed-starting mix or a well-draining potting mix: I often mix my own with equal parts perlite and peat moss for good aeration.
- Small pots or trays with drainage holes: Terracotta pots are great for letting the soil breathe.
- Rooting hormone (optional but recommended): A powder or gel can give your cuttings a real boost.
- Watering can with a fine rose spray: To avoid disturbing delicate cuttings.
- Labels and a permanent marker: Trust me, you’ll forget what’s what!
- A plastic bag or a propagation dome: To create a humid microclimate.
Propagation Methods
While you can grow Cirsium from seed, I find propagation through division or stem cuttings to be more reliable and often faster for this particular plant.
1. Division (My Preferred Method!)
This is akin to giving your established thistle a little haircut and sharing the bounty.
- Dig Up Carefully: In early spring, gently dig up your mature Cirsium appendiculatum plant. Try to disturb the root ball as little as possible.
- Locate the Growing Points: You’ll see where new shoots are emerging from the base of the plant. Look for natural divisions, where several stems are clustered together with their own root systems.
- Divide with Confidence: Using your sharp spade or a trowel, carefully divide the root ball into sections. Each section should have at least one healthy shoot and a good portion of roots. If the roots are very tangled, you might need to use your hands or even a clean knife to separate them.
- Replant Immediately: Replant the parent plant back in its original spot (or a new one if you prefer!) and keep it well-watered.
- Pot Up Divisions: Plant each divided section into its own pot filled with your prepared potting mix. Firm the soil gently around the roots.
2. Stem Cuttings (For the Brave!)
This method requires a bit more finesse.
- Take Your Cuttings: In early spring, select a healthy stem that’s about 4-6 inches long. Make a clean cut just below a leaf node. Remove the lower leaves, leaving only a couple at the top.
- Apply Rooting Hormone (Optional): Dip the cut end of the stem into rooting hormone, tapping off any excess.
- Plant Your Cuttings: Insert the cut end into small pots filled with your seed-starting mix. Make sure the leaf nodes are below the soil surface, as this is where roots will form.
- Create Humidity: Mist the cuttings lightly, then cover the pots with a plastic bag or a propagation dome to trap humidity. You can use plastic wrap secured with a rubber band, or even an inverted clear plastic container.
The “Secret Sauce” (Pro Tips)
Here are a couple of things I’ve learned over the years that make a big difference:
- For cuttings in water: If you decide to try water propagation (which I find less successful for thistles, but it’s possible), never let the leaves touch the water. Submerged leaves will rot and can take down your cutting with them.
- Bottom Heat: For stem cuttings, a heating mat placed underneath your pots can significantly speed up root development. It mimics the warmth of the soil in spring and encourages those roots to get going. Don’t overheat it, though – just a gentle warmth is key.
Aftercare & Troubleshooting
Once your divisions are planted or your cuttings show signs of rooting (you’ll see new leafy growth after a few weeks), it’s time for a bit of pampering.
- Gradual Acclimation: If you used a humidity dome or plastic bag, gradually acclimate your new plants to the outside air by removing the cover for increasingly longer periods each day over a week.
- Consistent Moisture: Keep the soil consistently moist, but not waterlogged. This is crucial.
- Bright, Indirect Light: Place your new plants in a spot with bright, indirect light. Avoid direct scorching sun until they are well-established.
- Troubleshooting: The most common issue is rot. If you see your cuttings wilting, turning mushy, or developing black spots, it’s likely due to too much moisture and not enough air circulation. Ensure good drainage and ease up on the watering. If your divisions aren’t taking, it could be that the root system was too small or damaged during the process. Don’t despair; try again next year!
A Encouraging Closing
Growing new plants is always a journey, and Cirsium appendiculatum is no exception. Be patient with your new little thistles. Some will take off right away, while others will be a bit more shy. Enjoy the process of nurturing them, and before you know it, you’ll have even more of these beauties gracing your garden! Happy propagating!
Resource:
https://identify.plantnet.org/k-world-flora/species/Cirsium%20appendiculatum%20Griseb./data