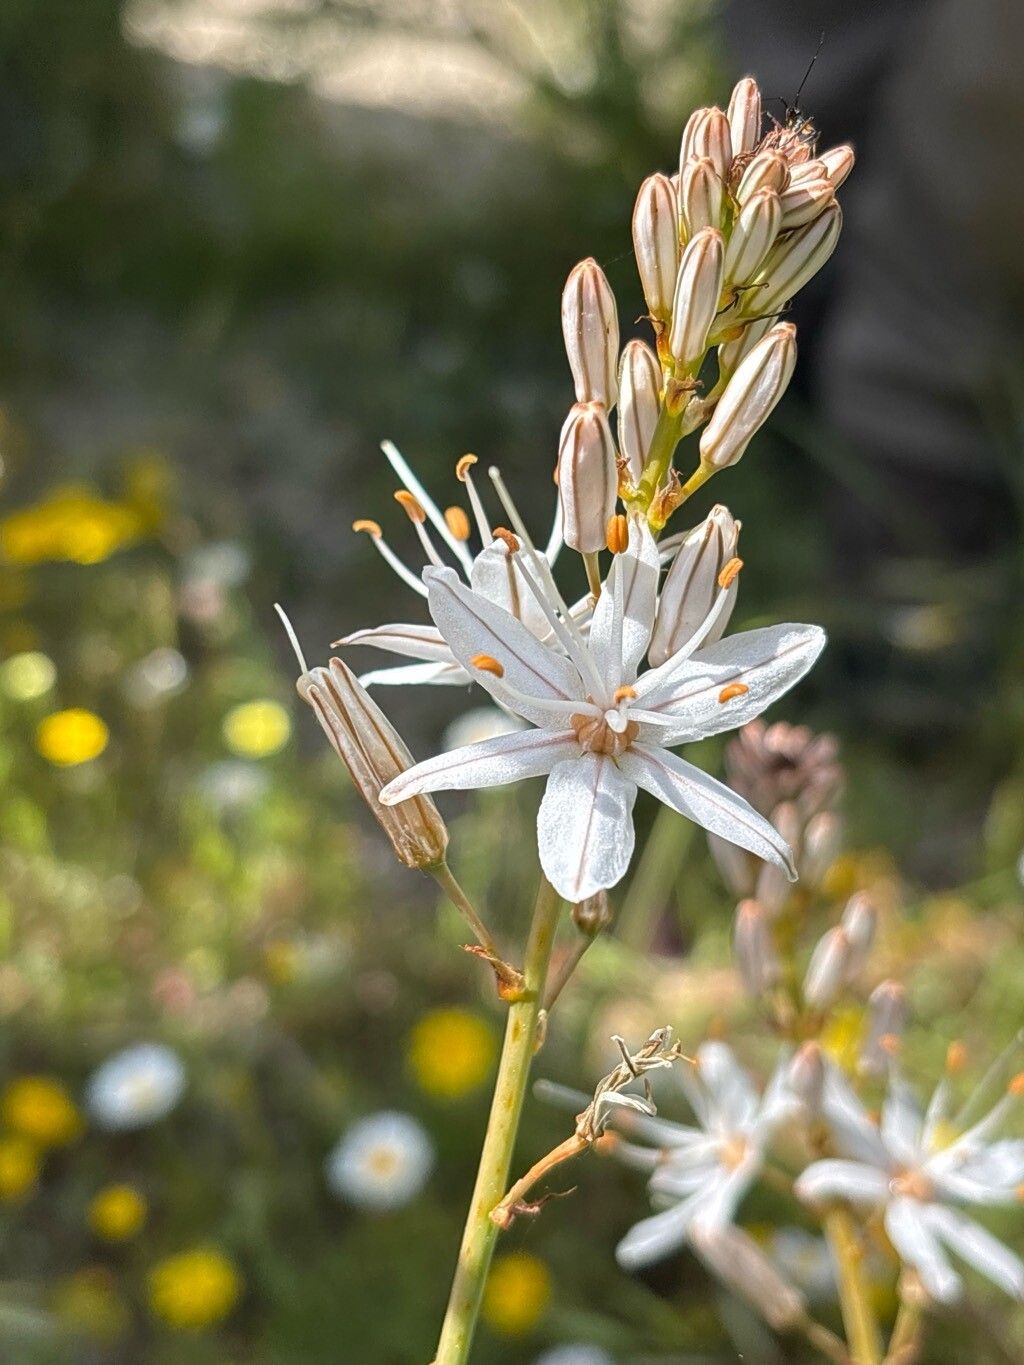
Oh, Asphodelus serotinus! What a striking specimen for the garden. I’ve always been drawn to its architectural elegance, those tall spires of delicate white flowers standing proudly against the sky. It truly brings a touch of wild, Mediterranean charm to any space. And the best part? You can easily multiply this beauty yourself. Propagating Asphodelus serotinus isn’t overly tricky, but it does demand a little patience and understanding. It’s a rewarding project, even for those relatively new to the gardening scene.
The Best Time to Start
For the highest success rate, late spring or early summer is your golden window. This is when the plant is actively growing and has plenty of energy stored up. You’ll want to look for healthy, vigorous stems that are not yet flowering. Ideally, you’ll be working with material from a mature, well-established plant.
Supplies You’ll Need
Gather these before you begin, and everything will run that much smoother:
- Sharp, clean pruning shears or a sharp knife: For making clean cuts.
- Rooting hormone powder (optional, but recommended for cuttings): Helps a lot with root development.
- A well-draining potting mix: I like a blend of perlite, coarse sand, and a bit of peat moss or coco coir. You want it airy, not soggy.
- Small pots or trays: With drainage holes, of course.
- A watering can with a fine rose: For gentle watering.
- Small labels: To keep track of your new babies!
- Plastic bags or a propagation dome: To create a humid environment.
Propagation Methods
The most straightforward way to propagate Asphodelus serotinus is through division. This is ideal for mature plants.
Division Method:
- Gently unearth your Asphodelus. Do this on a cool, overcast day if possible to minimize stress on the plant. Loosen the soil around the base with a trowel or fork and carefully lift the entire root ball out of the ground.
- Inspect the root system. You’re looking for distinct clumps or sections where new growth is already emerging, with its own set of roots.
- Carefully separate the divisions. Use your hands to gently pull the root ball apart. If sections are stubborn, a clean, sharp knife or spade can be used to cut through thick roots. Ensure each division has a good amount of roots and at least one or two healthy shoots.
- Prepare your pots. Fill them with your well-draining potting mix.
- Plant the divisions. Make a hole in the center of each pot large enough to accommodate the root system. Place a division in the hole and backfill with soil, firming gently around the base. The top of the root ball should be just at soil level.
- Water thoroughly. Water gently but deeply until water runs out of the drainage holes.
- Place in a suitable spot. Keep the newly potted divisions in a bright location, but out of direct, harsh sunlight for the first week or two.
While division is my go-to, you can try stem cuttings, though it’s a bit more finicky and requires more attention.
Stem Cutting Method:
- Take your cuttings. In late spring or early summer, select healthy, non-flowering stems. Using your sharp pruning shears, make a clean cut just below a leaf node (where a leaf joins the stem). Aim for cuttings about 4-6 inches long.
- Prepare the cuttings. Remove the lower leaves from the bottom half of the stem. This will prevent them from rotting when placed in the soil.
- Dip in rooting hormone. If you’re using rooting hormone, dip the cut end of each stem into the powder, tapping off any excess.
- Plant the cuttings. Fill small pots with your well-draining mix. Make a small hole with a pencil or skewer and carefully insert the cut end of the stem, ensuring it’s firm in the soil.
- Create a humid environment. Water gently and then cover the pot with a plastic bag or place it under a propagation dome. This keeps the humidity high, which is crucial for cuttings to root. Ensure the leaves aren’t touching the inside of the plastic bag if possible.
- Provide warmth and light. Place the pots in a warm spot with bright, indirect light. Bottom heat from a propagator mat can significantly speed up the process.
The “Secret Sauce” (Pro Tips)
Here are a couple of things I’ve learned over the years that really make a difference:
- Don’t overwater, ever! Asphodelus serotinus absolutely despises soggy feet. For divisions, water well initially, then let the soil surface dry out before watering again. For cuttings, it’s even more critical. If you poke a finger into the soil and it feels damp, hold off. Rot is the biggest enemy here.
- Air circulation is key for cuttings. While you want high humidity, stagnant air can lead to fungal issues. If you’re using a plastic bag, open it up for a few minutes each day to let fresh air circulate. This also helps you monitor your progress without disturbing the cuttings too much.
Aftercare & Troubleshooting
Once your divisions or cuttings start showing signs of growth – usually new leaves emerging or a gentle tug resistance on a cutting – they’re on their way!
- Gradually acclimate your new plants. If you’ve used a plastic bag or dome, slowly introduce them to the outside air by opening it up for longer periods each day over a week.
- Continue to provide bright, indirect light. Avoid scorching sun until they are well-established.
- Water consistently but never waterlog. Let the soil dry slightly between waterings.
- Watch out for rot. The most common sign of trouble is a black, mushy stem base or roots. If you see this, it’s usually too late. Prevention is your best defense: sharp cuts, good drainage, and careful watering. Yellowing leaves can also be a sign of overwatering or sometimes underwatering, so feel the soil moisture to diagnose.
A Encouraging Closing
Propagating plants is a journey of observation and patience. You’re not just creating new plants; you’re learning to understand their needs and rhythms. Be gentle with yourself and your new Asphodelus serotinus starts. Enjoy the process, celebrate every tiny root that forms, and I bet you’ll have a beautiful display to share before you know it! Happy gardening!
Resource:
https://identify.plantnet.org/k-world-flora/species/Asphodelus%20serotinus%20Wolley-Dod/data