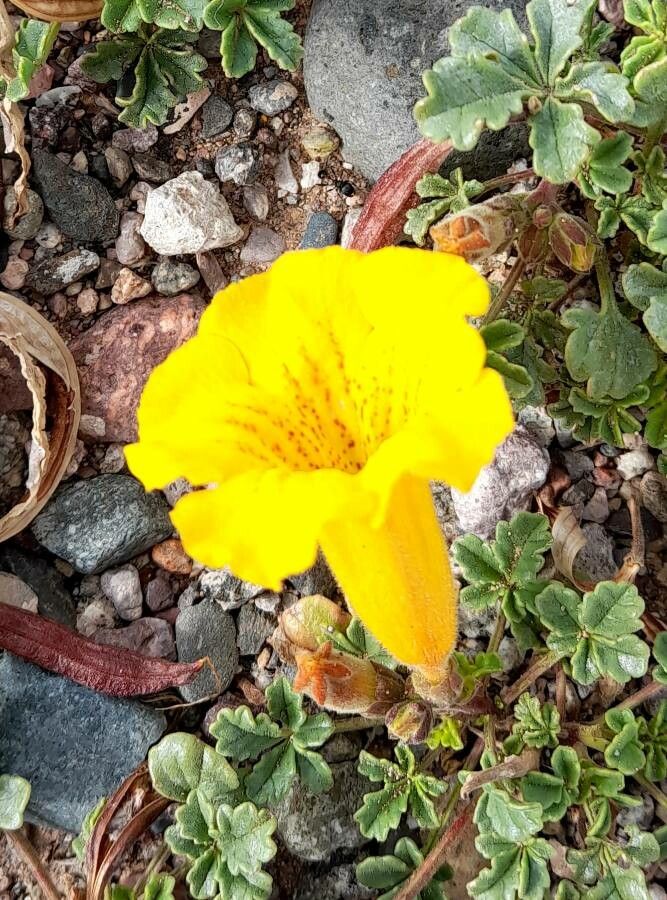
Oh, hello there! Come on in, pull up a chair. I’ve got a fresh pot brewing, and I thought we could chat about one of my very favorite subjects: giving our beloved plants a little help to make more of themselves. Today, we’re talking about Argylia uspallatensis. If you’re not familiar, imagine a delightful, low-growing succulent with gorgeous, silver-gray foliage. It’s got this wonderfully fuzzy texture and a habit of spreading out, creating a lovely mat of leaves. It truly is a gem in any arid or rock garden. And propagating it? Well, it’s a wonderfully rewarding feeling, seeing a tiny cutting transform into a new, thriving plant. Now, for beginners, I’d say Argylia uspallatensis falls somewhere in the “moderately easy” category. It’s not as fuss-free as a spider plant, but with a little attention, you’ll have success.
The Best Time to Start
When it comes to getting your Argylia uspallatensis off to a good start, spring and early summer are your friends. This is when the plant is in its active growing season. The stems and leaves are plump with energy, and they’re much more eager to root. Waiting until things are really warming up, after the last frost has passed, is key. You want to avoid any shock from cold temperatures.
Supplies You’ll Need
Here’s a little checklist to get you prepped. Nothing too fancy, I promise:
- Sharp pruning shears or a clean knife: For making clean cuts.
- A well-draining potting mix: I often use a cactus and succulent mix, or a blend of equal parts potting soil, perlite, and coarse sand.
- Small pots or trays: Recycled yogurt cups with drainage holes work wonders!
- Rooting hormone (optional but helpful): Not strictly necessary for Argylia, but it can give cuttings a little boost.
- A spray bottle: For gentle watering.
- A small trowel or dibber: For making holes in the soil.
Propagation Methods
There are a couple of reliable ways to get more Argylia uspallatensis. I find stem cuttings to be the most straightforward.
Stem Cuttings:
- Select healthy stems: Look for stems that are firm and have good color. You want to avoid anything that looks leggy or stressed.
- Make the cut: Using your sharp shears or knife, take a cutting that’s about 3-4 inches long. Make the cut just below a leaf node, where the leaf attaches to the stem.
- Prepare the cutting: Gently remove the lower leaves from the cutting. This is important so they don’t rot when you plant it.
- Let it callous (optional, but good practice): Some gardeners like to let the cut end of the stem dry out for a day or two in a dry spot. This forms a callus, which can help prevent rot. It’s not always essential for succulents, but it doesn’t hurt.
- Rooting hormone (if using): Dip the cut end into your rooting hormone, tapping off any excess.
- Plant your cutting: Fill your small pot with your well-draining mix. Use your trowel or dibber to make a small hole in the center. Gently insert the cut end of your Argylia cutting into the hole and firm the soil around it.
- Water lightly: Give the soil a gentle misting with your spray bottle. You want it to be barely damp, not soggy.
Water Propagation:
While stem cuttings directly into soil are my preferred method for Argylia, you can try water propagation, but be cautious.
- Follow steps 1-3 above for preparing your stem cuttings.
- Place cuttings in water: Fill a small glass or jar with water and place your cuttings so that the leaf nodes are submerged, but none of the leaves touch the water. This is crucial to prevent rot.
- Provide bright, indirect light: Place the container in a bright spot away from direct sun.
- Change water regularly: Change the water every few days to keep it fresh.
- Transplant when roots appear: Once you see healthy roots about an inch long, carefully transplant them into your well-draining potting mix.
The “Secret Sauce” (Pro Tips)
Here are a couple of little tricks I’ve picked up over the years:
- Don’t overwater, ever! This is the golden rule for succulents, and Argylia is no exception. They store water in their leaves and stems. It’s far better to let cuttings dry out a bit than to drown them.
- Bottom heat is your friend (if you have it): If you have a seedling heat mat, placing your pots on it can really speed up root formation. It mimics the warmth of spring. Just make sure the mat isn’t too hot.
Aftercare & Troubleshooting
Once your cuttings start to show signs of life – like new growth or a firm feel when gently tugged – you’re on your way!
- Gradual watering: Continue to water sparingly. Allow the soil to dry out completely between waterings. You’ll notice the leaves becoming plumper when they’ve had enough water.
- Bright, indirect light: Keep your new plants in a bright spot, but out of harsh, direct sun, which can scorch young foliage.
- Watch for rot: The biggest enemy here is rot, which shows up as mushy, dark stems or leaves. If you see this, it’s often a sign of overwatering or poor drainage. You might need to trim away the affected parts and try again with a healthier section.
- Patience is key: It can take several weeks, sometimes even a couple of months, for cuttings to establish a good root system. Don’t give up if you don’t see rapid growth immediately!
A Encouraging Closing
So there you have it – a little peek into propagating these lovely fuzzy fellows! It’s a journey, really. Be patient with yourself and with your plants. Enjoy the process of nurturing something new, and celebrate those tiny victories when you see those first little roots emerge. Happy propagating, my friends!
Resource:
https://identify.plantnet.org/k-world-flora/species/Argylia%20uspallatensis%20DC./data