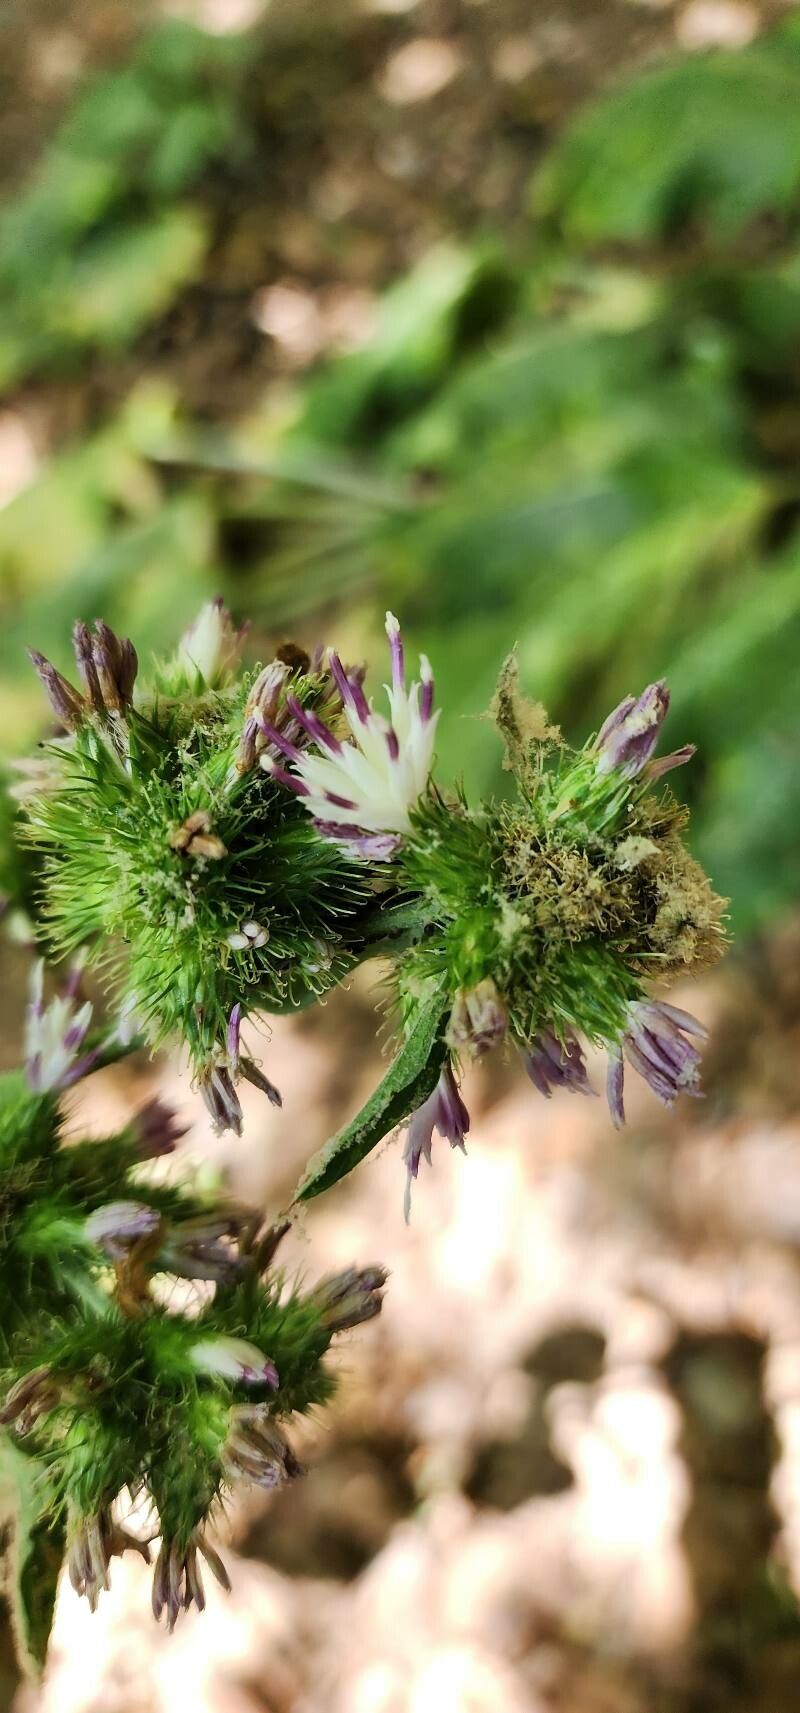
Oh, hello there! Pull up a chair and let’s talk about Arctium amplissimum. I’ve always had a soft spot for this magnificent plant. Its broad, dramatic leaves are just stunning in the garden, and there’s something so satisfying about having enough to share! If you’ve ever admired its bold presence and thought, “I wish I had more of those,” you’re in the right place. Propagating it is a wonderfully rewarding experience, and while it might seem a little intimidating at first glance, I promise you, it’s absolutely doable, even for beginners.
The Best Time to Start
For the absolute best chance of success with Arctium amplissimum, I find late spring to early summer to be the sweet spot. This is when the plant is really hitting its stride, full of vigor and ready to send out new growth. Starting around May or June gives your cuttings or divisions plenty of time to establish themselves before the cooler weather sets in. Avoid the heat of mid-summer’s peak; things can get a bit stressful for tender new shoots then.
Supplies You’ll Need
Here’s a little checklist to make sure you’re prepped:
- Sharp Pruning Shears or a Clean Knife: For making clean cuts.
- Rooting Hormone (Optional but Recommended): A powder or gel can give your cuttings a helpful boost.
- Potting Mix: A light, well-draining mix is crucial. I like to use a blend of peat moss, perlite, and a touch of compost. For divisions, a good quality garden soil amended with compost works well.
- Small Pots or Trays: Clean pots with drainage holes are a must.
- Watering Can or Spray Bottle: For gentle watering.
- Labels and a Marker: Don’t forget to label what you’ve done!
Propagation Methods
Arctium amplissimum is quite amenable to a couple of different propagation techniques. My go-to methods are division and taking cuttings.
Division
This is probably the easiest and most straightforward method, especially if you already have a mature plant.
- Dig Carefully: In late spring or early summer, excavate the soil around your established plant. You want to gently loosen the soil with your trowel or spade, working your way around the root ball.
- Lift and Inspect: Carefully lift the entire plant out of the ground. You’ll see it naturally splits into several sections, often with their own crowns and root systems.
- Separate the Divisions: Gently pull or cut the plant into smaller pieces. Each division should have at least one healthy crown and a good amount of root.
- Replant Immediately: Plant your divisions into their new homes – either back into your garden or into pots with fresh potting mix. Water them in well to settle the soil.
Stem Cuttings
This method takes a bit more patience but can yield quite a few new plants.
- Take Your Cuttings: Look for softwood or semi-hardwood stems that are actively growing, usually in late spring or early summer. Select stems that are about 4-6 inches long and have at least two sets of leaves. Using your sharp shears, make a clean cut just below a leaf node.
- Prepare the Cuttings: Remove the lower leaves, leaving only the top set or two. If your leaves are very large, you can even cut them in half to reduce water loss.
- Apply Rooting Hormone (Optional): Dip the cut end of the stem into your rooting hormone powder or gel, tapping off any excess.
- Plant the Cuttings: Fill your small pots with your well-draining potting mix. Make a small hole with a pencil or your finger and insert the cutting, ensuring the node where you removed the leaves is buried in the soil. Gently firm the soil around the stem.
- Water and Cover: Water gently to settle the mix. Then, cover the pots loosely with a plastic bag or dome to create a humid environment. You can prop the bag up with skewers so it doesn’t touch the leaves.
The “Secret Sauce” (Pro Tips)
Here are a few little tricks I’ve picked up over the years that really help:
- Don’t Let the Leaves Touch the Water: This is especially crucial for cuttings in water if you choose that as an option (though I find soil is generally more reliable for Arctium). If leaves are submerged, they’ll rot quickly and take your cutting with them. Always keep the submerged part strictly to the stem.
- Bottom Heat is Your Friend: For cuttings, placing your pots on a heat mat can significantly speed up root development. It mimics the warmth of summer soil and encourages those roots to form. Just ensure the mat is rated for plant use!
- Patience with Divisions: Even though divisions are generally robust, remember that the plant is adjusting. Don’t be too quick to judge if they sulk a little for the first week. Keep them consistently moist and out of direct, scorching sun.
Aftercare & Troubleshooting
Once your divisions are in the ground, treat them like any other new plant: water them consistently, especially during dry spells. For cuttings, once you see new leaf growth, it’s a good sign that roots are forming. At this point, you can gradually acclimate them to normal humidity by opening the plastic cover a bit more each day over a week. When they are well-established outside the dome, you can transplant them into larger pots or their final garden locations.
The most common problem you’ll encounter is rot. If your cuttings look black and mushy at the base, or if your divisions are wilting excessively and the soil stays soggy, it’s usually a sign of too much moisture and poor drainage. Discard any rotted material and try again with a lighter soil mix and more careful watering. Another sign of issues is if cuttings simply refuse to root and remain limp for weeks on end – they might have been taken too late in the season or were just not vigorous enough.
A Encouraging Closing
Propagating plants is all about learning and growing, just like the plants themselves! Don’t be discouraged if every single attempt isn’t a roaring success from the start. Each try is a lesson learned, and the joy of watching a tiny cutting or a divided crown turn into a magnificent Arctium amplissimum is truly something special. So go ahead, get your hands a little dirty, and enjoy the process! Happy gardening!
Resource:
https://identify.plantnet.org/k-world-flora/species/Arctium%20amplissimum%20Kuntze/data