Bringing More “Pink Orchid” Charm to Your Garden: Propagating Albizia zygia
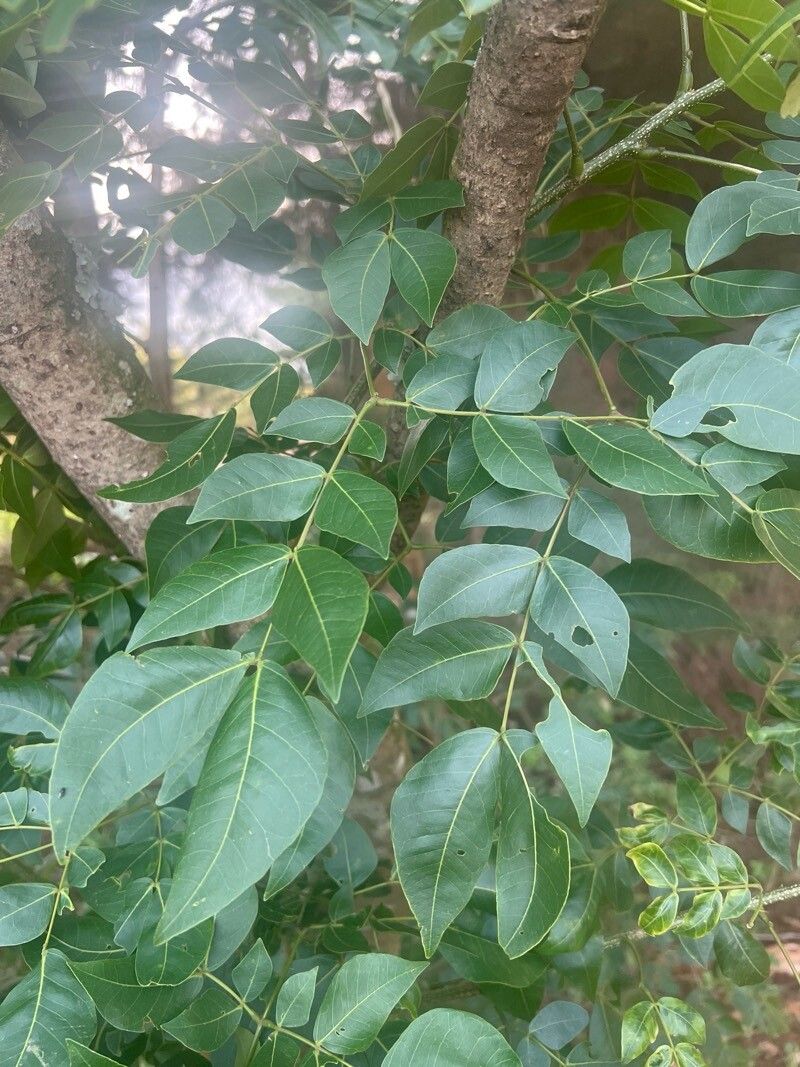
Ah, Albizia zygia, or as I affectionately call it, the “Pink Orchid” tree! There’s something truly magical about those delicate, feathery leaves and the stunning burst of vibrant pink blooms that dangle like little silken tassels. It’s a showstopper, isn’t it? And the joy of growing more of these beauties from scratch? Absolutely priceless! Now, I’ll be honest, compared to, say, a succulent, propagating Albizia zygia might feel a smidge trickier for absolute beginners. But with a little patience and some of my tried-and-true methods, you’ll be well on your way to a whole grove of these gorgeous trees. Think of it as a fun challenge that yields incredibly rewarding results!
The Best Time to Start Your Propagation Journey
For Albizia zygia, spring is truly your golden ticket. As the weather warms up and your plants are already gearing up for active growth, you’ll find they’re most receptive to propagating. Aim for late spring or early summer. This is when the stems are neither too soft and new nor too woody and dormant, hitting that sweet spot for successful rooting.
Supplies You’ll Need
Here’s a handy list to gather before you embark on your propagation adventure:
- Sharp, clean pruning shears or a sharp knife: Essential for making clean cuts that heal well.
- Rooting hormone: A little bit goes a long way to encourage those roots to form faster. Look for one formulated for woody cuttings.
- Potting mix: A well-draining mix is crucial. I like to use a blend of peat moss (or coco coir), perlite, and a bit of compost. The goal is to keep things airy.
- Small pots or containers: Clean ones, of course! Small cells or 3-4 inch pots work well.
- Plastic bags or a propagation dome: To create a humid environment for your cuttings.
- Patience! This is honestly the most important tool.
Propagation Methods: Let’s Get Our Hands Dirty!
While Albizia zygia can be propagated from seed, focusing on cuttings is often a more reliable and quicker way to get established plants.
Stem Cuttings: My Go-To Method
This is my favorite way to multiply my Albizia zygia collection.
- Select your stems: Look for semi-hardwood cuttings. These are stems that have started to stiffen but still have some flexibility. They should be about pencil-thick and at least 6-8 inches long. You’ll want to take them from a healthy, vigorous plant.
- Make the cut: Using your sharp pruning shears, make a clean cut just below a leaf node (where a leaf attaches to the stem). This is where the magic happens!
- Prepare the cutting: Gently remove the lower leaves, leaving just a few at the top. This helps the cutting conserve energy and prevents moisture loss. If you have any flowers or buds, pinch them off.
- Dip in rooting hormone: Moisten the cut end of the stem, and then dip it generously into your rooting hormone powder. Tap off any excess.
- Pot them up: Fill your small pots with your pre-moistened potting mix. Make a hole with your finger or a pencil, and insert the cutting, ensuring the bottom leaf node is buried. Gently firm the soil around it.
- Create humidity: Water the soil lightly. Then, cover the pot with a plastic bag (making sure it doesn’t touch the leaves) or place it under a propagation dome. This traps moisture, which is vital for rooting.
- Find a bright spot: Place the pots in a location that receives bright, indirect light. Avoid direct sun, which can scorch young cuttings.
Patience is a Virtue (Especially in Water Propagation)
While I generally lean towards soil for Albizia zygia cuttings, some folks have success with water.
- Similar stem selection: Choose those same semi-hardwood cuttings, 6-8 inches long.
- Prepare and strip leaves: Remove lower leaves.
- Place in water: Fill a clean jar or glass with water. Place the cuttings in the water, ensuring no leaves are submerged. This is super important! Submerged leaves will rot and kill your cutting.
- Monitor and change water: Keep the jar in a bright, indirect light spot. Change the water every few days to keep it fresh and prevent bacterial growth.
- Wait for roots: You should start seeing tiny root nubs emerge within a few weeks. Once the roots are about an inch long, they’re ready to be carefully transplanted into your potting mix.
The “Secret Sauce”: Insider Tips for Success
Here are a couple of my most valuable tricks that really tip the scales in your favor:
- Bottom Heat is Your Best Friend: For stem cuttings, a heating mat set on a low temperature can significantly speed up root development. It mimics the warmth of the soil in spring and truly encourages those roots to stretch out and grab hold. You’ll be amazed at the difference it makes!
- Air Circulation is Key (Even Under Cover): While we want to trap humidity, we don’t want stagnant air. “Vent” your cuttings every day or two by lifting the plastic bag or opening the dome for a few minutes. This helps prevent fungal issues and allows for fresh air exchange.
Aftercare & Troubleshooting: Nurturing Your New Sprouts
Once you start seeing signs of new growth – tiny leaves unfurling or resistance when you gently tug on the cutting – that’s a good indication that roots have formed!
- Gradually Acclimate: If you’ve used a plastic bag or dome, start by gradually introducing your new plant to normal room humidity. Open the cover for longer periods each day over a week before removing it entirely.
- Watering: Water when the top inch of soil feels dry. Be careful not to overwater, as this is a common pitfall for new propagators. Good drainage in your pot is your best defense here.
- Signs of Trouble: The most common issue you might encounter is rot. This usually looks like a mushy, discolored stem base. If you see this, unfortunately, that cutting is likely lost. Stem rot is often caused by too much moisture, poor drainage, or lack of air circulation. If you see fuzzy white mold on the soil surface, that’s another sign of too much moisture and potentially a lack of air flow.
Keep Growing, Keep Dreaming!
Propagating Albizia zygia is a journey, and like all good garden journeys, it requires a little patience and a lot of love. Don’t be discouraged if your first few attempts aren’t perfect. Each cutting you take, each plant you nurture, teaches you something new. Witnessing that first tiny root emerge is a triumphant moment, and soon you’ll have more of these magnificent trees to share or to simply enjoy. So, get your hands in the soil, have fun with it, and happy propagating!
Resource:
https://identify.plantnet.org/k-world-flora/species/Albizia%20zygia%20(DC.)%20J.F.Macbr./data