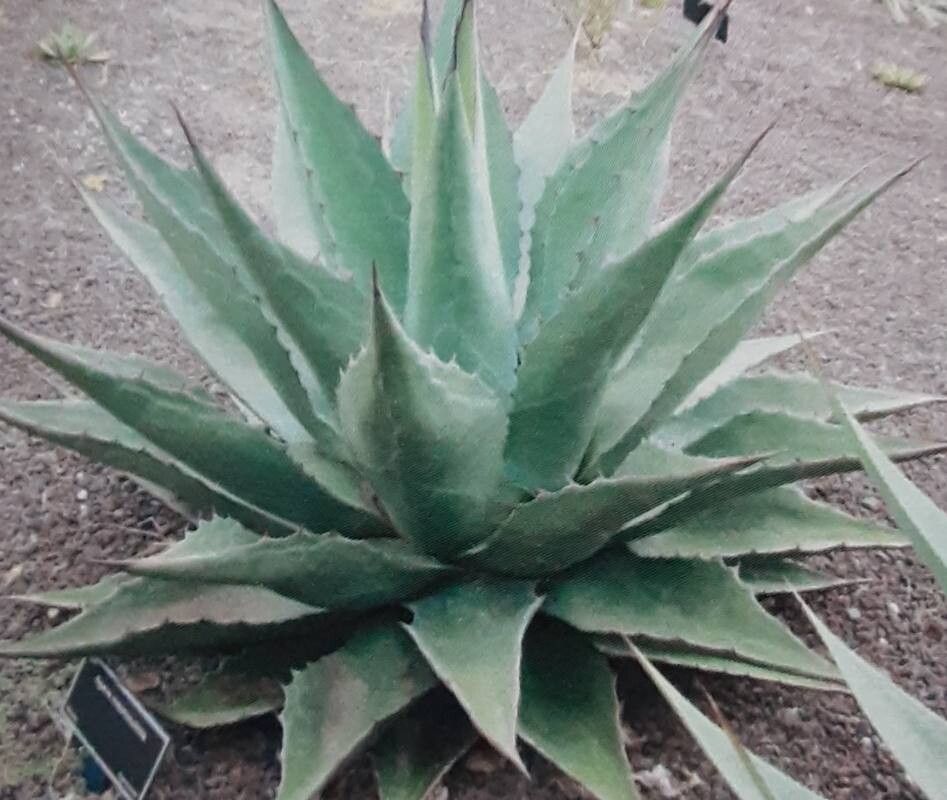
Oh, Agave atrovirens! Isn’t it just a magnificent specimen? Those towering flower stalks, the architectural beauty of its agave rosettes – it’s a garden showstopper for sure. And the joy of creating more of these beauties from a single plant? That’s just the cherry on top of a very rewarding gardening sundae. Now, if you’re a beginner, I’ll be upfront: propagating Agave atrovirens from its offsets isn’t the absolute easiest thing in the world, but it’s far from impossible. With a little care and attention, you can absolutely succeed.
The Best Time to Start
For the highest success rate, I always aim to propagate offsets in the spring or early summer. This is when the plant is actively growing, and the warmer temperatures give those new babies a real head start in developing roots. You want to wait until the pups have reached a decent size – think at least a few inches across – and have begun to develop their own root structure, even if it’s small.
Supplies You’ll Need
Gathering your supplies beforehand makes the whole process so much smoother. Here’s what I keep handy:
- Sharp, sterile pruning shears or a clean knife: Essential for cleanly separating the offsets.
- Gloves: Agave spines can be surprisingly sharp and persistent!
- Potting mix: A well-draining cactus and succulent mix is non-negotiable. You can buy it or mix your own with equal parts potting soil, perlite, and coarse sand.
- Pots: Small- to medium-sized pots with drainage holes are perfect. Terracotta pots are my personal favorite for succulents as they “breathe.”
- Rooting hormone (optional but recommended): This can give your cuttings a real boost.
- Watering can or spray bottle: For gentle watering.
- Newspaper or old towels: To protect your workspace and catch any excess soil.
Propagation Methods: Offsets are Key!
Agave atrovirens isn’t typically propagated from leaf cuttings or stem cuttings in the same way some other succulents are. Its primary method for reproduction is through offsets, also called pups. These are miniature versions of the parent plant that grow from the base.
- Identify and Prepare: Look around the base of your mature agave for those little babies. Gently brush away some of the soil around the base of the offset you want to separate. You’re looking for where it connects to the mother plant.
- Separate with Care: This is the crucial step. Using your sharp, sterile pruning shears or knife, carefully cut the offset away from the parent plant. Try to get a piece of the root if possible. If it’s a large offset, you might need to sever a thicker connection. Don’t be afraid to get in there, but do it cleanly.
- Let it Callus: This is perhaps the most important step to prevent rot. Place the separated offset in a dry, shaded spot for 2-7 days. You want the cut surface to dry out and form a callus. This protective layer prevents disease from entering the plant. The exact time depends on humidity – drier environments mean faster callusing.
- Plant It Up: Once the cut end has callused over, it’s time to plant. Gently place the offset into your well-draining cactus and succulent mix. You can lightly press the soil around the base to keep it steady. Don’t plant it too deep; just ensure the callused end is touching the soil. If you’re using rooting hormone, dip the callused end into it before planting.
The “Secret Sauce” (Pro Tips)
When you’ve been doing this for a while, you pick up a few tricks. Here are a couple that have served me well with agaves:
- Don’t Water Immediately: After planting your offset, resist the urge to water it right away. Wait at least a week, sometimes two, even after it’s callused. This further encourages root development as the plant searches for moisture. When you do water, water thoroughly but infrequently. Let the soil dry out completely between waterings.
- Think About Bottom Heat (If You Can): If you’re propagating in cooler spring weather, giving your newly potted offsets a bit of gentle bottom heat can really speed things up. A seedling heat mat set on low can do wonders for encouraging root growth. Just make sure it’s not too hot – you don’t want to cook those nascent roots!
Aftercare & Troubleshooting
Once you’ve planted your offset, be patient! New root growth can take anywhere from a few weeks to several months. You’ll know it’s established when you feel resistance when you gently tug on the plant, or you see active new growth.
The most common problem you’ll encounter is rot. This usually happens if the plant is kept too wet, especially before it has established roots, or if the cut surface didn’t callus properly. Signs of rot include mushy, blackened stems or leaves. If you suspect rot, carefully unpot the plant, cut away any rotted parts with a clean knife, and let the remaining good section callus over again before replanting in fresh, dry soil.
Sometimes, the offset just doesn’t take. It might shrivel rather than root. Don’t get discouraged! This is part of the learning process.
A Encouraging Closing
So there you have it! Propagating Agave atrovirens from offsets is a rewarding journey that allows you to share these magnificent plants with friends or expand your own collection. Be patient, trust your instincts, and most importantly, enjoy the process of nurturing new life. Happy propagating!
Resource:
https://identify.plantnet.org/k-world-flora/species/Agave%20atrovirens%20Karw.%20ex%20Salm-Dyck/data