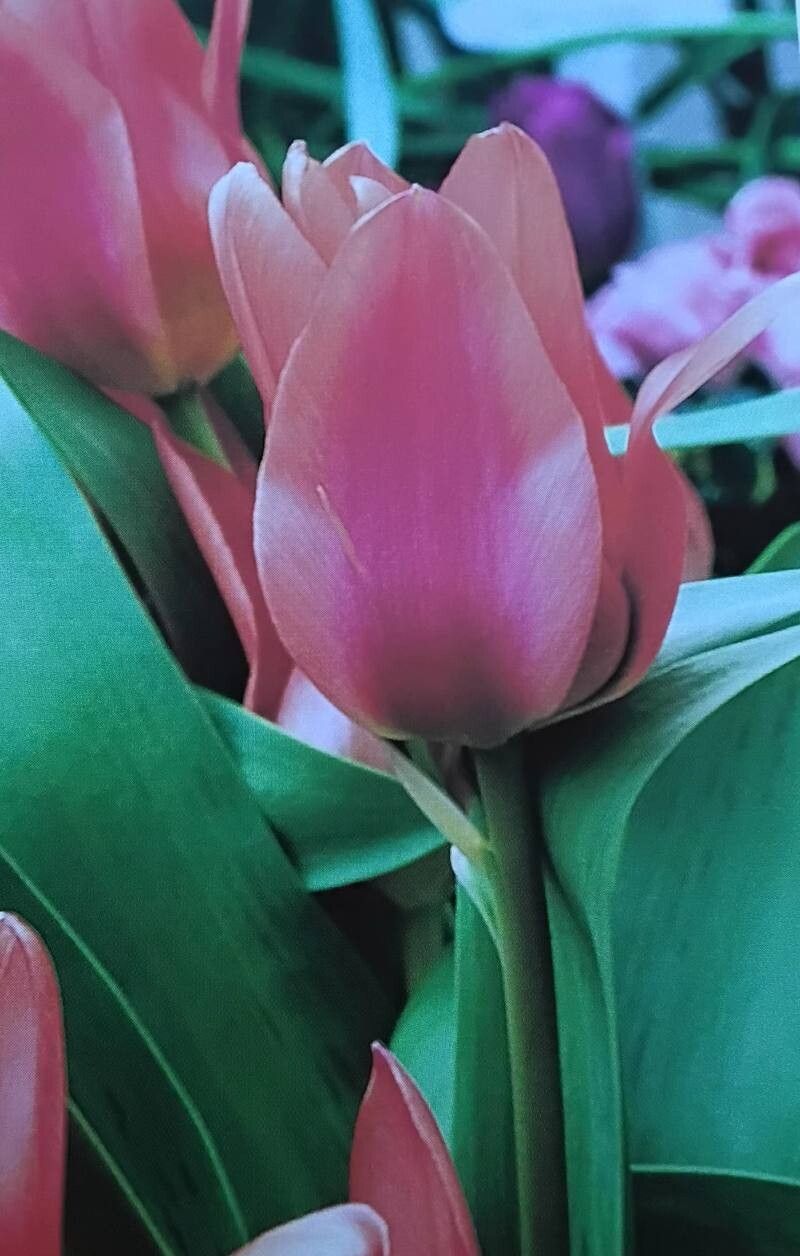
Oh, Tulipa greigii! Those stunning, boldly patterned blooms are truly a spring showstopper. If you’ve ever admired those vibrant petals and thought, “I wish I had more of those!” then you’re in the right place. Propagating them yourself is incredibly rewarding, and I’m here to walk you through it. Don’t worry, while some bulbs can be a bit fussy, Tulipa greigii is generally a friendly plant to work with, even for those just dipping their toes into the world of propagation.
The Best Time to Start
The absolute best time to think about propagating Tulipa greigii is after the foliage has completely died back. This usually happens in late spring or early summer, after the plant has put all its energy into producing those gorgeous flowers and then storing up reserves in its bulb for next year. You want the bulb to be in a dormant state. Attempting to propagate while the leaves are still green can stress the plant unnecessarily.
Supplies You’ll Need
Here’s what you’ll want to have on hand to make this process a breeze:
- Clean, sharp trowel or small spade
- Gloves (optional, but good for keeping your hands clean)
- A well-draining potting mix – I like a blend of peat moss, perlite, and a little compost.
- Small pots or trays with drainage holes
- A watering can with a fine rose
- Rooting hormone (optional, but can give an extra boost)
- A sunny, but not overly hot, spot for your new propagations
Propagation Methods: Division is Key!
For Tulipa greigii, the most straightforward and successful method for propagation is division. These lovely bulbs tend to multiply naturally by producing offsets, which are essentially miniature bulbs attached to the mother bulb.
Here’s how to go about it:
- Dig Gently: Once the foliage is fully yellow and dried, it’s time to excavate. Using your trowel, carefully dig around the base of the Tulipa greigii plant. Go a bit wider than you think you need to – you don’t want to nick the bulbs. Lift the entire clump of soil and bulbs out of the ground.
- Clean and Separate: Gently shake off as much of the excess soil as you can. You’ll likely see several bulbs. These can range from the main mother bulb to smaller offsets. Carefully, with your fingers or a small, clean knife, separate any offsets that are clearly attached to the main bulb. Don’t force them. If it feels like you’re going to break it, leave it attached for now.
- Inspect for Health: Take a look at your bulbs. They should feel firm and look healthy. Discard any that are squishy, moldy, or show signs of disease.
- Prepare for Planting: If you’re using rooting hormone, dip the cut end of each separated offset into it. This step isn’t strictly necessary for Tulipa greigii, as they’re pretty robust, but it can encourage root development.
- Planting Time: Fill your small pots or trays with your well-draining potting mix. Plant each bulb about 4-6 inches deep, with the pointed end facing upwards. The depth is important to protect the new bulb and encourage strong root growth. Water them in gently but thoroughly.
The “Secret Sauce” (Pro Tips)
I’ve learned a few tricks over the years that can really help your propagation efforts along:
- Don’t Rush the Dying Back: Resist the urge to cut back the leaves even when they start to look a bit sad. Those leaves are still feeding the bulb for next year. Wait until they are truly, completely brown and crispy.
- Harden Off Gradually: If you’ve grown your bulbs in pots, don’t just shove them into full sun immediately after planting. Let them get used to the conditions gradually over a week or two to avoid shocking them.
- Consider a Storage Treat: If you have a lot of offsets, or if you’re concerned about immediate planting, you can store the separated bulbs in a cool, dry, dark place (like a paper bag filled with peat moss) until fall. This allows them to “cure” a little and can sometimes encourage better flowering in their first season.
Aftercare & Troubleshooting
Once your bulbs are planted, treat them like you would any other new bulb. Keep the soil consistently moist but not waterlogged. You want it to feel like a wrung-out sponge. Place the pots in a location that receives plenty of sunlight, but avoid scorching midday sun if you live in a very hot climate.
The most common sign of failure you might encounter is rot. This usually happens if the soil is too wet, or if the bulbs weren’t healthy to begin with. If you see mushy bulbs or signs of mold, it’s best to remove them to prevent it from spreading.
Don’t expect these new propagations to bloom prolifically in their very first year. They are dedicating their energy to establishing a strong root system and building up their bulb. Be patient! You might get a few smaller blooms, or none at all, and that’s perfectly okay.
A Little Patience Goes a Long Way
Growing more of your favourite Tulipa greigii is such a wonderfully fulfilling project. Remember, gardening is a journey, and propagation is a delightful way to expand your collection and share your love of these beauties. Be patient with your new arrivals, give them good care, and soon enough, you’ll be enjoying even more of those stunning, patterned blooms in your garden. Happy propagating!
Resource:
https://identify.plantnet.org/k-world-flora/species/Tulipa%20greigii%20Regel/data