Hello fellow plant lovers!
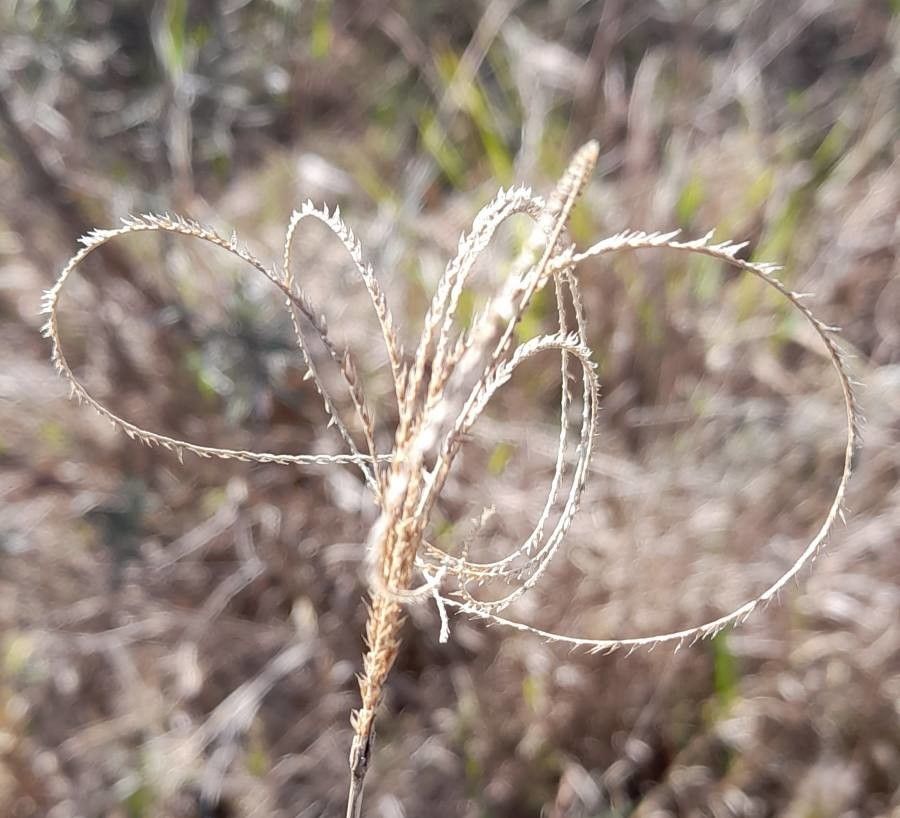
Today, we’re diving into the wonderful world of Stapfochloa ciliata. If you’re drawn to its delicate, feathery plumes and charming, almost ethereal presence, you’re not alone. This beautiful grass adds such a lovely texture to any garden or indoor space. And the best part? Propagating it is incredibly rewarding. You get to multiply that beauty for free!
Now, I know some propagation can feel a bit daunting, especially for brand new gardeners. But with Stapfochloa ciliata, I’m happy to report it’s quite beginner-friendly. You’ll likely have success with a little patience and the right approach. Let’s get started!
The Best Time to Start
For the highest success rate, I find the late spring to early summer is absolutely perfect. This is when the plant is actively growing and has plenty of energy to put into developing new roots. You can also try in early autumn, but you might find growth slows down quicker. Look for healthy, vigorous stems that aren’t flowering yet.
Supplies You’ll Need
Here’s a quick rundown of what you’ll want to have on hand:
- Sharp, clean pruning shears or a sharp knife: For making clean cuts.
- A well-draining potting mix: I like a blend of perlite and peat moss, or a good quality succulent/cactus mix works too.
- Small pots or trays: With drainage holes, of course!
- Rooting hormone (optional but helpful): Especially if you’re a bit nervous.
- Clear plastic bag or a propagation dome: To create a humid environment.
- Water spray bottle: For misting.
- A warm spot: And indirect light.
Propagation Methods
Stapfochloa ciliata is wonderfully versatile, making it easy to propagate. My favorite methods are stem cuttings and division.
1. Stem Cuttings
This is my go-to for Stapfochloa. It’s reliable and you can get quite a few new plants from a single parent.
- Take Cuttings: Using your sharp shears, select a healthy stem that is at least 4-6 inches long. Make a clean cut just below a leaf node (where a leaf attaches to the stem).
- Prepare the Cuttings: Gently remove the lower leaves from the stem, leaving only 2-3 leaves at the top. If the leaves are large, you can even cut them in half to reduce water loss.
- Apply Rooting Hormone (Optional): Dip the cut end of the stem into your rooting hormone. Tap off any excess.
- Plant the Cuttings: Fill your small pots with your potting mix. Make a small hole with your finger or a pencil and insert the cut end of the stem, ensuring the nodes are buried. Firm the soil gently around the stem.
- Water and Cover: Water the soil thoroughly until it drains from the bottom. Then, place the pot inside a clear plastic bag or cover it with a propagation dome. This creates a mini greenhouse.
- Location: Place the pots in a warm location with bright, indirect light. Avoid direct sun, which can scorch your new cuttings.
2. Division
If your Stapfochloa has grown into a nice clump, division is a fantastic way to get larger, established plants right away.
- Remove from Pot: Gently slide the entire plant out of its current pot.
- Inspect the Roots: Gently tease away some of the old soil from the root ball. You’ll be looking for natural divisions where new shoots are emerging.
- Divide the Plant: Using your hands or a clean knife, carefully separate the clump into smaller sections. Each section should have a healthy portion of roots and at least one or two leafy shoots.
- Repot: Pot each division into its own container with fresh, well-draining soil.
- Water and Settle: Water them in well and place them in their usual spot.
The “Secret Sauce” (Pro Tips)
Here are a few tricks I’ve learned over the years that really make a difference:
- Don’t let the leaves of your cuttings touch standing water in the pot. If you’re using a deeper pot, make sure the soil level is high enough so only the stem is in contact with moisture, not the foliage. This helps prevent rot.
- A bit of bottom heat can be magical. If you have a seedling heat mat, placing your pots on it provides gentle warmth that really encourages root development. It’s not essential, but it’s a definite boost.
- Patience is truly a virtue. Sometimes it takes weeks, even a month or more, for those tiny roots to establish. Resist the urge to constantly tug on your cuttings to check for roots – you’ll risk damaging them!
Aftercare & Troubleshooting
Once you see new growth emerging from your cuttings, that’s a fantastic sign!
- Gradual Acclimation: Slowly start to acclimate your new plants to normal humidity by opening the plastic bag or propagation dome a little more each day over a week.
- Regular Watering: Continue to water when the top inch of soil feels dry. They still need consistent moisture, but avoid letting them sit in soggy soil.
- First Fertilizing: Wait until you see good, established growth (several inches tall with healthy leaves) before giving them a very diluted dose of liquid fertilizer.
The most common issue you’ll encounter is rot. If a cutting turns mushy and black, it’s usually a sign of too much moisture and not enough airflow. If you see signs of rot, unfortunately, that cutting is probably lost, but don’t let it discourage you. Learn from it and try again!
A Encouraging Closing
Growing new plants from cuttings is such a rewarding part of gardening. It’s a tangible way to multiply your joy and share it with others. Be patient with your Stapfochloa ciliata, give it the right conditions, and enjoy watching those little roots emerge. Happy propagating!
Resource: