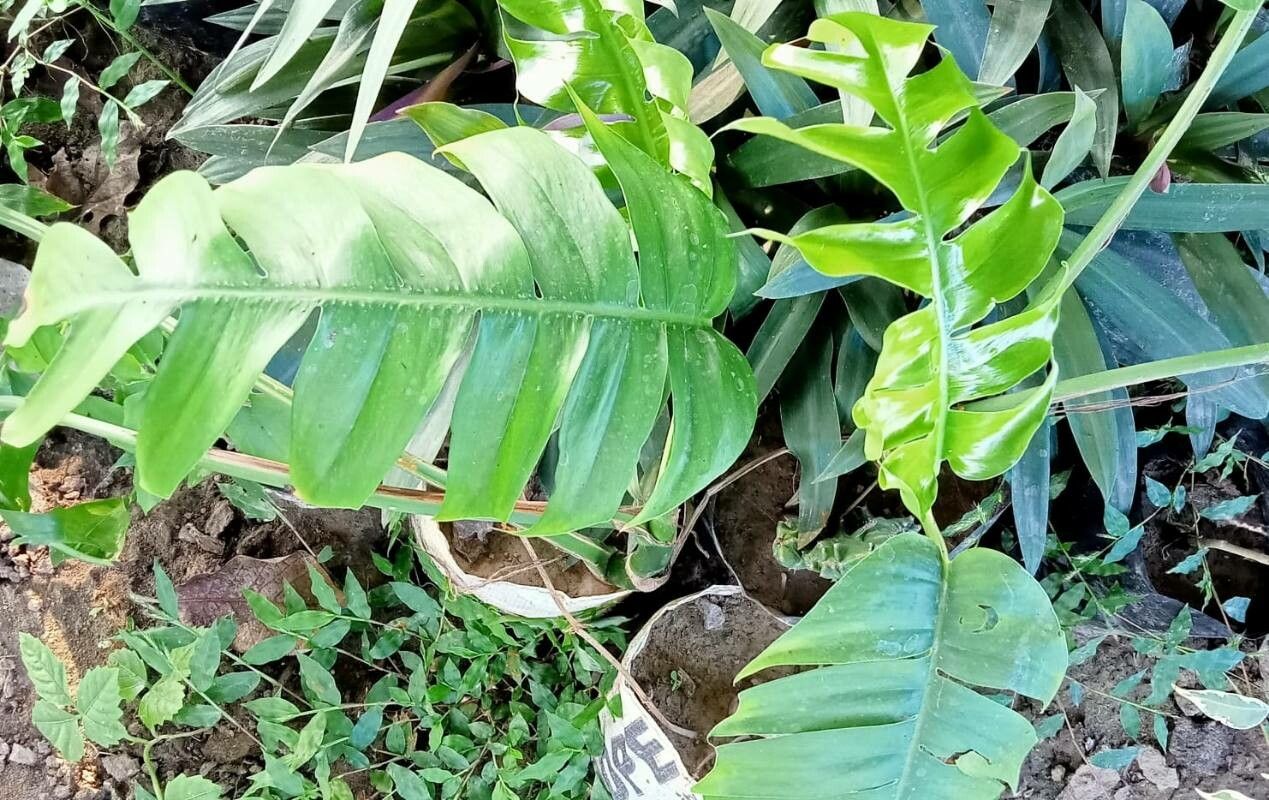
Oh, hello there! Come on in and grab a cuppa. I’m so excited to chat with you today about Rhaphidophora crassicaulis. If you’ve seen this beauty gracing the pages of plant magazines or Instagram feeds, you know what I mean. Its fenestrated leaves, that gorgeous split pattern, are just breathtaking. And the best part? Bringing that lushness into your own home by propagating it yourself is incredibly rewarding. Honestly, Rhaphidophora crassicaulis is quite forgiving, making it a delightful project for both seasoned growers and those just dipping their toes into the magical world of plant propagation.
The Best Time to Start
For the highest success rate with Rhaphidophora crassicaulis, aim to propagate during its active growing season. This typically falls between spring and early summer. The plant is bursting with energy then, meaning it’s more likely to produce strong roots and new growth quickly. You can certainly try it at other times, but you might find it takes a bit longer for things to take off. Look for healthy, mature stems – the ones that have developed those beautiful aerial roots are prime candidates.
Supplies You’ll Need
Gathering your tools ahead of time makes the whole process so much smoother. Here’s what I always have on hand:
- Sharp Pruning Shears or a Clean Knife: Essential for making clean cuts on your parent plant and cuttings. Sterilize them with rubbing alcohol before and after use to prevent disease.
- Rooting Hormone (Optional but Recommended): A powder or gel formulated for plant propagation can significantly speed up the rooting process and improve success rates.
- Well-Draining Potting Mix: A blend of potting soil, perlite, and orchid bark works wonders. This ensures excellent aeration and prevents waterlogged roots.
- Small Pots or Propagation Containers: About 4-6 inch pots are usually perfect. You can also use smaller nursery pots or even clear plastic cups with drainage holes.
- Clear Plastic Bags or a Propagator: To create a humid environment for your cuttings, which is crucial for root development.
- Water: For water propagation, ensure it’s clean and room temperature.
Propagation Methods
There are a couple of fantastic ways to get more Rhaphidophora crassicaulis plants. I find these two to be the most straightforward and effective.
Method 1: Stem Cuttings (My Go-To)
This is my preferred method, as it usually yields the best results and allows me to control the potting medium from the start.
- Locate a Healthy Stem: Find a mature, healthy stem on your established plant. You’re looking for a section that has at least one to two healthy leaves and, ideally, a prominent aerial root or a node. A node is a small bump on the stem where leaves emerge.
- Make the Cut: Using your sterilized shears or knife, make a clean cut just below an aerial root or a node. Ensure your cutting is at least 4-6 inches long. Never cut directly through a leaf.
- Prepare the Cutting: If your cutting has more than two leaves, you can gently remove the bottom leaf. This prevents it from rotting in the soil and exposes the node, which is where roots will form.
- Apply Rooting Hormone (Optional): If you’re using rooting hormone, dip the cut end of the stem into the powder or gel. Tap off any excess.
- Plant Your Cutting: Fill your small pot with your well-draining potting mix. Make a small hole in the center of the soil with your finger or a pencil. Carefully insert the cut end of your stem into the hole, ensuring the node is buried in the soil. If you have an aerial root, bury that too. Gently firm the soil around the stem.
- Water Gently: Water the soil thoroughly, allowing excess water to drain away.
- Create a Humid Environment: Place a clear plastic bag over the pot, creating a mini-greenhouse effect. You can use a skewer or two to prop up the bag so it doesn’t touch the leaves. Alternatively, place the pot inside a propagator. Open the bag daily for a few minutes to allow for air circulation and prevent fungal issues.
Method 2: Water Propagation
This is a wonderfully visual way to watch your roots develop, and it can be very successful.
- Take Your Cutting: Follow steps 1 and 2 from the stem cutting method. You’ll want a cutting with at least one healthy leaf and a node. Unlike stem cuttings for soil, for water propagation, you don’t need a fully developed aerial root, but the node is still crucial.
- Trim Lower Leaves: Remove any leaves that would sit below the waterline. This is really important to prevent them from decaying in the water.
- Place in Water: Fill a clean jar or glass with clean, room-temperature water. Place your cutting in the water, ensuring the node (and any aerial roots) are submerged. The leaves should stay above the water line.
- Find a Good Spot: Place the container in a bright location, but out of direct sunlight.
- Change Water Regularly: Change the water every 3-5 days to keep it fresh and oxygenated. This helps prevent bacterial growth.
The “Secret Sauce” (Pro Tips)
Over the years, I’ve learned a few tricks that give those little cuttings an extra boost.
- Bottom Heat is Your Friend: If you can, place your potted cuttings on a warm seed starting mat. This gentle bottom heat mimics ideal growing conditions and encourages root development much faster than room temperature alone. It’s like giving your cuttings a cozy, warm hug!
- Don’t Drown Your Leaves (in Water Propagation): I can’t stress this enough for water propagation – ensure absolutely no leaves are submerged. They’ll turn brown and mushy, which can invite rot and hinder root growth. Keep them high and dry!
- Be Patient with Aerial Roots: Sometimes, your cutting might arrive with a more developed aerial root. Don’t be tempted to cut it off expecting it to grow new ones immediately. These existing aerial roots are already primed for absorbing moisture and nutrients, and can help your cutting establish itself even faster. Just tuck it into that soil or water.
Aftercare & Troubleshooting
Once you start seeing those little white roots peeking out, it’s time to celebrate!
For Soil-Rooted Cuttings:
- Acclimatization: Once your cutting has a good network of roots (you can often see them through drainage holes or when gently lifting it from the pot), it’s time to wean it off its humid environment. Gradually open the plastic bag or propagator over a week or two.
- Watering: Water your new plant whenever the top inch of soil feels dry. Avoid overwatering, which is the most common culprit for problems.
- Light: Keep it in bright, indirect light. Direct sun can scorch its young leaves.
For Water-Rooted Cuttings:
- Planting Time: When the roots are at least 1-2 inches long, it’s time to transition your cutting into soil. Follow the steps for planting a soil cutting (Step 5 under Method 1), but be very gentle with those delicate new roots. Water thoroughly.
- Initial Care: After planting, water well and consider misting the leaves for a few days to help with the transition, especially if your home is dry.
Troubleshooting:
- Rotting: If the stem turns mushy and black, or if leaves yellow and drop rapidly, it’s likely rot. This is usually caused by too much moisture and poor drainage. If you catch it early, you might be able to salvage a healthy section and start again after sterilizing your tools.
- No Roots: If after several weeks you see no signs of root development, check your moisture levels and consider the bottom heat tip. Sometimes, it just takes a little longer. Ensure the cutting itself is still firm and hasn’t started to shrivel.
A Encouraging Closing
Propagating plants is such a beautiful way to connect with nature and multiply the joy your green friends bring. Don’t be discouraged if your first few attempts aren’t perfect. Every cutting is a learning experience. Be patient, trust the process, and before you know it, you’ll have a whole collection of gorgeous Rhaphidophora crassicaulis to share (or keep all to yourself!). Happy propagating!
Resource: