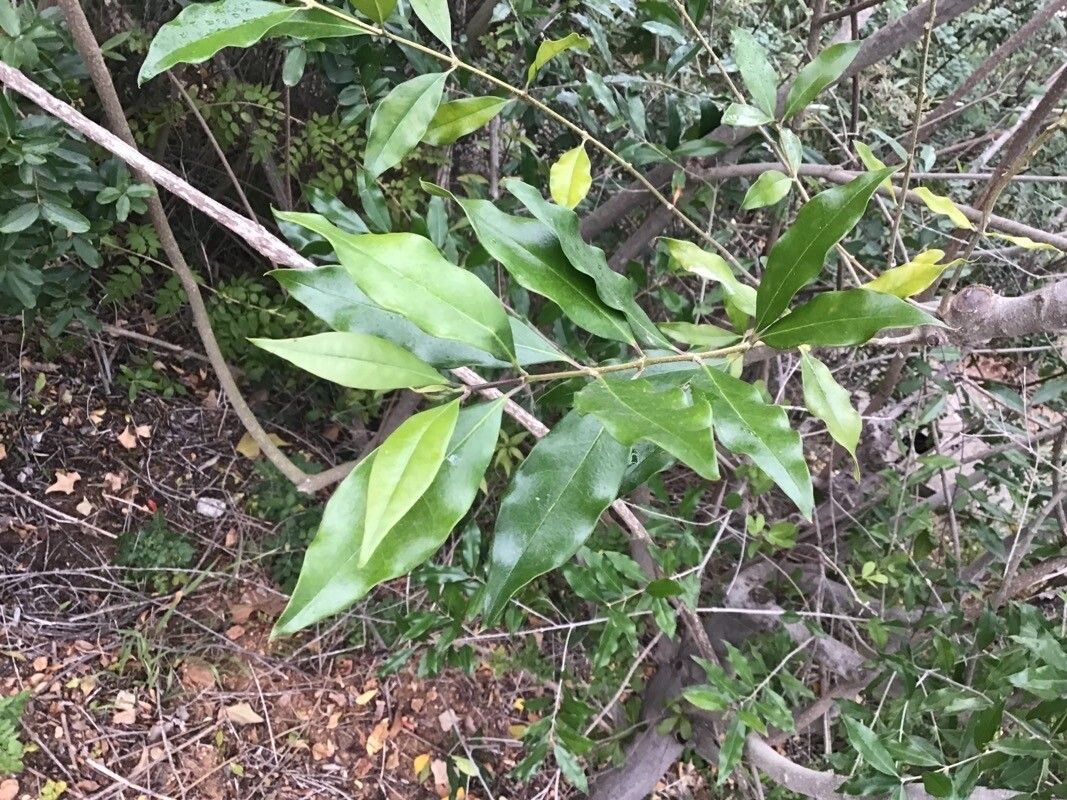
Ah, Olea woodiana! It’s a plant that truly sings to the soul, isn’t it? With its elegant, silvery-green foliage and that subtle, sophisticated charm, it’s no wonder so many of us fall in love with it. Personally, I find it has a certain grace that just brightens up any corner, indoors or out.
The joy of propagating these beauties is immense. It’s like unlocking a little bit of that magic to share, or to fill your own space with more of that lovely greenery. Most gardeners, even those just starting out, will find that Olea woodiana is a wonderfully rewarding plant to propagate. It’s fairly forgiving, which always makes it a pleasure to work with.
The Best Time to Start
For the highest success rates, I always aim to take cuttings in the late spring or early summer. This is when the plant is in its most vigorous growth phase. You’re looking for what we call “semi-hardwood” cuttings – not brand new, bright green shoots, but also not woody, old stems. Think of it as the stem being firm but still a little flexible.
Supplies You’ll Need
Here’s what I usually have on hand when I’m ready to get propagating these lovely plants:
- Sharp Pruning Shears or a Knife: Cleanliness is key!
- Rooting Hormone: A good quality one makes a noticeable difference.
- A Well-Draining Potting Mix: I often use a blend of perlite and peat moss or coir, or you can buy specific propagation mixes.
- Small Pots or Trays: Cleaned thoroughly.
- A Plastic Bag or Dome: To create a humid environment.
- Water: For your cuttings.
- Optional: A Small Heating Mat: This can speed things up, especially if your home is cooler.
Propagation Methods
There are a couple of ways to go about this, and I find stem cuttings to be the most reliable for Olea woodiana.
Stem Cuttings
- Select Your Cuttings: Look for healthy, non-flowering stems that are about 4-6 inches long.
- Make Your Cut: Using your sharp shears or knife, make a clean cut just below a leaf node (where a leaf attaches to the stem). This is really important!
- Prepare the Cutting: Gently remove the lower leaves, leaving only two or three at the very top. This prevents them from rotting in the soil. If the leaves remaining are very large, you can even cut them in half horizontally to reduce water loss through transpiration.
- Apply Rooting Hormone: Dip the cut end of the stem into your rooting hormone powder or gel. Tap off any excess.
- Plant Your Cuttings: Make a small hole in your prepared potting mix with a pencil or your finger. Gently insert the hormone-coated end of the cutting into the hole, ensuring it’s snug and upright.
- Water Gently: Water the soil lightly to settle it around the base of the cutting.
- Create Humidity: I like to place my pots into a clear plastic bag, sealing it loosely, or cover them with a clear plastic dome. This creates a mini-greenhouse effect.
- Find a Bright Spot: Place your pots in a bright location, but out of direct sunlight. Too much sun will scorch those tender baby leaves.
Water Propagation (Less Common, but Can Work)
For some plants, water propagation is a breeze, but with Olea woodiana, I find it’s best to be cautious. If you do try it:
- Take your cuttings as described above.
- Remove all leaves that would sit below the water line.
- Place cuttings in a clean jar or vase filled with fresh water.
- Crucially, ensure no leaves are touching the water. This is where rot really sets in.
- Place in bright, indirect light. Change the water every few days.
- Wait for roots to appear, then transplant very carefully into soil once the roots are at least an inch long. They are quite sensitive to the transition.
The “Secret Sauce” (Pro Tips)
Here are a few things I’ve learned over the years that can really boost your success:
- Don’t Overcrowd: Give your cuttings a little breathing room in their pots. If they’re too close, they’ll compete for light and air, and it can make them more susceptible to fungal issues.
- Bottom Heat is Your Friend: If you’re propagating in a cooler environment or during a slightly less optimal time, a gentle bottom heat from a heating mat can be a game-changer. It encourages root formation from the base of the cutting.
- Patience is a Virtue (and a Necessity!): It can take weeks, sometimes even a couple of months, for cuttings to root. I know it’s hard to resist the urge to constantly check, but try to leave them undisturbed as much as possible. You’ll know they’re rooting when you see new growth appearing.
Aftercare & Troubleshooting
Once you start seeing tiny roots emerging from the drainage holes or new growth on your cutting, it’s time for a little shift in care.
- Slowly Acclimatize: Gradually remove the plastic bag or dome over a few days. This allows your new plant to adjust to the ambient humidity.
- Watering: Water when the top inch of soil feels dry. Avoid letting it sit in soggy soil – this is the quickest way to invite root rot.
- Light: Continue to provide bright, indirect light.
- Troubleshooting: The most common sign of failure is a cutting turning mushy, black, or falling over. This is usually a sign of rot, often due to too much moisture and not enough air circulation, or perhaps a cutting that wasn’t healthy to begin with. Unfortunately, once rot sets in, it’s very difficult to save. Another sign of failure is a cutting that simply dries out and shrivels. This indicates potential issues with hydration or perhaps a lack of humidity.
A Little Encouragement
Propagating plants is a journey, and like any good journey, there will be moments of learning. Don’t be discouraged if a few don’t make it. Each attempt teaches you something new. Just keep trying, enjoy the process of nurturing those tiny shoots, and soon enough, you’ll have a whole new collection of your beloved Olea woodiana. Happy gardening!
Resource:
https://identify.plantnet.org/k-world-flora/species/Olea%20woodiana%20Knobl./data