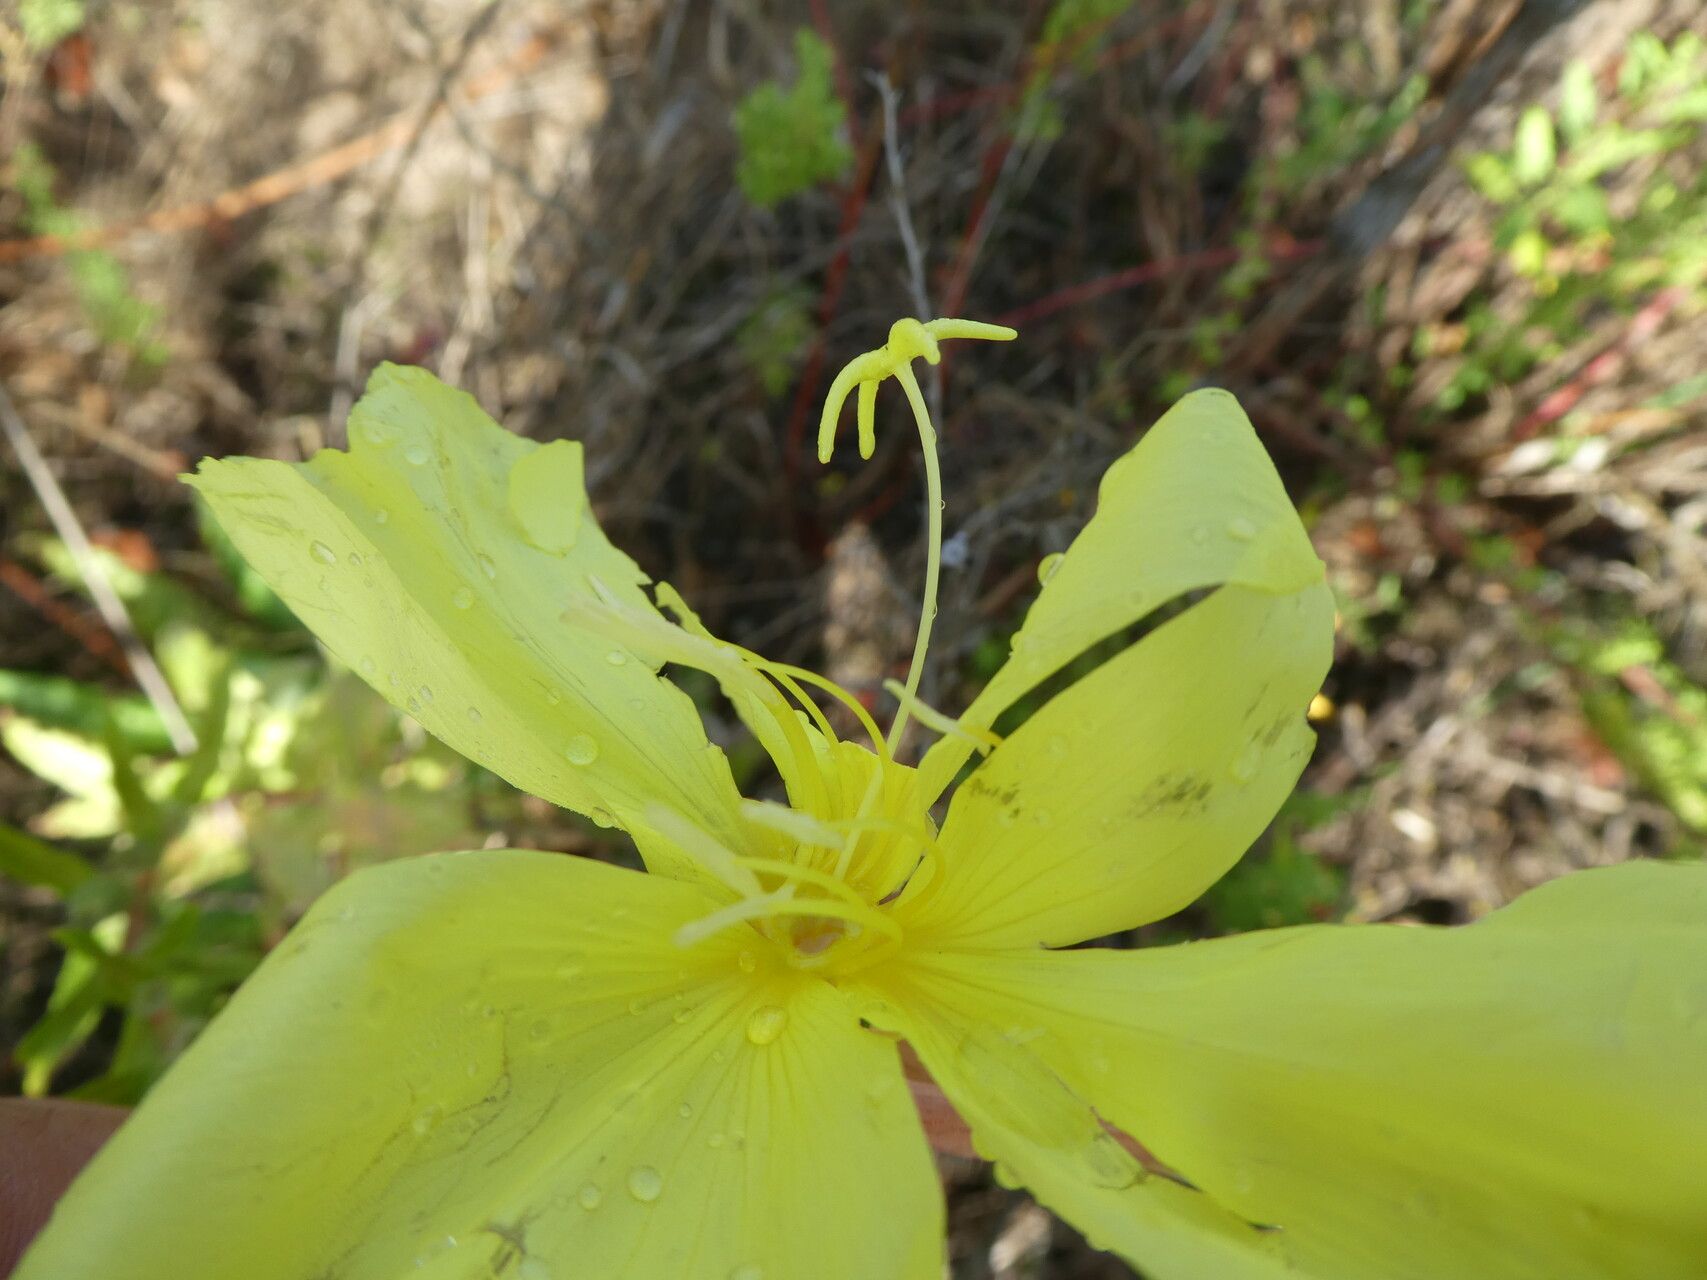
Oh, Oenothera oakesiana! If you’re looking for a garden companion that brings a touch of wild beauty and generous blooms, you’ve found a winner. Its sunny yellow flowers, often opening in the late afternoon or evening, are a delightful surprise as the day winds down. And the best part? It’s incredibly satisfying to multiply these beauties. For anyone just dipping their toes into the world of plant propagation, Oenothera oakesiana is a wonderfully forgiving subject. You’ll likely find great success with this one!
The Best Time to Start
My favorite time to take cuttings for Oenothera oakesiana is in late spring or early summer, just as the plant is hitting its stride and producing plenty of fresh, vigorous growth. You want to aim for stems that are not yet woody, but also not the very soft, brand-new tips that can sometimes be a bit too fragile. Think of stems that are firm but still flexible – that’s your sweet spot.
Supplies You’ll Need
Gathering your supplies beforehand makes the whole process smoother. Here’s what I usually have on hand:
- Sharp pruning shears or a clean knife: For taking nice, clean cuts.
- Small pots or seed trays: Cleaned thoroughly, of course!
- Well-draining potting mix: I like a blend of equal parts peat moss or coco coir and perlite or coarse sand. This ensures good aeration and prevents soggy roots.
- Rooting hormone (optional but recommended): A powder or gel can give your cuttings a helpful boost.
- Plastic bags or a propagation dome: To create a humid environment.
- Water spray bottle: For keeping things moist.
Propagation Methods
Oenothera oakesiana is quite amenable to propagation by stem cuttings, which is my go-to method. It’s straightforward and yields fantastic results.
- Taking the Cuttings: Select healthy, non-flowering shoots from your established plant. Using your clean shears or knife, make a cut just below a leaf node (where a leaf attaches to the stem). Aim for cuttings that are about 4-6 inches long. Remove the lower leaves, leaving just a couple of pairs at the top.
- Applying Rooting Hormone (Optional): If you’re using rooting hormone, dip the cut end of each stem into the powder or gel. Tap off any excess. This step isn’t strictly necessary for Oenothera, but it can speed things up.
- Planting the Cuttings: Moisten your potting mix. Make a small hole in the soil with your finger or a pencil and insert the cut end of the stem. Gently firm the soil around it. You can plant multiple cuttings in one pot, leaving a little space between them.
- Creating a Humid Environment: Water the soil lightly with your spray bottle. Then, cover the pots loosely with a clear plastic bag or place them under a propagation dome. This traps moisture and keeps the cuttings from drying out.
Another simple method is water propagation. Just place the cut ends of your stems in a jar of clean water, ensuring the leaves don’t sit in the water. As soon as you see roots forming, usually within a few weeks, you can transplant them into soil following the steps above.
The “Secret Sauce” (Pro Tips)
Over the years, I’ve picked up a few little tricks that make a difference.
First, don’t overcrowd your pots. Give those cuttings a little breathing room. It helps prevent the spread of any potential fungal issues and ensures each one gets enough light and air circulation.
Second, use a gentle bottom heat if you can. A seedling heat mat can significantly speed up root development. It mimics the warmth of spring soil and gives your cuttings that extra encouragement to get going.
And finally, be patient with watering. You want the soil to stay consistently moist, but not waterlogged. Overwatering is the quickest way to invite rot. It’s better to err on the side of slightly dry than too wet.
Aftercare & Troubleshooting
Once you start seeing new leaves emerging, that’s a good sign roots are forming! Wait until those new leaves look strong and healthy, usually for a few weeks after planting, before you consider them “rooted.” At this point, you can gradually acclimate them to less humid conditions by opening the plastic bag or dome a little more each day. Once they seem robust, you can transplant them into their own small pots.
The most common issue you might encounter is rot. This usually happens if the cuttings are kept too wet or have poor air circulation. If you see stems turning mushy and black, unfortunately, that cutting is likely lost. Remove it immediately to prevent it from affecting others.
An Encouraging Closing
Propagating Oenothera oakesiana is a wonderful way to expand your garden and share the joy of these beautiful flowers. Don’t get discouraged if a few don’t make it – that’s part of the learning process for all of us seasoned gardeners too! Just keep trying, observe your plants, and most importantly, enjoy the journey. Happy gardening!
Resource: