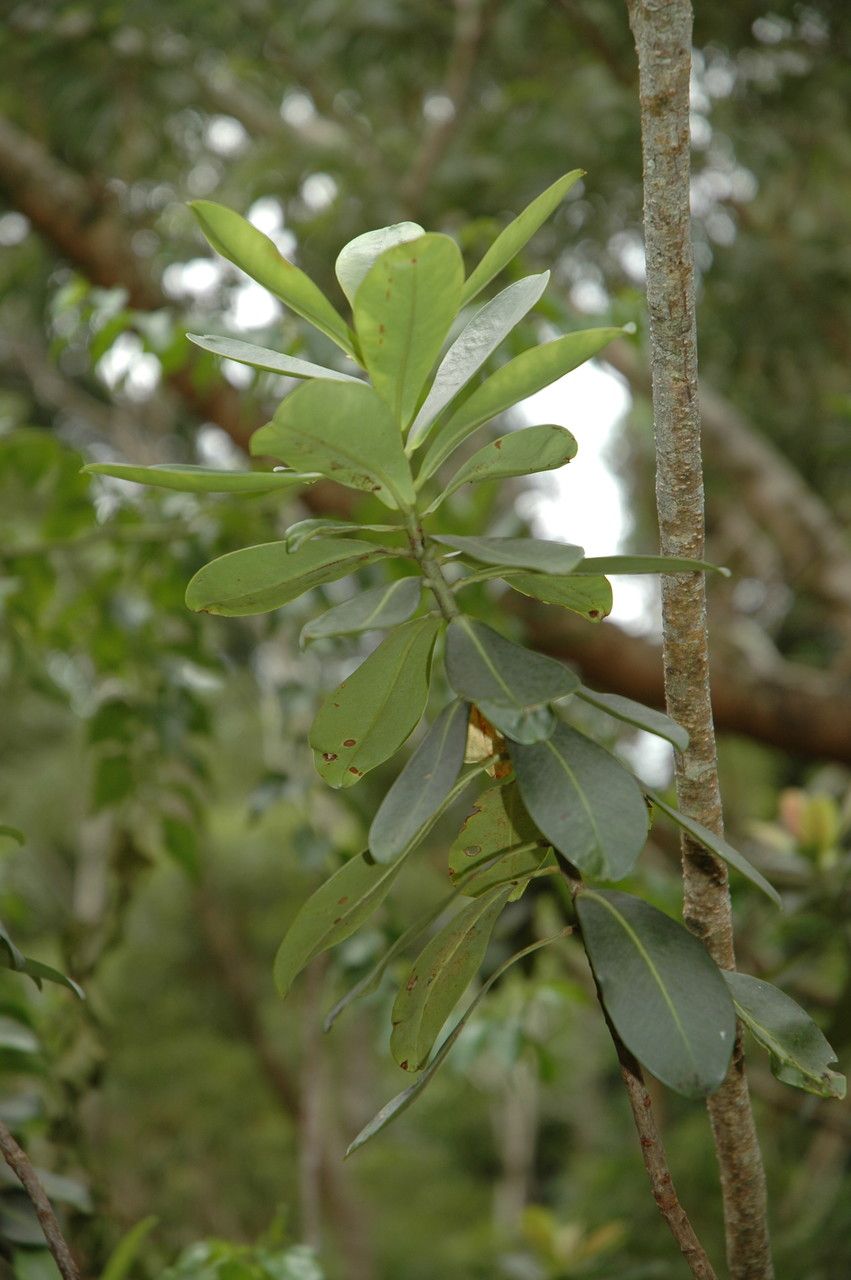
Hello fellow plant lovers! Let’s talk about Myrsine lessertiana, or as I affectionately call it, the “Little Leaf Coral Berry.” This charming shrub has these gorgeous, glossy, deep green leaves and produces tiny, delicate clusters of pinkish-white flowers followed by equally charming little red berries. It’s just lovely for adding structure and a touch of elegance to a garden or even a larger pot. Plus, it attracts a surprising number of beneficial insects!
Propagating Myrsine lessertiana yourself is incredibly rewarding. It’s a fantastic way to multiply your collection without spending a fortune, and honestly, there’s a special kind of joy in watching a tiny cutting transform into a thriving plant. Now, for the good news: while it’s not quite as foolproof as, say, a spider plant, I find Myrsine to be quite amenable to propagation. It’s definitely within reach for the adventurous beginner.
The Best Time to Start
For the highest success rate, I always aim to take cuttings in late spring to early summer. This is when the plant is actively growing, and the new shoots have started to mature a bit but are still somewhat soft and pliable. You’re looking for stems that have just finished their most vigorous flush of new growth. Avoid taking cuttings from very soft, brand-new growth or from woody, old stems.
Supplies You’ll Need
Here’s a quick rundown of what you’ll want to have on hand:
- Sharp Pruning Shears or Scissors: Cleanliness is key to preventing disease.
- Rooting Hormone: A powder or gel will give your cuttings a good start.
- Propagating Medium: A well-draining mix is crucial. I usually use a 50/50 blend of perlite and peat moss, or you can buy a good quality seed-starting mix.
- Small Pots or Trays: About 2-4 inch pots are perfect. Make sure they have drainage holes.
- Plastic Bags or Humidity Domes: To create a mini-greenhouse effect.
- Watering Can with a Fine Rose or Spray Bottle: For gentle watering.
- Labels and a Marker: Don’t forget to label your cuttings!
Propagation Methods: Stem Cuttings
This is my go-to method for Myrsine lessertiana.
- Select Your Cuttings: Head out to your plant with your clean shears. Look for healthy, current-season shoots that are about 4-6 inches long. You want stems that are firm but not woody.
- Make the Cut: Using your sharp shears, make a clean cut just below a leaf node (that little bump where a leaf grows from the stem). This is where the magic happens for root formation.
- Prepare the Cuttings: Gently remove the lower leaves from the cutting, leaving just the top 2-3 leaves. If the remaining leaves are very large, you can snip them in half to reduce water loss.
- Dip in Rooting Hormone: Dip the cut end of the stem into your chosen rooting hormone, tapping off any excess.
- Plant Your Cuttings: Fill your small pots with your propagating medium. Make a small hole in the center with your finger or a pencil, and gently insert the cutting. Firm the medium gently around the stem.
- Water Thoroughly: Water the pots gently but thoroughly until water drains from the bottom.
- Create a Humid Environment: This is vital! Cover the pots with a clear plastic bag (making sure the leaves don’t touch the plastic) or place them under a humidity dome. You can prop up the bag with a stick if needed.
- Find a Suitable Spot: Place your cuttings in a bright location that receives indirect light. Avoid direct sun, which can scorch them. Most importantly, try to keep the temperature consistent.
The “Secret Sauce” (Pro Tips)
- Bottom Heat is Your Friend: While not strictly necessary, placing your pots on an ungenerated seedling heat mat can significantly speed up root development. It mimics that lovely, warm soil feeling the plant loves. It makes a noticeable difference!
- Don’t Let ‘Em Drown: If you’re doing water propagation (which I sometimes do with Myrsine but find less successful than soil), make sure no leaves are submerged in the water. Roots will only form where there’s air, and submerged leaves will just rot. Stick to soil for better results with this specific plant.
- Patience is Key to Success: Myrsine can be a little slow to root sometimes. It’s easy to get antsy, but fight the urge to constantly dig them up to check for roots. You might disturb delicate new growth. Give them at least 4-6 weeks, and sometimes longer.
Aftercare & Troubleshooting
Once you start to see signs of new growth – tiny leaves unfurling or a slight resistance when you gently tug on the cutting – you know roots have formed!
- Gradual Acclimation: Once roots are established, begin to gradually acclimate your new plants to normal room humidity by opening the plastic bag or dome a little more each day over a week.
- First Watering: Water them as you would any young seedling, keeping the soil consistently moist but not waterlogged.
- Transplanting: When the plant has developed a good root system, you can transplant it into a slightly larger pot with good quality potting soil.
The most common sign of failure is rot. If your cuttings turn black and mushy, it’s usually a sign of too much moisture and not enough air circulation, or the medium was too wet to begin with. If this happens, remove the affected cuttings immediately and try again, ensuring your medium is airy and you’re not overwatering.
So there you have it! Getting your own Myrsine lessertiana to multiply is a wonderful project. Be patient, observe your cuttings, and enjoy the process of nurturing new life. Happy propagating!
Resource:
https://identify.plantnet.org/k-world-flora/species/Myrsine%20lessertiana%20A.DC./data