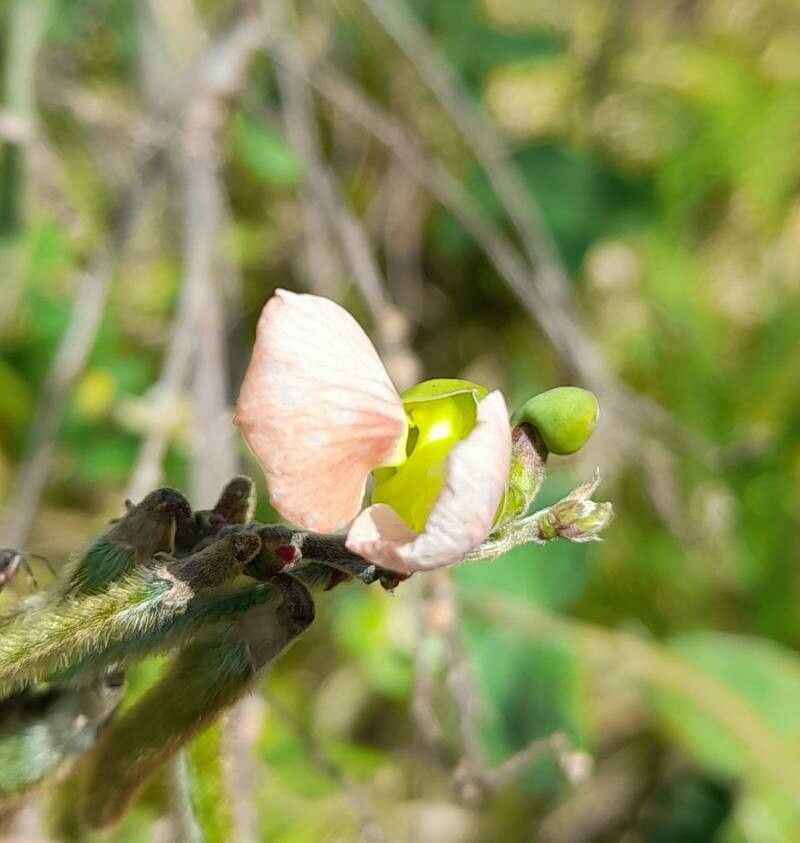
Hello fellow garden enthusiasts! Today, we’re diving into the wonderful world of propagating Macroptilium erythroloma. If you’re drawn to its vibrant blooms and lush foliage, like I am, then getting more of these beauties for yourself, or to share with friends, is a truly satisfying endeavor. I’ve found that while Macroptilium erythroloma isn’t as tricky as some rare orchids, it does have a few quirks that make a little expert guidance super helpful. But trust me, with a bit of patience, you’ll be rewarded with a whole new generation of these stunning plants.
The Best Time to Start
For the best success with Macroptilium erythroloma, I always recommend starting in late spring or early summer. This is when the plant is actively growing and has plenty of energy to put into rooting. You’ll want to take cuttings from stems that are healthy and vigorous, but not yet flowering if possible. Think of it like taking a cutting from a branch that’s just bursting with new life.
Supplies You’ll Need
Here’s a little kit I’ve put together for successful propagation:
- Sharp Pruning Shears or Scissors: Clean cuts are crucial for preventing disease.
- Rooting Hormone: A good quality powder or gel will really give those cuttings a boost.
- A Well-Draining Potting Mix: I love a blend of peat moss or coco coir, perlite, and a bit of compost. You want it to hold moisture but not get waterlogged. Seed-starting mixes work wonderfully too.
- Small Pots or Seedling Trays: Clean ones, of course!
- Plastic Bags or Dome Lids: To create a humid environment.
- Watering Can with a Fine Rose: For gentle watering.
- Labels: So you don’t forget what’s what!
Propagation Methods: Stem Cuttings are Our Go-To
For Macroptilium erythroloma, I find stem cuttings are by far the most reliable method. Here’s how I go about it:
- Select Your Stem: Look for a healthy, non-flowering stem that’s at least 4-6 inches long.
- Make the Cut: Using your clean shears, make a diagonal cut just below a leaf node (where the leaf meets the stem). This is where roots are most likely to form.
- Prepare the Cutting: Gently remove the lower leaves from the stem. You want to leave 2-3 sets of leaves at the top. If the remaining leaves are very large, I’ll sometimes snip them in half to reduce water loss.
- Apply Rooting Hormone: Dip the cut end of the stem into your rooting hormone, tapping off any excess.
- Plant the Cutting: Fill your small pots with your prepared potting mix. Make a small hole in the center with your finger or a pencil. Gently insert the cutting into the hole, ensuring the leaf nodes are covered by the soil.
- Water Gently: Water thoroughly but gently, so the soil is moist but not soggy.
The “Secret Sauce”
Now for a couple of my little tricks that I’ve learned over the years:
- Don’t Let Those Leaves Touch the Water (If Water Propagating): While I primarily use soil cuttings for Macroptilium erythroloma, if you do decide to try water propagation, a crucial tip is to ensure no leaves are submerged in the water. They’ll just rot! Only the stem should be in the water.
- Bottom Heat is a Game-Changer: If you have a heat mat designed for seedlings, use it! Placing your pots on a gentle heat source will significantly speed up root development. It mimics the warmth of nature and gives those sleepy roots a nudge.
Aftercare & Troubleshooting
Once your cuttings are planted, it’s all about maintaining the right environment.
- Create Humidity: Cover your pots with a clear plastic bag or a dome lid. This traps moisture and creates that humid microclimate cuttings need. Make sure to open the bag or lid for a short period each day to allow for air circulation and prevent fungal issues.
- Location, Location, Location: Place the pots in a bright spot, but out of direct, harsh sunlight. This could be a sunny windowsill that doesn’t get intense afternoon sun.
- Check for Roots: After a few weeks, you can gently tug on the cutting. If you feel resistance, it means roots have formed! You can also look for new leaf growth.
- Troubleshooting – The Dreaded Rot: The most common sign of failure is wilting and then mushy stem rot. This usually happens if the soil is too wet or there isn’t enough air circulation. If you see this, unfortunately, that cutting is likely gone. For future attempts, review your watering habits and make sure the soil is draining well.
A Final Encouragement
Propagating plants is an act of patience and a wonderful way to connect with nature. Don’t be discouraged if your first few attempts aren’t perfect. Every garden lesson is valuable, and with each try, you’ll learn more about your Macroptilium erythroloma. Enjoy watching those tiny roots emerge and seeing your new plants thrive. Happy propagating!
Resource: