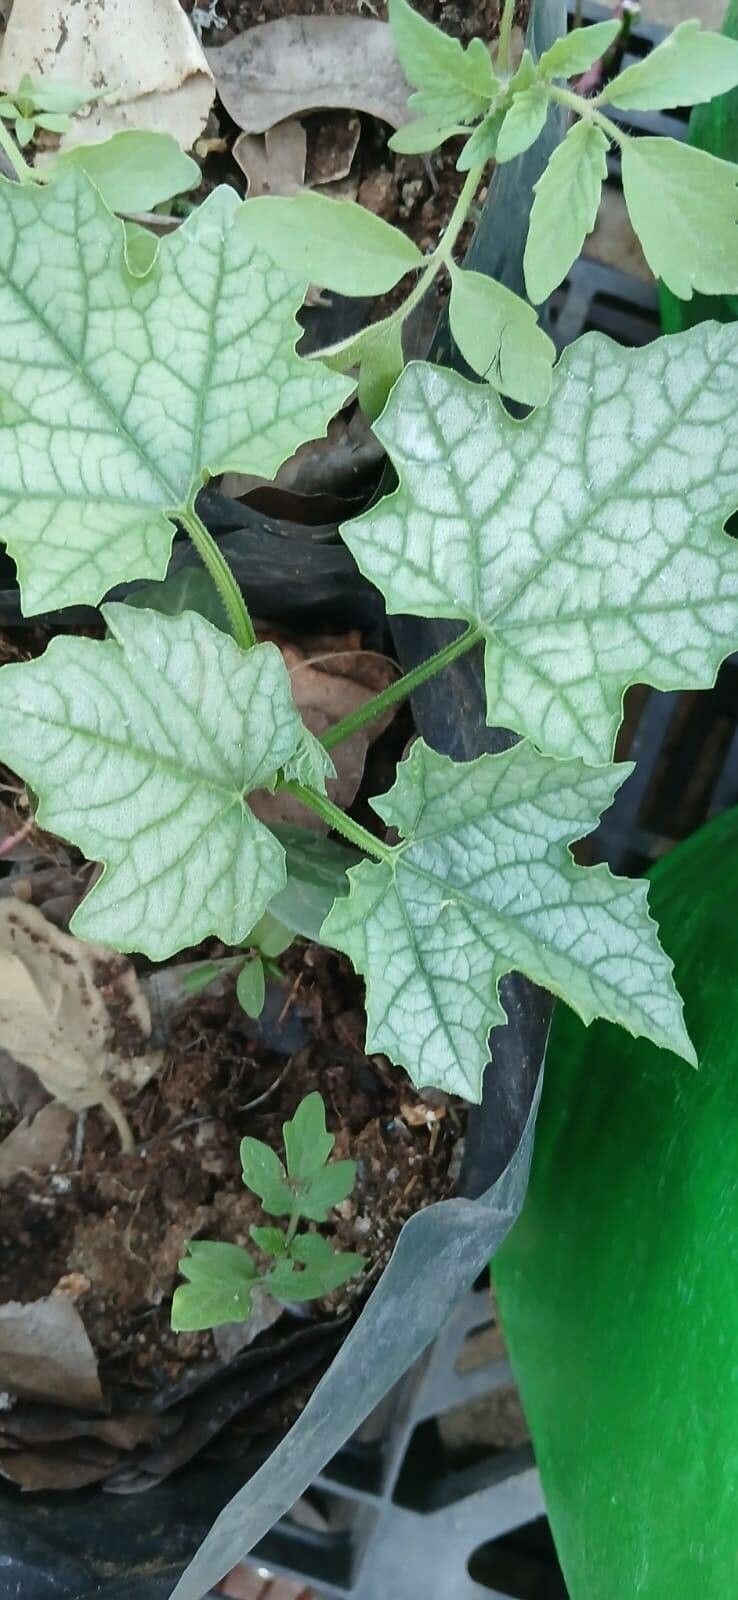
Oh, hello there! Come on in, pull up a chair. I’ve got a steaming mug of something warm here, and I’m just itching to chat about one of my favorite plants: the Luffa acutangula, or the Angled Luffa. Don’t you just love how it climbs and drapes, eventually giving us those wonderful fibrous sponges? It’s truly one of nature’s greatest gifts, and propagating it feels like unlocking a little bit of that magic yourself.
The really great news? If you’ve got a bit of patience and a sunny windowsill, propagating Luffa acutangula is actually quite beginner-friendly! It’s a rewarding project that doesn’t demand a whole lot of fuss, which is just how I like it.
The Best Time to Start
When it comes to getting new Luffa plants going, timing is everything. We want to work with the plant’s natural energy. The absolute sweet spot for propagating Luffa acutangula is late spring to early summer. This is when the plant is actively growing and has plenty of vigor to put into developing new roots. Starting too early, before the warmth has really kicked in, can lead to sluggish growth and a higher risk of rot.
Supplies You’ll Need
Before we dive in, let’s gather our little gardening toolkit:
- Clean potting shears or a sharp knife: Essential for taking clean cuts.
- Propagation mix: I like a light, airy blend of equal parts peat moss or coco coir and perlite. This drains beautifully and prevents waterlogged soil.
- Small pots or seed trays: With drainage holes, of course!
- Rooting hormone (optional but recommended): A powder or gel really gives cuttings a helpful boost.
- Plastic bags or a propagation dome: To create a humid microclimate.
- Watering can or spray bottle: For gentle watering.
- A sunny spot: Bright, indirect light is ideal for newly propagated plants.
- Optional: Heat mat: This can significantly speed up root development.
Propagation Methods
For our Luffa acutangula, the easiest and most effective method is by stem cuttings. It’s straightforward and yields great results.
- Take Your Cuttings: When your mature Luffa plant is actively growing in late spring or early summer, look for healthy, non-flowering stems. Choose a piece that’s about 4-6 inches long. Using your clean shears or knife, make a clean cut just below a leaf node (that’s where a leaf attaches to the stem). You want at least two nodes on your cutting.
- Prepare the Cutting: Gently remove the lower leaves from the cutting, leaving just one or two at the very top. This prevents them from rotting in the soil or water. If the leaves are very large, you can even cut them in half to reduce moisture loss.
- Apply Rooting Hormone: Dip the cut end of the stem into the rooting hormone, tapping off any excess. This step might seem small, but it really encourages strong root formation.
- Plant Your Cutting: Fill your small pots or seed trays with your prepared propagation mix. Make a small hole in the center with your finger or a pencil. Insert the cut end of the Luffa stem into the hole, making sure at least one leaf node is buried in the soil. Gently firm the soil around the stem to ensure good contact. Water lightly.
- Create Humidity: Cover the pot loosely with a plastic bag or place it under a propagation dome. This traps moisture and creates that humid environment cuttings love. You can also mist the leaves gently.
- Find the Right Spot: Place your pots in a bright location that gets indirect sunlight. Avoid direct sun, which can scorch the delicate new cuttings.
And that’s essentially it! Now, we wait.
The “Secret Sauce” (Pro Tips)
Here are a couple of things I’ve picked up over the years that make a real difference:
- Don’t let the leaves touch the water: If you choose to root cuttings in water before potting, make SURE the leaves are above the waterline. Only the stem end should be submerged. Leaves sitting in water are a fast track to rot.
- Bottom heat is your friend: This is a game-changer for propagating many plants, including Luffa. Placing your pots on a gentle heat mat provides warmth to the soil, encouraging root development much more quickly. It mimics the conditions of a warm garden bed in summer.
Aftercare & Troubleshooting
Once your cuttings have been planted, your job is mostly to keep them happy and humid.
- Watering: The propagation mix should stay consistently moist but never waterlogged. Check it regularly by pressing your finger into the soil. If it feels dry, water gently. If you see condensation building up heavily inside the plastic bag, remove it for a few hours to allow some air circulation and prevent fungal issues.
- Rooting Time: Be patient! Roots can take anywhere from 2 to 6 weeks to develop. You can gently tug on the cutting to feel for resistance, or if you’re brave, carefully peek at the drainage holes to see if any roots are peeking out.
- Signs of Trouble: The most common issue is rot. If your cutting turns mushy, black, or simply wilts completely and doesn’t perk up, it’s likely succumbed to rot. This is usually due to overwatering or poor drainage. Another sign is the leaves turning yellow – this can be a sign of stress or simply that the plant is using its stored energy to form roots. Keep an eye out for mold on the soil surface, which indicates conditions are too damp and not airy enough.
Once you see good root development, you can gradually acclimate your new Luffa plants to less humid conditions by opening the plastic bag a little more each day. Then, it’s time to pot them up into slightly larger containers with a good quality potting mix.
A Warm Farewell
See? It’s not so daunting, is it? Propagating Luffa acutangula is a wonderful way to expand your garden and share the joy with friends. Remember to be patient, observe your cuttings, and trust your green thumb. Enjoy the process of nurturing these little plant babies – it’s one of the most satisfying parts of gardening!
Resource:
https://identify.plantnet.org/k-world-flora/species/Luffa%20acutangula%20(L.)%20Roxb./data