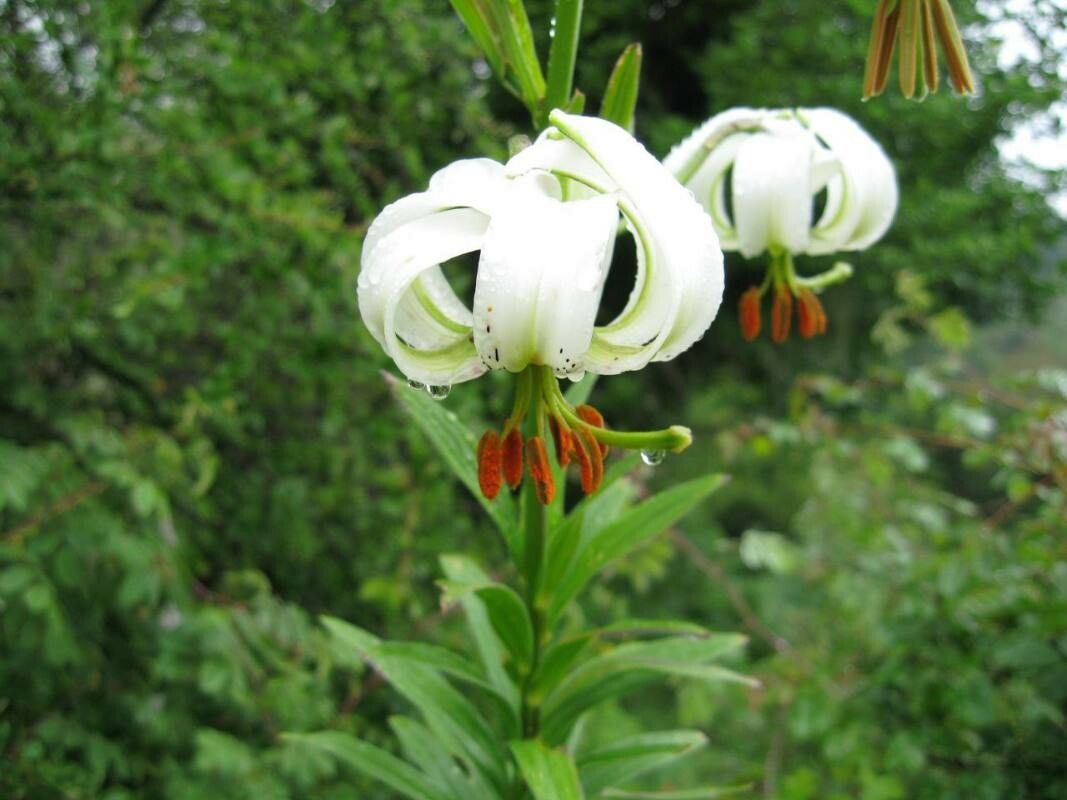
Oh, Lilium ledebourii! If you’ve ever had the pleasure of seeing these beauties unfurl, you understand why they’re so captivating. Their elegant trumpet-shaped blooms, often in shades of soft pink or vibrant orange, bring such a touch of refined magic to any garden. And the best part? More for you! Propagating these lilies is a journey of patience and observation, and honestly, it’s much more rewarding than challenging. You’ll feel a real sense of accomplishment when you see those first new sprouts.
The Best Time to Start
For Lilium ledebourii, the absolute best time to get started with propagation is late summer or early autumn, right after the flowering season has finished, or when the plant is beginning its natural dormancy. This is when the bulbs are plump and full of stored energy, and they’re not expending it all on producing showy blooms. You want to work with a healthy, established plant, so give it a good growing season first.
Supplies You’ll Need
Getting your workspace ready makes all the difference. Here’s what I always have on hand:
- Sharp trowel or small spade: For gently loosening the soil.
- Clean, sharp knife or secateurs: For making neat cuts. Sterilize them with rubbing alcohol before and after each use!
- Well-draining potting mix: A mix designed for bulbs or a blend of peat moss, perlite, and compost works wonderfully. We want no soggy bottoms!
- Rooting hormone powder (optional but helpful): Encourages faster root development.
- Small pots or propagation trays: With good drainage holes, of course.
- Labels and a marker: Trust me, you’ll thank yourself later.
- Watering can with a fine rose: For gentle watering.
- Mulch (like straw or shredded bark): For covering the planted bulbs.
Propagation Methods
Lilium ledebourii is most commonly propagated through division of bulbs. You’re essentially separating the offsets, or baby bulbs, that have formed around the main bulb.
- Gently Excavate: In late summer or early autumn, carefully dig around the base of your Lilium ledebourii plant with your trowel. The goal is to expose the bulb cluster without damaging the bulbs or their roots. Work a little wider than you think you need to.
- Loosen and Separate: Once the bulbs are visible, gently shake off excess soil. You’ll likely see smaller bulbs attached to the main one. These are your propagation material! If they don’t pull away easily, use your clean knife to carefully cut them free from the basal plate of the parent bulb. Make sure each separate bulb has at least one or two small root nubs.
- Prepare the Bulbs: Inspect your separated bulbs. Discard any that are soft, mushy, or show signs of rot. If you’re using rooting hormone, dip the cut end of each bulb into the powder, tapping off any excess.
- Potting Up: Fill your small pots with your well-draining potting mix. Plant each separated bulb about 4-6 inches deep, depending on its size, with the pointed end facing upwards. Give them a little space – don’t crowd them too much.
- Water and Cover: Water thoroughly but gently. You want the soil to be moist, not saturated. Then, top off the pot with a layer of mulch. This helps retain moisture and keeps the soil temperature more stable.
The “Secret Sauce” (Pro Tips)
Here are a couple of little tricks I’ve learned over the years that really help:
- Don’t be afraid to get your hands dirty, but be gentle: Lilies have delicate bulbs. Think of yourself as carefully unwrapping a precious gift. Any damage to the basal plate (where the roots grow) can hinder success, though they are quite resilient.
- Bottom heat can be your friend: If you’re propagating in a cooler environment, placing your potted bulbs on a heated propagation mat can significantly speed up root development. Just make sure it’s set to a gentle warmth, not scorching hot!
Aftercare & Troubleshooting
Once your bulbs are planted, patience is key. Keep the soil consistently moist but not waterlogged. Water when the top inch of soil feels dry to the touch. Place the pots in a cool, bright location – a protected spot outdoors for the autumn or a cool greenhouse or windowsill indoors.
The most common sign of failure you’ll see is rot. If you notice a bulb becoming soft, mushy, or developing dark, foul-smelling patches, it’s usually a sign of too much moisture or poor drainage. Unfortunately, a rotten bulb is usually a lost cause. If you suspect rot, you can try repotting it in fresh, dry, well-draining soil immediately, but don’t get too attached.
With good care, you should start to see shoots appearing in the spring. Once the leaves are a few inches tall, you can begin to treat them as you would any young lily plant.
A Little Encouragement
Propagating Lilium ledebourii is a beautiful way to connect with your garden and multiply the joy these lilies bring. Don’t be discouraged if not every cutting takes; gardening is a learning process for all of us. Enjoy the quiet satisfaction of nurturing these new lives, and soon you’ll have even more of these magnificent lilies to admire. Happy propagating!
Resource:
https://identify.plantnet.org/k-world-flora/species/Lilium%20ledebourii%20(Baker)%20Boiss./data