Oh, hello there, fellow plant lover! I’m so glad you’re here. Today, we’re going to dive into the fascinating world of propagating Hesperocyparis guadalupensis, that beautiful Monterey Cypress. It’s a tree that just oozes coastal charm, with its graceful form and that distinctive, fresh evergreen scent. Honestly, coaxing a new life from a parent plant is one of the most rewarding experiences in gardening, like witnessing a tiny miracle unfold right in your own home. Now, is this a walk in the park for a complete beginner? We’ll get to that!
The Best Time to Start
For Hesperocyparis guadalupensis, I find that the late spring to early summer window is your sweet spot. This is when the plant is actively growing, pushing out lots of fresh, pliable new shoots. These younger stems have a better chance of forming roots than tougher, older wood. Think of it as trying to bend a fresh twig versus snapping a dry one – much easier to work with!
Supplies You’ll Need
Before we get our hands dirty, let’s gather our tools:
- Sharp Pruning Shears or a Knife: Cleanliness is key here.
- Rooting Hormone: A powdered or liquid form works well. It gives your cuttings a real boost.
- A Well-Draining Potting Mix: I like a blend of perlite, peat moss, and a little coarse sand. Some people use a special seedling mix, which is also fantastic.
- Small Pots or a Seed Tray: With drainage holes, of course!
- A Clear Plastic Bag or Dome: To create a humid microclimate.
- Watering Can or Spray Bottle: For gentle watering.
- Labels: To keep track of what’s what!
Propagation Methods: Stem Cuttings
This is really the go-to method for Monterey Cypress. It’s surprisingly effective if you get a few things right.
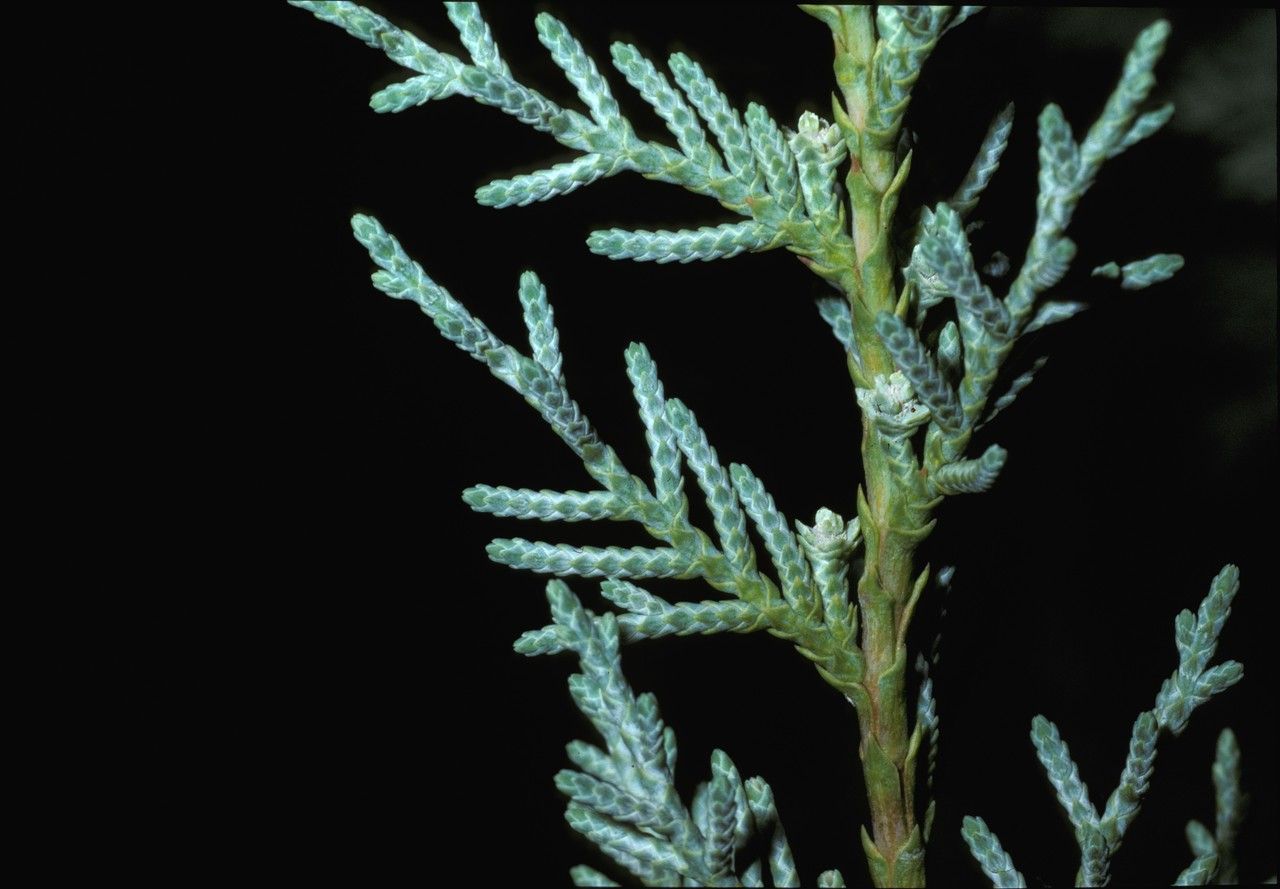
- Select Your Cuttings: Look for non-flowering, new growth that’s about 4-6 inches long. Gently snap or cut a piece from the parent plant, ideally with a bit of older wood at the base – this is called a “heel.”
- Prepare the Cuttings: Carefully strip off the lower leaves from about half of the cutting. This prevents them from rotting when buried.
- Dip in Rooting Hormone: Lightly moisten the cut end of the stem and then dip it into your rooting hormone. Tap off any excess.
- Plant Your Cuttings: Make small holes in your prepared potting mix using a pencil or your finger. Insert the cuttings into the holes, ensuring the leafy part isn’t touching the soil. Gently firm the soil around them.
- Water Gently: Give the soil a light watering. You want it moist, not soggy.
- Create a Humid Environment: Cover the pots with a clear plastic bag or a propagation dome. This is crucial to keep the cuttings from drying out. Make sure the leaves don’t touch the plastic if possible.
The “Secret Sauce”
Now, for a couple of little tricks I’ve picked up over the years:
- The Bottom Heat Trick: If you can, place your pots on a gentle heated propagation mat. This slight warmth from below encourages root development like nothing else. It really speeds things up and improves the success rate.
- Cleanliness is Godliness: I can’t stress this enough – sterilize your pruning shears or knife thoroughly before you even start. Even a tiny bit of disease can wipe out your entire batch of cuttings. A quick wipe with rubbing alcohol does wonders.
Aftercare & Troubleshooting
Once you’ve got your cuttings planted, the waiting game begins.
- Keep it Humid and Bright: Place the covered pots in a bright spot that doesn’t get direct, harsh sunlight. Too much sun will scorch those tender cuttings.
- Check for Roots: After several weeks, you can gently tug on a cutting. If there’s resistance, you’ve got roots! You’ll also start to see new growth appearing.
- Acclimatize: Once roots have formed, gradually remove the plastic cover over a few days to let the plant get used to the drier air.
- Watch for Rot: The biggest culprit is usually overwatering and poor drainage. If you see your cuttings turning black and mushy, it’s likely rot. Unfortunately, with cuttings, this is often unrecoverable. It’s better to underwater slightly than to have them sitting in soggy soil.
Happy Propagating!
So there you have it! Propagating Hesperocyparis guadalupensis is a journey, and like any good garden project, it requires patience and a little bit of faith. Don’t be discouraged if your first attempt isn’t perfect – every gardener has lost a cutting or two. Just learn from it, adjust your approach, and get back out there. The joy of watching that tiny cutting transform into a sapling is truly one of a kind. Happy planting!
Resource: