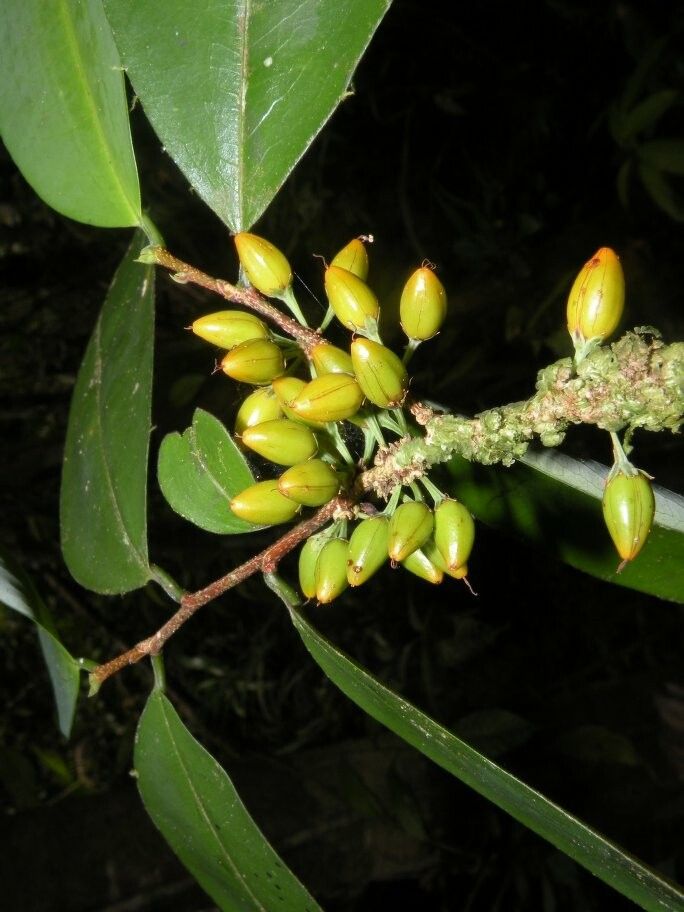
Hello fellow plant lovers! Today, we’re going to talk about a really special plant: Erythroxylum gracilipes. You might know it by its common name, the Coca plant, although it’s important to note this species isn’t the one typically used for its historically recognized properties. The gracilipes variety is prized for its lovely, delicate foliage and its graceful, branching habit. It’s a plant that brings a touch of the exotic to any collection, and I find its understated beauty incredibly rewarding.
Now, if you’re a beginner, I’ll be honest, this isn’t the absolute easiest plant to propagate. It can be a little fussy. But with a little patience and some detailed guidance, I promise you can absolutely have success. It’s a wonderful challenge that really teaches you to pay attention to your plant’s needs.
The Best Time to Start
For the best chance of success with Erythroxylum gracilipes, I always recommend propagating during its active growing season. This is typically late spring through summer. You want to be working with healthy, vibrant stems that are full of life and energy. Trying to propagate when the plant is dormant is much less likely to yield results. Look for stems that are flexible but not completely soft and floppy.
Supplies You’ll Need
Gathering your supplies beforehand makes the whole process much smoother. Here’s what I usually have on hand:
- Sharp, clean pruning shears or a sharp knife: Essential for making clean cuts that heal well.
- Rooting hormone (optional but highly recommended): A powder or gel that encourages root development.
- Potting mix: A well-draining blend is key. I like to use a mix of equal parts peat moss or coco coir, perlite, and a bit of coarse sand.
- Small pots or propagating trays: Clean pots are a must to prevent fungal diseases.
- Clear plastic bag or propagation dome: To maintain humidity around your cuttings.
- Water: For watering and, if you choose, water propagation.
- Small pebbles or perlite (for water propagation): To help support the cuttings.
- Labeling tags and a pen: So you don’t forget what you’ve planted where!
Propagation Methods
There are a couple of ways you can go about propagating Erythroxylum gracilipes, and both can work well with the right care.
Stem Cuttings (My Preferred Method)
This is generally the most reliable way to get new plants.
- Select your stem: Look for a healthy, semi-woody stem that’s about 4-6 inches long. You want a stem that has at least two or three sets of leaves.
- Make the cut: Using your clean shears, make a clean cut just below a leaf node (where a leaf attaches to the stem). This is important because the nodes are where new roots often form.
- Prepare the cutting: Gently remove the leaves from the bottom half of the cutting. If the remaining leaves are very large, you can carefully trim them in half to reduce water loss through transpiration.
- Apply rooting hormone (optional): Dip the cut end into your rooting hormone powder or gel. Tap off any excess.
- Plant the cutting: Fill your small pot with your prepared, moistened potting mix. Make a small hole with your finger or a pencil, and insert the cutting, ensuring the leaf nodes are buried. Gently firm the soil around the base.
- Create a mini-greenhouse: Water the soil gently until it’s evenly moist. Then, cover the pot with a clear plastic bag, securing it around the rim with a rubber band or tape, or place it inside a propagation dome. This creates a humid environment that cuttings love.
- Placement: Place the pot in a bright location, but out of direct sunlight. A nice warm spot is ideal.
Water Propagation
This method is a bit more visible and can be satisfying to watch.
- Select and cut: Follow steps 1 and 2 above for selecting and cutting your stem.
- Remove lower leaves: Remove all leaves from the bottom half of the cutting.
- Place in water: Fill a clean jar or glass with fresh water. Place the cutting in the water, making sure that no leaves are submerged. You can add a few small pebbles or a bit of perlite to the bottom of the jar to help support the cutting.
- Change water regularly: Change the water every few days to keep it fresh and prevent bacterial growth.
- Placement: Like with stem cuttings, place the jar in a bright location away from direct sun.
The “Secret Sauce” (Pro Tips)
Here are a couple of things I’ve learned over the years that can really boost your rooting success:
- Bottom Heat is Your Friend: If you can, place your pots on a heat mat designed for seedlings and cuttings. A consistent, gentle warmth from below encourages root formation much faster than relying on ambient room temperature alone. You’ll often see roots develop in half the time!
- The “Heeling” Trick: When you take your cutting, sometimes I’ll gently “wound” the stem just below the node. You can do this by scraping away a thin sliver of the outer bark on one side of the stem, about ¼ inch long. This exposes more tissue and can encourage quicker rooting, especially if you’re using a rooting hormone.
Aftercare & Troubleshooting
Once you see signs of roots – usually new leaf growth emerging after a few weeks, or tentative tugs when you gently pull on the cutting – it’s time to transition.
- For stem cuttings: Once a decent root system has developed (you can often see it through the drainage holes of the pot), you can slowly acclimate your new plant to lower humidity. Gradually open the plastic bag or dome a little more each day over a week. Then, you can pot it up into a slightly larger pot with fresh potting mix.
- For water propagation: Once the roots are about an inch long, it’s time to transplant them into soil. Treat them just like you would a fresh stem cutting, starting in a small pot with that well-draining mix and keeping it consistently moist and humid until established.
Now, what about when things go wrong? The most common culprit is rot. You’ll see the cutting turn black and mushy, usually at the cut end. This is almost always due to too much moisture and not enough air circulation, or using soil that’s too wet and doesn’t drain well. If you see this, it’s usually best to discard the cutting. Overwatering is a killer for cuttings! Always err on the side of slightly too dry than too wet. You can also sometimes see cuttings simply shrivel up and die; this is usually due to too much direct sun or not enough humidity. Keep an eye on them and adjust your conditions.
A Encouraging Closing
Propagating Erythroxylum gracilipes is a journey, and like any gardening endeavor, it involves a bit of trial and error. Don’t get discouraged if your first attempts aren’t perfect. Each time you try, you learn something new about your plant and its preferences. Be patient, observe your cuttings closely, and most importantly, enjoy the process of bringing more of these beautiful plants into your home. Happy propagating!
Resource:
https://identify.plantnet.org/k-world-flora/species/Erythroxylum%20gracilipes%20Peyr./data