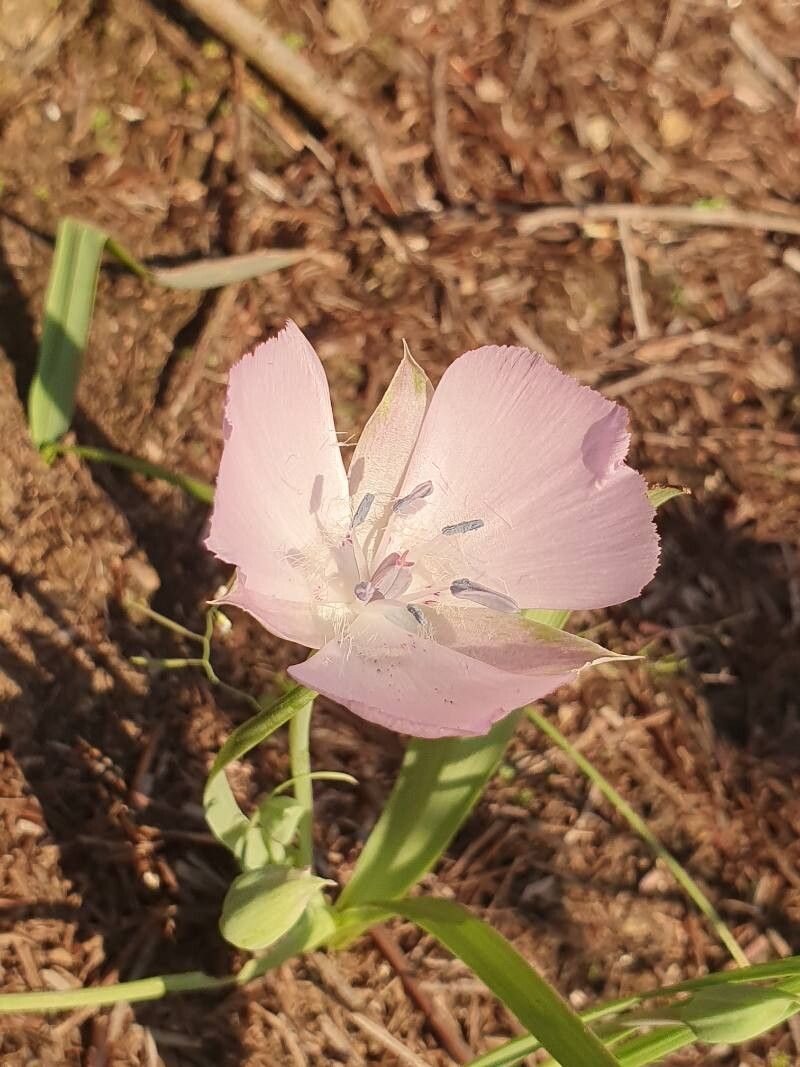
Hello, fellow garden enthusiasts! Today, we’re diving into the delightful world of Calochortus uniflorus, also known as the Mariposa Lily. If you’re looking for a truly enchanting bloom to grace your garden, this is it. Its delicate, cup-shaped flowers, often in shades of lavender and pink, are simply breathtaking. And the joy of coaxing a new life from a tiny bulb or division? Well, that’s a reward all its own. Now, is this a plant for absolute beginners? I’d say it’s a moderately challenging plant, but with a little patience and the right approach, you’ll be celebrating successes in no time.
The Best Time to Start
Timing is everything, and for Calochortus uniflorus, the sweet spot for propagation is late summer to early fall. This is when the bulbs have naturally gone dormant after their spring blooming season. They’re resting, gathering energy, and preparing for the next cycle. Starting now gives them ample time to establish before the chill of winter sets in.
Supplies You’ll Need
Gathering your supplies beforehand makes the whole process run much smoother. Here’s what I keep handy:
- Small, sharp pruning shears or a clean knife: For making precise cuts.
- A well-draining potting mix: A good blend of perlite, sharp sand, and a small amount of compost is ideal. You want to avoid anything that holds too much moisture.
- Small pots or trays: Anything with drainage holes will do.
- Labels and a pen: To keep track of your efforts!
- (Optional, but helpful) Rooting hormone powder: Can give your cuttings a helpful boost.
- (If dividing from parent bulbs) Your healthy Calochortus uniflorus plant.
Propagation Methods: Let’s Get Our Hands Dirty!
Calochortus uniflorus is primarily propagated through division of its bulbs. While stem cuttings can be attempted, it’s less reliable for this particular species, so we’ll focus on the tried-and-true method.
Division of Bulbs:
- Gently Unearth: When your Calochortus has finished flowering and the foliage has begun to yellow and die back (signifying dormancy), carefully dig around the plant. I like to use a trowel or a small spade and work from the edge of the plant inwards, trying to lift the entire bulb cluster without damaging the bulbs or roots.
- Clean and Separate: Gently brush away excess soil from the bulbs. You’ll likely find the main bulb with smaller offsets, or “cormels,” attached. Look for natural separation points. With a clean, sharp knife or by gently twisting, carefully separate these young bulbs from the parent. Try to ensure each new bulb has a tiny bit of root attached if possible.
- Planting Time: Fill your small pots with the well-draining potting mix. Create a small indentation in the center. Place your divided bulbs in the pot, tucking them in so the top of the bulb is just at or slightly below the soil surface. I usually plant 3-5 divisions per small pot, depending on their size.
- Water Sparingly: Give them a light watering initially. We want the soil to be just moist, not soggy. Overwatering at this dormant stage is a surefire way to invite rot.
The “Secret Sauce” (Pro Tips)
Here are a few little tricks I’ve learned over the years that really seem to make a difference:
- Airflow is King: When dividing, don’t be afraid to let the separated bulbs air-dry for a few hours in a dry, shady spot before planting. This helps any minor cuts seal up and reduces the risk of fungal issues.
- Bottom Heat is Your Friend (but not essential): If you have a heated propagator or can place your pots on a heat mat set to a low temperature (around 65-70°F or 18-21°C), this can encourage root development. It’s not strictly necessary, but it can speed things up a bit.
- Mock Dormancy: Even though the bulbs are naturally dormant, after dividing and replanting, I still refrain from watering much at all for the first couple of weeks, letting them settle in.
Aftercare & Troubleshooting
Once your bulbs are planted, place them in a cool, dry location where they won’t be disturbed. Think of a sheltered part of your garden, a cool greenhouse shelf, or even a protected spot on a patio.
Watering: The key here is infrequent watering. You’ll want to water just enough to keep the soil lightly moist, especially as the cooler weather arrives. Let the soil dry out somewhat between waterings. Overwatering is your biggest enemy and can lead to bulb rot, which is often evidenced by mushy, discolored bulbs or a foul smell.
Patience: You won’t see much activity on the surface for a while, and that’s perfectly normal. It can take anywhere from six weeks to a few months for new roots to form and a tiny shoot to emerge. Don’t be tempted to dig them up to check – resist the urge!
If you notice mold or fungal growth on the soil surface, it’s a sign of too much moisture. Gently scrape off the affected layer and back off on watering.
A Little Patience Goes a Long Way
Propagating Calochortus uniflorus is a wonderful way to expand your collection of these exquisite bulbs. It requires a bit of care and a whole lot of patience, but the reward of seeing those delicate blooms emerge from plants you’ve nurtured yourself is truly unparalleled. So, grab your trowel, enjoy the process, and before you know it, you’ll have a garden full of these enchanting Mariposa Lilies! Happy gardening!
Resource:
https://identify.plantnet.org/k-world-flora/species/Calochortus%20uniflorus%20Hook.%20&%20Arn./data