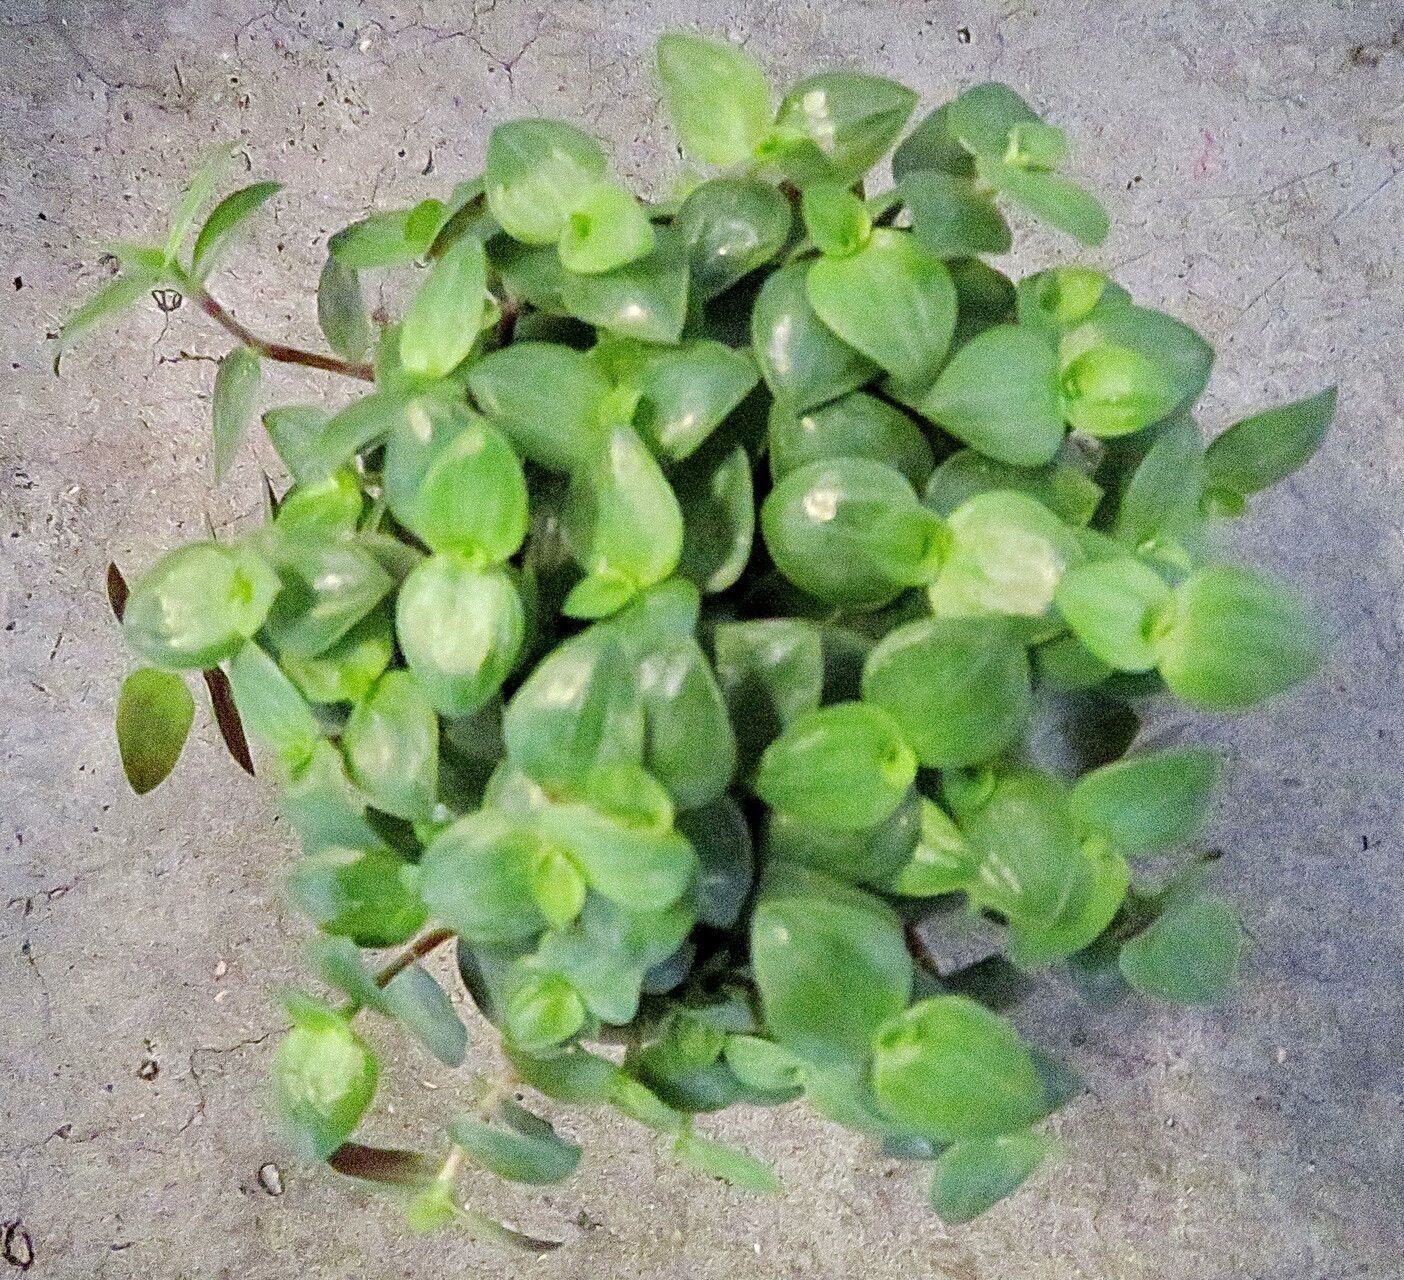
Oh, hello there! Come on in, pull up a chair. I’ve got a fresh pot of tea brewing, and I thought we could chat about one of my absolute favorite fuss-free plants: Callisia repens, or as it’s affectionately known, the creeping inch plant. If you’ve ever seen those lush, cascading baskets overflowing with its delicate green and sometimes purple-tinged leaves, you know exactly what I’m talking about. It’s just so cheerful and forgiving, and the best part? It’s ridiculously easy to propagate. Honestly, if you’re just dipping your toes into the world of plant multiplication, Callisia repens is your perfect dance partner. You’ll be amazed at how quickly you can fill your home (or give away to friends!) with these lovely plants.
When Spring Whispers to Your Plants
The absolute best time to get your propagation party started is when your Callisia repens is in full, glorious growth mode. For most of us, that means late spring through summer. The days are getting longer, the sun is warmer, and your plant is buzzing with energy. This is when it’s primed to sprout new roots like a champ. You can certainly try in other seasons, but you’ll find the success rate just soars when you catch it during its active growing period.
Gather Your Gardening Goodies
You don’t need a fancy arsenal for this, just a few basics:
- Sharp, clean pruning shears or scissors: A clean cut means less stress on the plant and fewer chances for disease.
- Small pots or containers: Re usadas yogurt cups with drainage holes work just fine!
- Potting mix: A good quality, well-draining potting mix is key. I like to mix in a bit of perlite for extra aeration. Alternatively, you can use a seed starting mix.
- Rooting hormone (optional but helpful): This can give your cuttings a little boost to get them going.
- Water: Fresh, clean water is always essential.
- Optional: A clear plastic bag or dome: To create a humid environment for new cuttings.
Let’s Get Cutting! Easy-Peasy Methods
Callisia repens is wonderfully versatile, and you can propagate it using a couple of straightforward methods.
Method 1: Stem Cuttings in Soil
This is my go-to for a reason. It’s simple and direct.
- Select a healthy stem: Look for a vibrant, non-flowering stem that’s at least 4-6 inches long.
- Make your cut: Using your clean shears, make a clean cut just below a leaf node. Nodes are those little bumps where leaves emerge – that’s where the magic happens and roots will form. You can even take multiple cuttings from one plant.
- Prepare the cutting: Gently remove the lower leaves, leaving just a few at the very top. This prevents them from rotting when they’re in the soil.
- Dip in rooting hormone (optional): If you’re using rooting hormone, dip the cut end of the stem into it, tapping off any excess.
- Plant the cutting: Insert the cut end into your prepared potting mix, about an inch deep. Make sure the node where you removed the leaves is buried.
- Water gently: Water the soil lightly.
- Provide humidity: Pop the pot inside a clear plastic bag or cover it with a dome to keep the humidity high. You can also place it on a heat mat if you like.
- Find a bright spot: Place it in bright, indirect light. Avoid direct sun, which can scorch delicate cuttings.
Method 2: Water Propagation
This is a fun way to watch the roots develop!
- Prepare your cutting: Follow steps 1-3 from the soil method above.
- Place in water: Put your cuttings in a clean jar or glass filled with fresh water. Make sure the leaf nodes are submerged, but not the leaves themselves.
- Change the water regularly: Every few days, change out the water to keep it fresh and prevent bacteria from building up.
- Locate them: Place the jar in bright, indirect light.
- Wait for roots: You should start seeing tiny white roots emerge from the nodes in a week or two. Once the roots are about an inch long, it’s time to transplant them into soil using the steps in Method 1 (from step 4 onwards).
The “Secret Sauce” from My Kitchen Garden
Here are a couple of things I’ve learned along the way that really make a difference:
- “Don’t let the leaves touch the water” is gospel for water propagation. If those lower leaves sit in the water, they’ll rot. Rotting foliage means problems for your developing roots. It’s a simple rule, but it’s crucial for healthy root development.
- Bottom heat is a game-changer. When propagating in soil, placing your pots on a gentle seedling heat mat can significantly speed up root formation. It mimics the warmth of spring and really encourages those roots to get moving. It’s not strictly necessary for Callisia repens, but it’s a lovely little boost if you have one handy.
Aftercare and What to Watch For
Once you start seeing those glossy new leaves appearing, you know your cuttings are settling in!
- Gradual Acclimation: If you used a plastic bag or dome, gradually begin to remove it over a few days. You want to slowly introduce your new plant to the ambient humidity of your room.
- Watering: Water your newly potted cuttings when the top inch of soil feels dry. Don’t let them sit waterlogged, especially in the early days.
- Fertilizing: Wait until your plant has established itself and is showing good new growth before you start feeding it. A diluted liquid fertilizer once a month during the growing season is usually plenty.
Troubleshooting: The most common issue you might encounter is rot, usually due to overwatering or poor drainage. If a cutting turns mushy and brown, sadly, it’s often best to discard it. Ensure you’re using well-draining soil and watering only when needed. Another sign of trouble can be yellowing leaves, which might indicate too much or too little light, or a nutrient deficiency once it’s established.
Go Forth and Grow!
See? I told you it was easy! Don’t be discouraged if a cutting or two doesn’t make it. Gardening is all about learning and experimenting. Be patient, enjoy the process, and marvel at how these little pieces of your existing plant can grow into entirely new, beautiful specimens. Happy propagating!
Resource:
https://identify.plantnet.org/k-world-flora/species/Callisia%20repens%20(Jacq.)%20L./data