Hey there, fellow plant lovers!
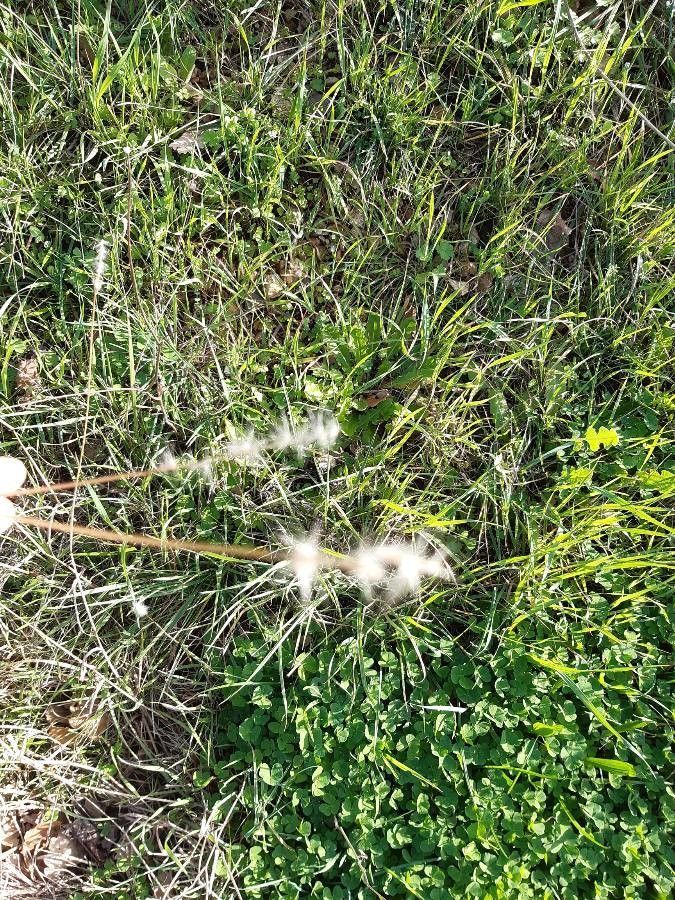
If you’ve ever admired the graceful sway and feathery blooms of Bothriochloa saccharoides, you’re not alone. This gorgeous bunchgrass, often called saccharum grass or silver beardgrass, brings a touch of wild elegance to any garden. The way its seed heads catch the light is truly something special, and honestly, seeing a new plant emerge from a small piece of the parent? That’s pure gardening joy. Best of all, if you’re just starting out with propagation, you’ll be happy to know that Bothriochloa saccharoides is wonderfully forgiving. You’ve got this!
The Best Time to Start
Spring is truly your best friend when it comes to propagating Bothriochloa saccharoides. As the world wakes up and things start to warm up, the plant is full of vigor. I find that starting in late spring or early summer, once the danger of frost has completely passed and the soil is starting to warm up, gives you the highest success rate. Healthy, actively growing shoots are always easier to root.
Supplies You’ll Need
Gathering your supplies beforehand makes the whole process smoother and more enjoyable. Here’s what I like to have on hand:
- Sharp Pruning Shears or a Clean Knife: For making clean cuts.
- Small Pots or Seed Starting Trays: With drainage holes, of course!
- Well-Draining Potting Mix: I often use a 50/50 mix of perlite and peat moss or coconut coir for cuttings. For divisions, a good quality potting soil works well.
- Rooting Hormone (Optional but Recommended): A powder or gel can give your cuttings an extra boost.
- Watering Can or Spray Bottle: For gentle watering.
- Plastic Bags or a Propagator Lid: To create a humid environment for cuttings.
- Garden Fork or Trowel: For dividing established plants.
Propagation Methods
Bothriochloa saccharoides is a breeze to propagate, and the most reliable methods are through division and stem cuttings.
Division: The “Cut it and Grow It” Method
This is my go-to for established plants. It’s like giving your plant a spa day and getting new friends out of it!
- Dig Up the Plant: In spring, gently dig up your Bothriochloa saccharoides plant, aiming to get as much of the root ball as possible. Gently shake off excess soil.
- Identify Natural Divisions: Look for clumps that can be easily separated. You might see distinct shoots or roots clearly dividing the plant.
- Separate the Divisions: Using your hands, a trowel, or even two forks pressed back-to-back, carefully pull apart the root ball into sections. Each section should have a good portion of roots and some leafy shoots.
- Replant Immediately: Plant your new divisions at the same depth as the original plant in well-prepared soil or in pots with your propagation mix. Water them in well.
Stem Cuttings: For a More Delicate Approach
This method is great for propagating from a particularly beautiful specimen.
- Take Your Cuttings: In late spring or early summer, select healthy, non-flowering stems from the parent plant. Using your clean shears, cut stems that are about 4-6 inches long. Make the cut just below a leaf node (where a leaf emerges from the stem).
- Prepare the Cuttings: Gently remove the lower leaves from the stem, leaving only a couple of leaves at the very top. If you’re using rooting hormone, dip the cut end into the powder or gel now.
- Plant the Cuttings: Fill small pots or trays with your well-draining propagation mix. Make a small hole with a pencil or your finger and insert the cut end of the stem, ensuring at least one leaf node is below the soil surface. Gently firm the soil around the stem.
- Create Humidity: Water the soil lightly. Then, cover the pots with a plastic bag or propagator lid. This is crucial for keeping the cuttings from drying out. Place them in a bright spot, but out of direct sunlight.
The “Secret Sauce” (Pro Tips)
Here are a couple of things I’ve learned over the years that can really make a difference:
- For Cuttings: Bottom Heat is Your Friend! Bothriochloa saccharoides just loves a little warmth from below. Placing your pots on a heated propagator mat can significantly speed up root development. It mimics that cozy spring soil temperature your cuttings crave.
- For Divisions: Don’t Be Afraid to Get Your Hands Dirty! Sometimes, a division feels a little stubborn. Resist the urge to rip it apart too aggressively. Instead, take your time, gently tease the roots apart. If a few small roots break, it’s usually not a big deal, but try to preserve as many as you can for the best start.
Aftercare & Troubleshooting
Once your divisions are planted or your cuttings have rooted (you’ll see new growth appearing!), it’s time for a little patient nurturing.
For divided plants, keep the soil consistently moist for the first few weeks until they are established. After that, they’ll be pretty drought-tolerant.
For cuttings, once you see signs of new growth, it’s time to gradually introduce them to normal conditions. Slowly remove the plastic cover over a few days to acclimate them. Continue to keep the soil moist but not waterlogged.
Common Signs of Failure:
- Rot: If your cuttings look limp, mushy, or have a foul smell, that’s rot. This usually happens from overwatering or too little airflow. Ensure your soil is draining well and give them a bit more ventilation. Unfortunately, rotted cuttings are a loss.
- Wilting: A bit of wilting is normal initially as cuttings settle in. But if they stay wilted and don’t perk up after watering, they may not have rooted, or they might be too dry.
A Little Patience Goes a Long Way
Watching a new Bothriochloa saccharoides plant take root and grow is incredibly rewarding. Remember, gardening is a journey, and sometimes the most beautiful successes come from a little bit of trial and error. Be patient with your new propagations, give them a good start, and enjoy the process. Happy planting!
Resource:
https://identify.plantnet.org/k-world-flora/species/Bothriochloa%20saccharoides%20(Sw.)%20Rydb./data