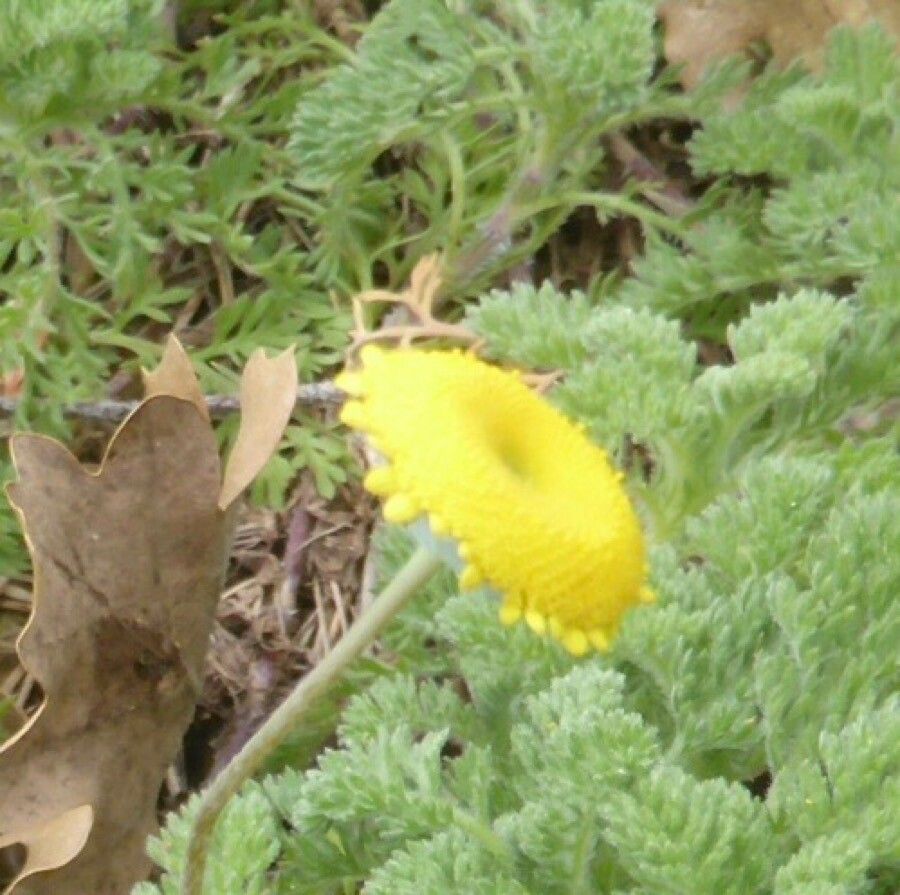
Hello there, my fellow plant enthusiasts! Today, we’re going to talk about a real charmer for the garden: Anacyclus homogamos. If you haven’t met it yet, imagine cheerful, daisy-like flowers with a vibrant yellow center, blooming prolifically through the summer. It’s a fantastic groundcover, looks wonderful spilling over edges, and brings so much life to my sunny spots. The best part? It’s surprisingly easy to propagate, which means more of these beauties for your garden, or for sharing with friends! Don’t let the fancy name fool you; this is a great plant for beginners to get their green thumbs into propagation.
The Best Time to Start
For Anacyclus homogamos, I find the late spring to early summer is your golden window. This is typically when the plant is actively growing, putting out fresh, new shoots that are perfect for taking cuttings. You’ll have the most vigor and the highest chance of success during this peak growing period. Trying to propagate when the plant is stressed or dormant just makes things harder on everyone, including the plant!
Supplies You’ll Need
Before we dive in, let’s gather our bits and bobs. You won’t need anything too complicated:
- Sharp pruning shears or a clean knife: For taking clean cuts.
- Small pots or seed trays: Clean, of course!
- A well-draining potting mix: I like a 50/50 blend of seed starting mix and perlite for excellent aeration. You could also use a commercial cactus and succulent mix.
- Rooting hormone (optional but helpful): A good quality rooting powder or gel can give your cuttings a little boost.
- A watering can with a fine rose: For gentle watering.
- Plastic bags or propagation domes (optional): To create a humid environment.
Propagation Methods
Anacyclus homogamos is wonderfully amenable to stem cuttings. It’s my go-to method for this plant.
Here’s how we do it:
- Select Your Cuttings: Look for healthy, non-flowering stems that are about 3-4 inches long. Make sure they have at least a couple of nodes (the little bumps where leaves grow from).
- Make Your Cut: Using your sharp shears or knife, make a clean cut just below a node. This is where the plant has the best chance of developing roots.
- Prepare the Cutting: Gently remove the lower leaves from your cutting, leaving just a few at the top. This prevents them from rotting when buried in the soil.
- Apply Rooting Hormone (Optional): If you’re using rooting hormone, dip the cut end of the stem into the powder or gel. Tap off any excess.
- Plant Your Cuttings: Fill your pots or trays with your prepared potting mix. Make a small hole with your finger or a pencil, and then insert the cut end of the stem into the hole. Firm the soil gently around the base of the cutting.
- Water Gently: Water the soil lightly so it’s moist but not waterlogged.
The “Secret Sauce” (Pro Tips)
Now for a couple of little tricks I’ve picked up over the years:
- Don’t Overcrowd: Give each cutting its own space in the pot. If they’re too close, they compete for light and air, and the humidity can lead to fungal issues.
- Bottom Heat is Your Friend: If you have a propagation mat or can place your pots on a sunny windowsill that gets a bit of warmth from underneath, it can really speed up root development. It mimics that lovely warm soil feeling of summer.
- Patience is Key (and Keep it Humid!): Once your cuttings are planted, mist them lightly every day or two, or cover them with a clear plastic bag or a propagation dome. This keeps the humidity high, which is crucial for cuttings to root before they dehydrate. Just be sure to open the bag for a few minutes each day to allow for air circulation and prevent mold.
Aftercare & Troubleshooting
Once your cuttings have developed roots – you can gently tug on one, and if there’s resistance, you’ve got roots! – it’s time to give them a bit more individual attention.
- Gradual Acclimation: If they were in a humid environment (like under a bag), gradually introduce them to normal room humidity over a few days.
- First True Fertilization: Wait until you see new leaf growth. Then, you can give them a very diluted dose of liquid fertilizer, about half strength.
- Repotting: When the new plants have filled their initial pots, you can pot them up into slightly larger containers with fresh, well-draining soil.
The most common problem you might encounter is rot. If a cutting turns black and mushy, it’s usually a sign of too much moisture and not enough air circulation. If you see this, remove the affected cutting immediately to prevent it from spreading. Sometimes, cuttings just don’t take, and that’s okay! It’s part of the gardening journey.
A Encouraging Closing
So there you have it! Propagating Anacyclus homogamos is a wonderfully rewarding way to expand your garden or to create little gifts for your fellow plant lovers. Be patient with yourself and your new baby plants. Watch them closely, give them what they need, and most importantly, enjoy the magic of watching new life sprout! Happy propagating!
Resource:
https://identify.plantnet.org/k-world-flora/species/Anacyclus%20homogamos%20(Maire)%20Humphries/data