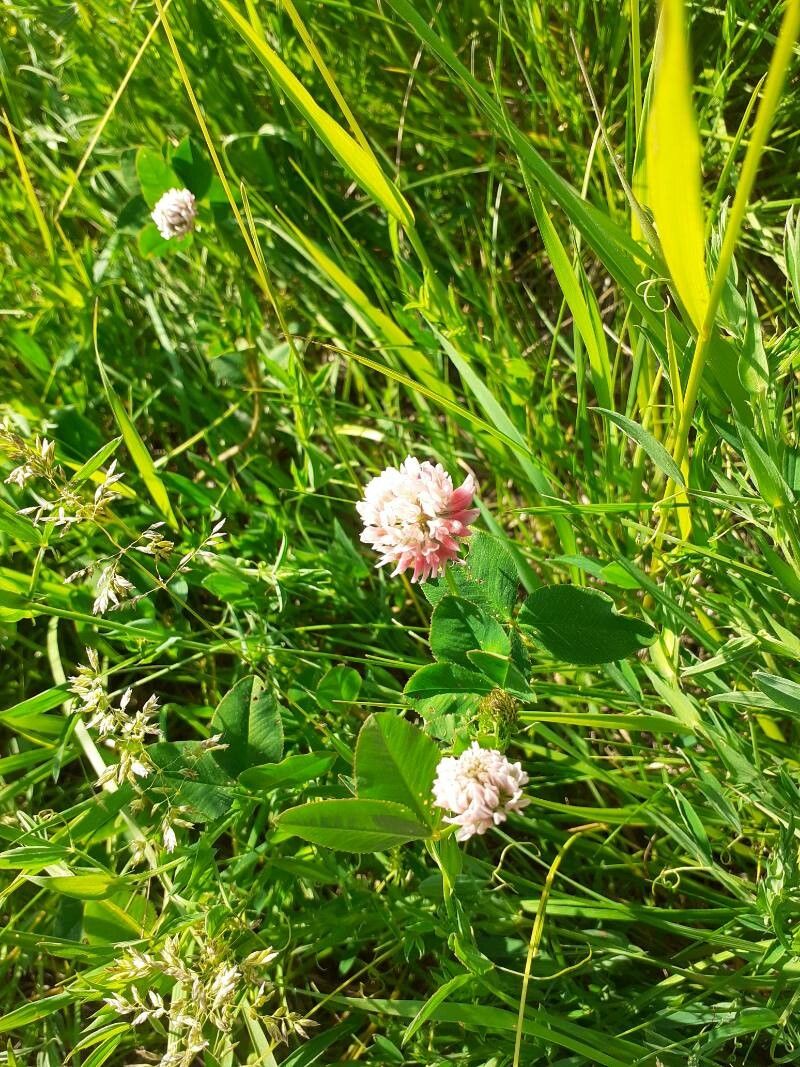
Hello there, fellow plant enthusiasts! Today, we’re going to dive into the delightful world of Trifolium hybridum, or as many of us lovingly call it, Alsike Clover. This little charmer is a true unsung hero in many gardens. Its sweet, delicate pink and white flower heads are a magnet for pollinators, and it adds a wonderfully informal, meadow-like feel to borders and beds. Plus, its compact growth habit makes it a great option for smaller spaces.
Now, if you’re new to the gardening game, you’ll be happy to know that propagating Alsike Clover is quite forgiving. I’ve found it to be a lovely plant to get started with if you’re eager to try your hand at multiplying your green friends. It’s a rewarding process, turning one plant into many to share or expand your own lush displays.
The Best Time to Start
For the highest success rate, I always recommend propagating Alsike Clover in the spring, just as new growth is really kicking off. You can also have good luck in early summer. The key is to work with healthy, actively growing material. Avoid trying to propagate from stressed or dormant plants; it’s just setting yourself up for disappointment.
Supplies You’ll Need
- Sharp pruning shears or a clean knife: To make clean cuts for cuttings.
- Well-draining potting mix: I like a blend of peat moss, perlite, and a touch of compost.
- Small pots or trays: For starting your new plants. Make sure they have drainage holes!
- Rooting hormone (optional but helpful): Especially if you’re a beginner. This just gives your cuttings a little boost.
- Watering can with a fine rose: To water gently without disturbing your cuttings.
- Plastic bags or a propagator lid: To create a humid environment for your cuttings.
- Labels: To keep track of what you’ve planted and when!
Propagation Methods
Alsike Clover is wonderfully versatile, and I typically rely on a couple of tried-and-true methods.
Stem Cuttings
This is my go-to method for Alsike Clover.
- Take Cuttings: In spring or early summer, select healthy, non-flowering stems. Using your sharp shears, take cuttings that are about 4-6 inches long. Make your cut just below a leaf node (where a leaf attaches to the stem).
- Prepare Cuttings: Remove the lower leaves from the cutting, leaving just a few at the top. This prevents them from rotting when buried in the soil. If you’re using rooting hormone, dip the cut end into the powder now, tapping off any excess.
- Plant Cuttings: Fill your small pots or trays with your prepared potting mix. Make a small hole with a pencil or your finger and gently insert the cut end of the stem. Firm the soil gently around it. You can fit several cuttings into one pot, leaving a little bit of space between them.
- Water Gently: Water the soil thoroughly but gently.
- Create Humidity: Cover the pots with a plastic bag (make sure the leaves don’t touch the plastic!) or place them in a propagator. This traps moisture and creates that humid environment cuttings love.
Division
This method is best done when the plant is actively growing, usually in spring.
- Exhume the Plant: Carefully dig up your mature Alsike Clover plant.
- Divide the Root Ball: Gently pull the root ball apart. You can use your hands for this, or if it’s a bit stubborn, use a clean trowel or knife to slice through the roots and stems. Aim for sections that have both healthy roots and a few shoots.
- Replant: Replant each division into its new spot, whether that’s in pots or directly into the garden. Water them in well.
The “Secret Sauce” (Pro Tips)
Here are a few things I’ve learned over the years that really make a difference:
- Bottom Heat is Your Friend: Alsike Clover cuttings absolutely love a bit of warmth from below. If you have a heated propagator mat, use it! If not, a sunny windowsill that stays consistently warm will often suffice. It encourages root development much faster.
- Don’t Overwater: While they need moisture, soggy soil is the enemy and can lead to rot. Let the surface of the soil dry out slightly between waterings. It’s better to underwater a touch than to drown your new babies.
- Freshness Matters: Try to get your cuttings into soil or water as quickly as possible after taking them from the parent plant. The longer they sit around, the more likely they are to dry out and fail.
Aftercare & Troubleshooting
Once you see new growth appearing on your cuttings, that’s a good sign roots are forming! You can test this gently by giving a slight tug on the stem; if there’s resistance, roots have taken hold. Gradually acclimate them to drier air by opening the plastic bag or propagator lid for longer periods each day over a week or so before removing it completely. Water them as you would a regular potted plant, keeping the soil consistently moist but not waterlogged.
The most common issue you’ll encounter is rot. If a cutting turns mushy and black, it’s usually a sign of too much moisture and not enough air circulation. Don’t be disheartened if a few fail – it’s all part of the learning process! Remove any rotting material immediately to prevent it from spreading to other cuttings.
Happy Propagating!
Watching a tiny cutting transform into a new, thriving plant is one of the most satisfying parts of gardening. Be patient with your Alsike Clover, give it a little TLC, and you’ll be rewarded with beautiful blooms and plenty of new plants to enjoy. Happy growing!
Resource:
https://identify.plantnet.org/k-world-flora/species/Trifolium%20hybridum%20L./data