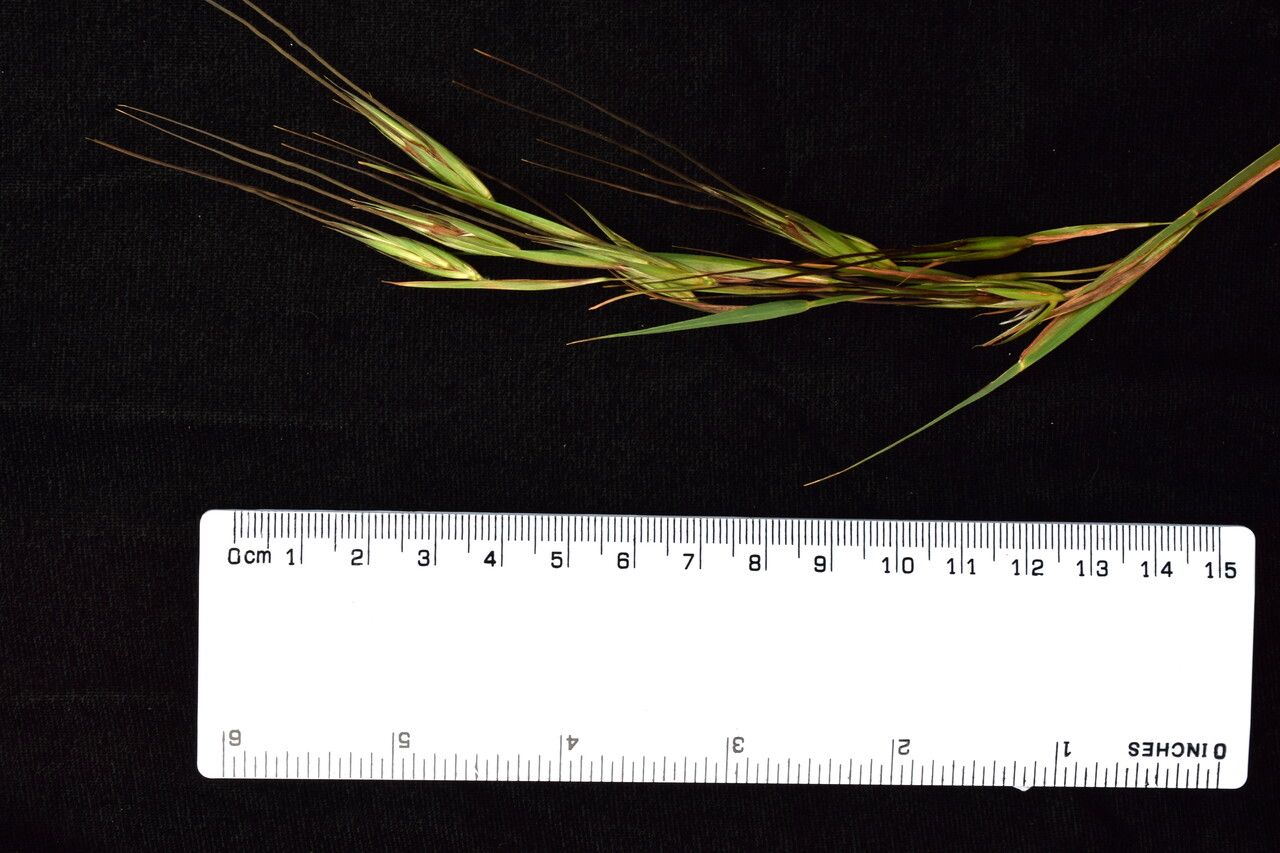
Oh, hello there! So glad you’ve stopped by my little corner of the internet. I’m thrilled to chat about Themeda caudata, also known as Kangaroo Grass. If you’ve ever felt the allure of its graceful, arching leaves, that distinctive reddish-bronze hue, and the way it dances in the breeze, then you’re already half in love. What’s even better is sharing that joy by creating more of these beauties yourself. Propagating Kangaroo Grass is a wonderfully satisfying endeavor, and while it might feel a tad daunting at first, I promise it’s quite achievable, even for those just dipping their toes into the gardening world.
When to Get Your Hands Dirty
The absolute sweet spot for coaxing new life from Kangaroo Grass is late spring to mid-summer. This is when the plant is in its prime growing season, bursting with energy. You’ll be working with vigorous, healthy material, which significantly ups your chances of success. Just make sure the plant is actively growing – no sleepy, dormant bits for us!
Your Propagating Pot of Gold: What You’ll Need
Here’s a quick rundown of what you’ll want to gather before you dive in:
- Sharp pruning shears or a clean, sharp knife: No dull blades, please! They can damage the plant.
- Well-draining potting mix: I love a blend of equal parts peat moss or coco coir, perlite, and a good quality potting soil. For Kangaroo Grass, good drainage is non-negotiable.
- Small pots or seed trays: Clean ones are a must to prevent disease.
- Rooting hormone (optional but recommended): This is like a little boost for your cuttings, encouraging them to form roots faster.
- Watering can with a fine rose attachment: Gentle watering is key.
- Plastic bags or a propagation dome: To create a humid environment for cuttings.
- Sharpie and labels: To keep track of what you’ve planted and when.
Bringing New Life Forth: Propagation Methods
Kangaroo Grass is remarkably good at giving us new plants through a couple of methods, but my go-to is division. It’s straightforward and incredibly effective.
Method 1: The Gentle Art of Division
This is the most reliable way to propagate established Kangaroo Grass.
- Digging Up Your Mother Plant: In late spring or early summer, dig up your mature Kangaroo Grass plant. Do this carefully, trying to keep as much of the root ball intact as possible. You can often do this by gently loosening the soil around the edges with a spade.
- The Clean Break: Once the plant is out, gently shake off excess soil. You’re looking for distinct clumps or rosettes within the main plant. You can use your hands to gently pull these apart, or if they are really tough, a clean spade or sharp knife can make the separation. The goal is to ensure each division has a good portion of roots and some healthy green shoots.
- Replanting: Immediately pot up your divisions into your well-draining mix. Water them in thoroughly.
Method 2: Stem Cuttings (A bit more patience required!)
While not as common as division for Kangaroo Grass, you can try stem cuttings, especially if you have a particularly lovely specimen you want to multiply.
- Taking Cuttings: Choose healthy, non-flowering stems that are about 4-6 inches long. Make a clean cut just below a node (where a leaf emerges from the stem).
- Prepare the Cutting: Remove the lower leaves, leaving only a few at the top. If you’re using rooting hormone, dip the cut end into it now.
- Planting the Cuttings: Stick the cut end about an inch deep into your prepared potting mix in small pots or trays.
- Creating Humidity: Water gently and then cover the pot with a clear plastic bag or place it under a propagation dome. Make sure the bag doesn’t touch the leaves.
- Finding a Warm Spot: Place the pots in a bright location, but out of direct, scorching sun.
The “Secret Sauce” – Little Nudges for Big Success
Here are a couple of things I’ve learned over the years that make a real difference:
- Water Wisely After Division: When you repot divisions, err on the side of slightly damp rather than soaking wet. Overwatering at this stage is the quickest way to invite root rot. Let the surface of the soil dry out slightly between waterings.
- Warmth is Key for Cuttings: If you’re trying stem cuttings, a propagation mat providing bottom heat is a game-changer. It encourages those roots to develop much faster and more reliably. You’ll know they’re rooting when you see new growth appearing at the top!
Nurturing Your New Sprouts and What to Watch For
Once your divisions or cuttings have settled in, keep them consistently (but not soggy!) moist. If you opted for the bag-and-pot method for cuttings, gradually start to acclimatize them to normal humidity over a week or so by opening the bag a little more each day.
Signs of trouble usually manifest as yellowing leaves, wilting, or a mushy stem base. This is almost always a sign of overwatering and poor drainage. If you see this, hold back on the water and ensure good airflow. Sometimes, you can salvage a cutting by trimming away any mushy parts and repotting it in fresh, dry mix.
The Beauty of Patience
Propagating plants is a wonderful way to connect with nature and see the cycle of life unfold. Be patient with your Kangaroo Grass cuttings or divisions. Not every single one will make it, and that’s perfectly okay! Enjoy the process, celebrate the successes, and before you know it, you’ll have new clumps of this gorgeous grass to admire in your own garden or share with friends. Happy propagating!
Resource: