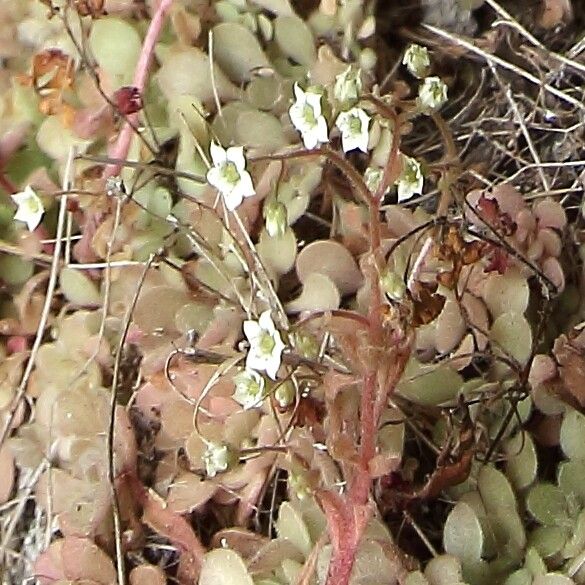
Hey there, fellow plant lovers! Welcome back to the blog. Today, we’re diving into something I absolutely adore – making more of those gorgeous Sedum fragrans. You know the ones, with their delicate, almost silvery-green leaves and that sweet, subtle fragrance that just brightens a room. Propagating them is incredibly rewarding, and I’m thrilled to share how you can do it too. Good news for beginners: Sedum fragrans is wonderfully forgiving, making it a fantastic plant to start your propagation journey with.
The Best Time to Start
My absolute favorite time to get propagating is in the late spring or early summer. This is when the plant is naturally in its active growing season. The days are getting longer and warmer, giving those little cuttings the best chance to take root and thrive. You can also have good success with stem cuttings in the early fall, but spring gives you a bit more breathing room to see them flourish before winter truly sets in.
Supplies You’ll Need
Here’s what you’ll want to have on hand:
- Sharp, clean pruning shears or a sharp knife: Cleanliness is key to preventing disease.
- Rooting hormone (optional but helpful): This gives your cuttings a little boost. I like to use one with a fungicide.
- Well-draining potting mix: A cactus or succulent mix is perfect. You can also make your own by mixing equal parts potting soil, perlite, and coarse sand.
- Small pots or trays: Terracotta pots are great because they breathe well.
- Watering can or spray bottle: To gently moisten the soil.
- A bright, indirect light location: No direct sun for your new babies!
Propagation Methods
Let’s get our hands dirty! There are a couple of ways we can go about this with Sedum fragrans.
Stem Cuttings: My Go-To
This is by far the easiest and most successful method for me.
- Take your cuttings: Using your clean shears, select healthy stems. Cut sections that are about 3-4 inches long. Try to make your cut just below a leaf node (where the leaves attach to the stem).
- Remove lower leaves: Gently pull off the bottom couple of sets of leaves from your cuttings. This exposes those nodes, which is where the roots will form.
- Let them callus: This is a crucial step! Lay your cuttings on a dry surface, away from direct sunlight, for about 2-5 days. You want the cut end to dry out and form a “callus.” This prevents rot when you plant them.
- Dip in rooting hormone (optional): If you’re using rooting hormone, dip the callused end into the powder, tapping off any excess.
- Plant your cuttings: Fill your small pots or trays with your well-draining soil mix. Make a small hole with your finger or a pencil. Gently insert the callused end of the cutting into the soil, ensuring the nodes you bared are below the surface. If you have multiple cuttings, give them a little space.
- Water lightly: Moisten the soil gently. You don’t want to drown them. A spray bottle works well here. Place the pots in a spot with bright, indirect light.
Water Propagation (with caution!)
I sometimes use this for larger stems, but I’m always more mindful of the next step.
- Follow steps 1 and 2 from the stem cutting method.
- Place cuttings in water: Get a clean jar or glass and fill it with water. Place your cuttings in the water, making sure the leaf nodes are submerged, but none of the remaining leaves are touching the water.
- Change water regularly: Change the water every few days to keep it fresh and prevent bacteria.
- Watch for roots: You should start to see tiny roots emerging from the nodes within a few weeks.
- Plant them once roots are established: Once you have good roots (about an inch long), gently transfer them to your prepared potting mix, following step 5 from the stem cutting method, and water as before.
The “Secret Sauce” (Pro Tips)
Here are a couple of things I’ve learned over the years that really make a difference:
- Bottom Heat is Your Friend: If you have a seedling heat mat, placing your pots on top of it can dramatically speed up root development. It mimics that cozy, warm soil feeling the plants love in their active season.
- Don’t Overwater After Planting: This is probably the most common mistake. After you plant your callused cuttings, they don’t need much water. The callused stems have enough stored moisture to get started. Let the soil dry out slightly between waterings. It’s better to err on the side of too dry than too wet, especially in the beginning.
Aftercare & Troubleshooting
Once your cuttings have started showing signs of new growth (tiny leaves emerging!), you know they’ve rooted! At this point, you can treat them much like a mature Sedum fragrans. Continue to provide bright, indirect light and water only when the soil is dry to the touch.
The most common issue you might encounter is rot. If your cuttings turn mushy and black, it’s usually a sign of too much moisture. Unfortunately, there’s usually no salvaging a rotten cutting. This is why proper drainage and letting them callus are so important! Another sign of not rooting is if the leaves start to look shriveled and dry, but without any new growth appearing after a few weeks. This could mean they weren’t getting enough moisture or the conditions just weren’t right.
A Little Patience Goes a Long Way
Remember, gardening is a journey, and propagation is all about patience and observation. Don’t be discouraged if every single cutting doesn’t make it. Celebrate the ones that do, and learn from the ones that don’t. Enjoy the process of nurturing these new little life forms. Happy propagating, and I can’t wait to hear about your successes!
Resource:
https://identify.plantnet.org/k-world-flora/species/Sedum%20fragrans%20’t%20Hart/data