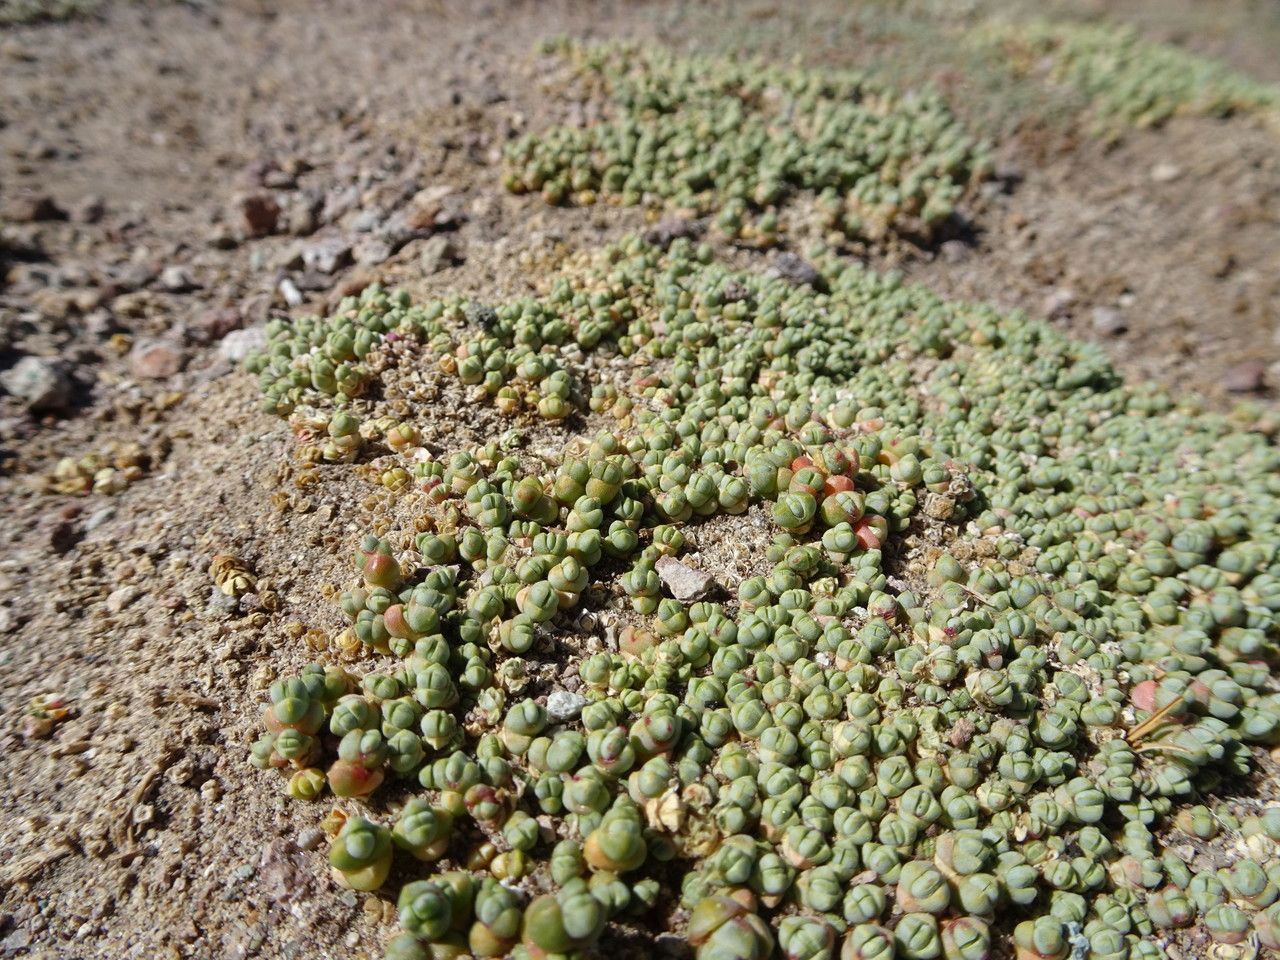
Oh, hello there! Come on in, grab a mug. I’m so glad you’re curious about propagating Salicornia pulvinata, or as many of us affectionately call it, sea beans or marsh samphire. It’s such a wonderfully unique plant, with those bright green, almost architectural stems. And the taste! If you’re a fan of that crisp, salty crunch in your salads or as a quick pickle, then growing your own is incredibly satisfying. Plus, seeing a few little cuttings take hold and grow into their own plants? Pure gardening joy. Now, is it easy for a beginner? Honestly, Salicornia pulvinata is quite forgiving, which is wonderful news for all of us!
The Best Time to Start
For the absolute highest success rate, I always recommend starting your propagation in the late spring or early summer. This is when the plant is in its active growing phase, pushing out lots of fresh, tender new growth. These vibrant young stems have abundant energy and are much more receptive to rooting. You’ll want to look for stems that are firm and have at least a few segments, but aren’t woody or old.
Supplies You’ll Need
Gathering your supplies beforehand makes the whole process so much smoother. Here’s what I usually keep on hand:
- Sharp, clean pruning shears or a sharp knife.
- A well-draining potting mix. I often blend peat moss, perlite, and a bit of coarse sand. If you’re growing it in a brackish environment, you might adjust this slightly, but good drainage is key regardless.
- A spray bottle for misting.
- Small pots or propagating trays.
- Optional: Rooting hormone powder can give an extra boost, though it’s often not strictly necessary for Salicornia.
- A warm location, perhaps with bottom heat if you have it.
Propagation Methods
There are a couple of really effective ways to start new Salicornia pulvinata plants, and I find stem cuttings to be the most straightforward.
Stem Cuttings:
This is my go-to method. It’s simple and yields great results.
- Select and Cut: Choose a healthy, actively growing stem about 4-6 inches long. Using your sharp shears, make a clean cut just below a node (the point where a segment meets the next). This node is where roots will emerge.
- Prepare the Cutting: Gently remove the bottom few segments of the stem. You can leave the top segments with their leaves intact.
- Apply Rooting Hormone (Optional): If you’re using rooting hormone, dip the cut end into the powder. Tap off any excess.
- Planting: Fill your small pots or trays with your prepared, moist potting mix. Make a small hole in the soil with a pencil or your finger.
- Insert the Cutting: Gently insert the cut end of the stem into the hole, burying at least one or two of the lower prepared nodes. Firm the soil gently around the stem to ensure good contact.
- Water and Cover: Water the potting mix lightly. You can then cover the pot or tray with a clear plastic bag or dome to create a humid environment. This helps prevent the cutting from drying out before it can root.
Water Propagation (Less Common, but Possible):
While stem cuttings directly into soil are my preference, you can try water propagation for a visual confirmation of rooting.
- Prepare Cuttings: Follow steps 1 and 2 from the stem cutting method.
- Place in Water: Place the prepared cuttings in a jar or glass of fresh, clean water. Make sure the lower nodes are submerged, but try to keep the remaining leaves from touching the water.
- Change Water Regularly: Change the water every few days to keep it fresh and prevent bacterial growth.
The “Secret Sauce” (Pro Tips)
Now, for a few little tricks I’ve picked up over the years that can really make a difference.
- Don’t Overdo the Water: While humidity is vital, soggy soil is the enemy of Salicornia cuttings. They are adapted to brackish, often sandy environments where water drains quickly. If you’re propagating in soil, ensure it’s well-draining, and only water when the top inch feels dry.
- Bottom Heat is Your Friend: If you have a small propagator with a heating element, use it! Gentle bottom heat significantly speeds up root development. It mimics the warmth of the soil in late spring and early summer. Aim for a consistent temperature around 70-75°F (21-24°C).
- Watch for the “Green Up”: Sometimes, before you even see obvious roots, the stem cutting will look a little brighter, a little perkier. This is a subtle sign that things are happening! Use this as encouragement.
Aftercare & Troubleshooting
Once you see those tiny roots starting to emerge (you might see them peeking out of the drainage holes, or if you’re using water propagation, they’ll be visible), it’s time for a special kind of care.
Carefully pot up your rooted cuttings into their own small pots with that same well-draining mix. Keep them in a bright location, but avoid direct, harsh sunlight for the first week or two as they adjust. Continue to keep the soil lightly moist and maintain that humidity if you can, perhaps by continuing to mist occasionally.
Now, what if things go wrong? The most common culprit is rot. If your cutting turns soft, mushy, or develops black spots, it’s likely a sign of overwatering or poor drainage. If you catch it early, you can try to remove the rotted part and replant the healthy section, but often it’s best to just start again. Don’t get discouraged! Every gardener loses a cutting now and then.
A Encouraging Closing
Propagating Salicornia pulvinata is such a rewarding journey. Be patient, trust the process, and enjoy watching those new little plants emerge. Before you know it, you’ll have a mini-forest of coastal goodness to enjoy. Happy propagating!
Resource:
https://identify.plantnet.org/k-world-flora/species/Salicornia%20pulvinata%20R.E.Fr./data