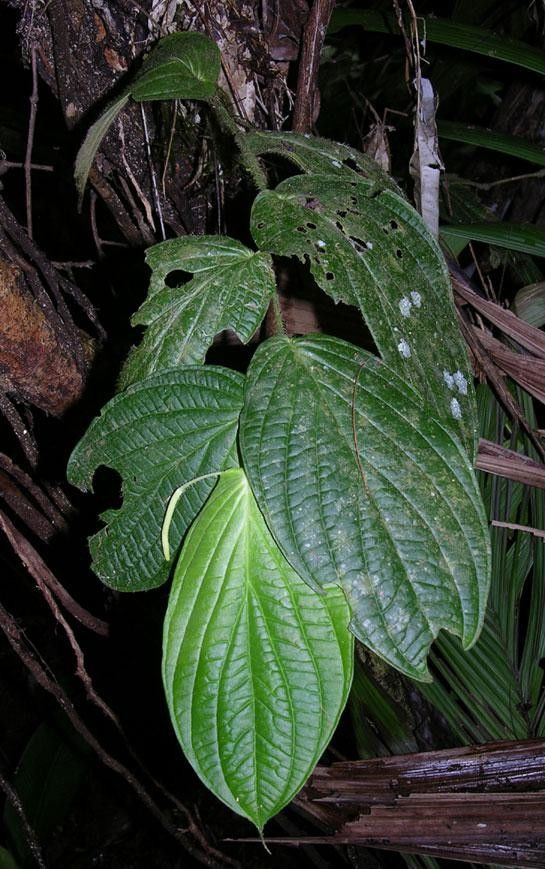
Oh, hello there! Come on in, grab a cup of coffee. I’m so glad you’re interested in Piper beetle. It’s a truly fantastic plant, isn’t it? With its glossy, heart-shaped leaves and that wonderful trailing habit, it adds such a unique touch to any indoor jungle. And the best part? It’s surprisingly rewarding to multiply! If you’re new to propagating, I’d say Piper beetle falls into the “moderately easy” category. A little patience and a few key steps, and you’ll be well on your way to a whole new plant family.
The Best Time to Start
For the absolute best chance of success with Piper beetle, I always recommend spring or early summer. This is when the plant is actively growing. You’ll see new energy flowing through the stems, which means your cuttings will have a greater vigor to root. Trying to propagate when the plant is dormant is just asking for frustration, trust me!
Supplies You’ll Need
Here’s what you’ll want to have on hand before you get started:
- Sharp, clean pruning shears or a sharp knife: Crucial for making clean cuts to avoid damaging the plant.
- Rooting hormone (optional but recommended): This can significantly speed up the process and increase your success rate. Look for one specifically for stem cuttings.
- Well-draining potting mix: I like a blend of peat moss or coco coir, perlite, and a little bit of regular potting soil. A good aeration is key.
- Small pots or propagation tray: Choose containers that are about 3-4 inches in diameter.
- Plastic bag or clear plastic dome: To create a humid environment for your cuttings.
- Watering can with a fine spout: For gentle watering.
Propagation Methods
Let’s get our hands dirty! Here are my go-to methods for Piper beetle:
1. Stem Cuttings (My Favorite!)
This is hands-down my most successful method for Piper beetle.
- First, select a healthy, mature stem. Look for one that has at least a few leaves and is about 4-6 inches long.
- Using your sharp pruners, make a clean cut just below a leaf node. A leaf node is where a leaf meets the stem – that’s where the magic happens, where roots will emerge.
- Gently remove the lower leaves from the cutting. You want to expose a couple of those leaf nodes.
- If you’re using rooting hormone, dip the cut end into the powder, tapping off any excess.
- Now, make a hole in your prepared potting mix with a pencil or your finger.
- Insert the cutting into the hole, ensuring the leaf nodes are buried. Gently firm the soil around the stem.
- Water the soil lightly to help settle it.
- Cover the pot with a plastic bag or propagation dome to keep humidity high. You can poke a few holes in the bag for airflow if you’re worried about it getting too stuffy.
- Place the pot in bright, indirect light. Avoid direct sun, which can scorch those tender new cuttings.
2. Water Propagation (A More Visual Option)
I love this method when I want to watch the roots develop!
- The initial steps are the same: Select a healthy stem cutting, making sure it has at least a few leaves.
- Remove the lower leaves so that only the top leaves remain.
- Place the cutting in a glass or jar of clean water. Make sure the leaf nodes are submerged, but crucially, don’t let any leaves touch the water. Yellowing and rot are quick to set in if leaves are submerged.
- Change the water every few days to keep it fresh and prevent bacterial growth.
- Place the jar in a bright, indirect light location.
- Once you see roots developing that are about an inch or two long, it’s time to transplant them into potting mix. Handle those delicate roots with care!
The “Secret Sauce” (Pro Tips)
Here are a few little tricks I’ve learned over the years that make a big difference:
- Bottom Heat is Your Friend: If you can get your hands on a seedling heat mat, use it! Placing your pots on a gentle heat source can significantly speed up root formation. It mimics the warmth of spring soil and gives those little root cells a real boost.
- Don’t Be Afraid to “Wound” (Carefully!): For stubborn cuttings, I sometimes take a very sharp knife and make a tiny nick on the stem just above a leaf node. This can sometimes encourage more robust root development. Do this GENTLY – you don’t want to damage the stem, just expose a bit more of the inner tissue.
- Find Your “Sweet Spot” for Humidity: While high humidity is good, too much can encourage fungal issues. If your plastic bag is constantly dripping, poke a few more holes or remove it for an hour a day to let things air out. You want it humid, not a swamp!
Aftercare & Troubleshooting
Once you start seeing new leaf growth or feel some gentle resistance when you tug lightly on the stem, you know you’ve got roots!
- Gradually acclimate your new plant to normal conditions. If it was in a bag, remove it for longer periods each day before taking it off completely.
- Continue to water when the top inch of soil feels dry.
- Keep it in bright, indirect light.
- What if it doesn’t root? The most common culprit is rot. This usually happens from being too wet, not enough airflow, or submerged leaves in water propagation. If the stem turns mushy and black, it’s usually a lost cause. If the cutting wilts but stays firm, it just needs more time and humidity, or perhaps it wasn’t healthy to begin with. Don’t get discouraged – propagation is a learning process!
So there you have it! Propagating Piper beetle is a truly satisfying experience. It takes a little patience, a keen eye, and a willingness to experiment. Remember, every gardener has “failures” – we just call them learning opportunities. Go ahead, give it a try. You might just surprise yourself with how many beautiful new Piper beetle plants you can create. Happy growing!
Resource:
https://identify.plantnet.org/k-world-flora/species/Piper%20arcteacuminatum%20Trel./data