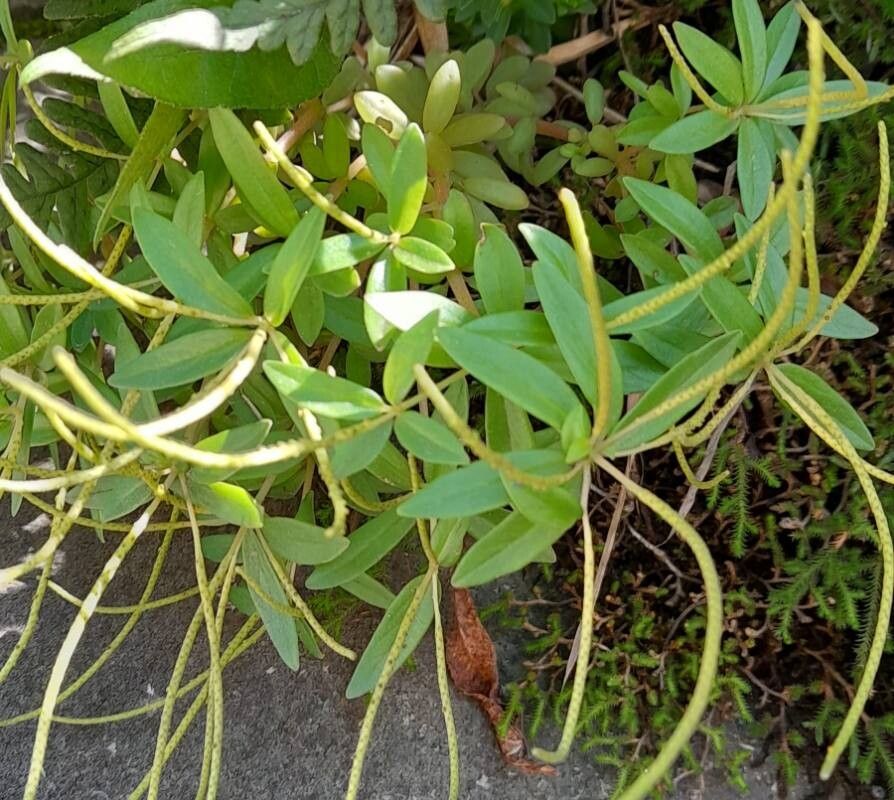
Hello, fellow plant lovers! It’s so good to connect with you today. I’m absolutely buzzing to chat about one of my favorite, almost architectural-looking plants: Peperomia galioides, also known as the String of Watermelons or Trailing Jade. Its little watermelon-striped leaves dangling down are just darling, and the fact that you can easily share this beauty with friends (or just fill up your own plant shelves!) makes propagating it incredibly rewarding. And the best part? For seasoned plant parents and even brave beginners, Peperomia galioides is a wonderfully forgiving plant to propagate. You’ll be making new plant babies in no time!
The Best Time to Start
Thinking about when to get your hands dirty? Spring is, hands down, the prime time to propagate Peperomia galioides. As the days get longer and warmer, your plant is naturally entering its most active growth phase. This means it has plenty of energy to put into sprouting new roots and leaves on those cuttings. Aim for a period when your plant is actively pushing out new growth, usually from late spring through early summer.
Supplies You’ll Need
Gathering your supplies before you dive in makes the whole process so much smoother. Here’s what I usually have on hand:
- Sharp, clean pruning shears or scissors: A clean snip is crucial to prevent disease.
- Peat-based potting mix or a DIY blend: I like a mix that drains well, so a combination of potting soil and perlite (roughly 2:1 ratio) works wonders. Some growers even use a bit of horticultural charcoal to keep things fresh.
- Small pots or propagation trays: Whatever you have that can hold your cuttings snugly.
- Plastic bags or a propagation dome: To create a humid environment.
- Water: Clean, room-temperature water.
- Rooting hormone (optional but helpful): A little boost can speed things up!
- A small watering can or spray bottle: For gentle watering.
- Labels and a marker: Because it’s easy to forget what you planted where!
Propagation Methods
Peperomia galioides is quite versatile, and I’ve had great success with a couple of methods.
Stem Cuttings: My Go-To
This is my personal favorite for this plant. It’s straightforward and yields impressive results.
- Find a healthy stem: Look for a long, trailing stem that has several leaves on it.
- Make your cut: Using your sharp shears, make a clean cut about 1-2 inches below a leaf node. A leaf node is that little bump where the leaf attaches to the stem. This is where the magic happens – roots will emerge from here.
- Prepare the cutting: Gently strip off the bottom set of leaves. You want at least two to three sets of leaves remaining on the cutting.
- Optional: Rooting Hormone: Dip the cut end of the stem into rooting hormone powder, tapping off any excess. This isn’t strictly necessary, but it can give your cutting a little extra encouragement.
- Plant it up: Insert the cut end directly into your prepared potting mix. Make sure the leaf nodes are buried in the soil. Gently firm the soil around the cutting.
- Water gently: Lightly water the soil, just enough to moisten it. You don’t want it soggy.
- Create humidity: Cover the pot with a clear plastic bag or place it under a propagation dome. This traps moisture and creates a humid microclimate, which the cuttings absolutely love. Place it somewhere warm and bright, but out of direct sunlight.
Water Propagation: The Visible Success
If you like seeing roots develop, this is a fun option.
- Take your cuttings: Follow steps 1-3 from the stem cutting method.
- Place in water: Do not submerge the leaves. You want to ensure that only the leaf nodes are in contact with the water. I usually trim off the very bottom leaves to make sure of this.
- Fresh water: Place your cuttings in a clean jar or glass filled with room-temperature water.
- Change the water: Change the water every few days or whenever it starts to look cloudy. This prevents bacterial growth.
- Location, location: Place the container in a bright spot, away from direct sun.
- The wait: You’ll start to see tiny white roots emerging from the leaf nodes. Once these roots are about an inch long, it’s time to move them to soil. Gently plant them as you would a rooted cutting.
The “Secret Sauce” (Pro Tips)
Over the years, I’ve learned a few tricks that really make a difference.
- Don’t let the leaves touch the water: This is a big one for water propagation. Submerged leaves are prone to rotting, which can spread to the stem and kill your cutting before it even gets a chance to root.
- Bottom heat works wonders: If you have an old heating mat for seedlings, popping your potted cuttings on it can significantly speed up root development. It mimics the warmth of spring soil and gives your cuttings that extra kick. Just ensure the mat isn’t too hot – warm to the touch is perfect.
- Patience is key with Peperomia galioides: While these plants are generally eager to propagate, sometimes they can be a little slow to show their progress. Don’t despair if you don’t see roots in a week! Gentle tugging on the cutting can sometimes reveal if there’s resistance, indicating roots have formed.
Aftercare & Troubleshooting
Once your cuttings have rooted (you’ll see new growth, feel resistance when gently tugged, or see those lovely visible roots), it’s time for their next chapter.
- Gradual transition: If you’ve been using a plastic bag, gradually remove it over a few days to allow the new plant to acclimate to normal humidity levels.
- Watering: Water when the top inch of soil feels dry. Avoid overwatering, as this is the most common culprit for failure.
- Light: Continue to provide bright, indirect light.
- Troubleshooting: The most common issue you’ll face is rot. If you see your cutting becoming mushy or developing black spots, it’s likely due to too much moisture. Try to remove the affected part, ensure good drainage, and allow the soil to dry out a bit more between waterings. If stem rot occurs in water propagation, it’s usually best to discard the cutting and start fresh. Yellowing leaves can sometimes indicate too much water or not enough light.
A Gentle Encouragement
Propagating plants is such a beautiful way to connect with nature and see life spring forth. Don’t be discouraged if your first attempt isn’t perfect. Every cutting you take is a learning experience. Be patient, trust the process, and most importantly, enjoy the journey of watching your little Peperomia galioides cuttings grow into happy, healthy new plants. Happy propagating!
Resource:
https://identify.plantnet.org/k-world-flora/species/Peperomia%20galioides%20Kunth/data