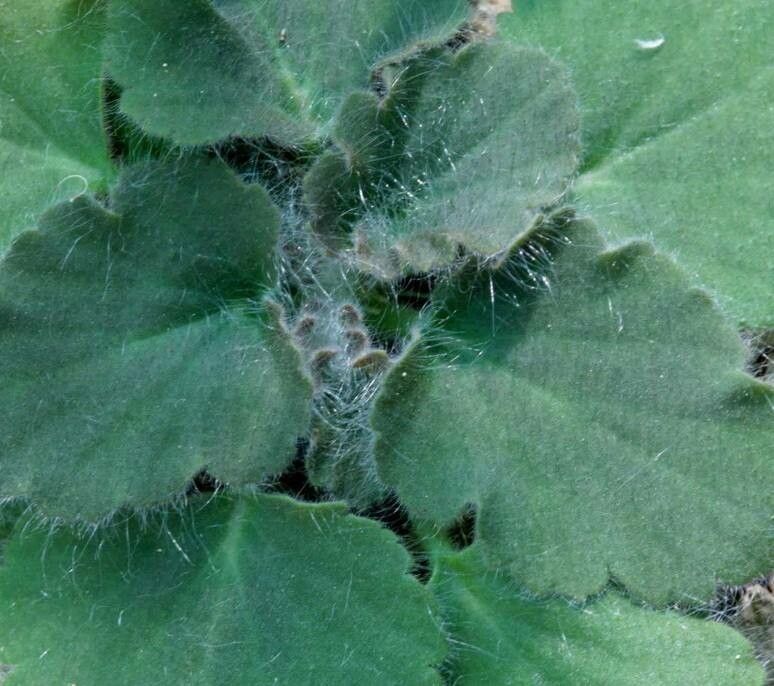
Hello, fellow plant lovers! I’m so excited to chat with you today about a gem in the Pelargonium family: Pelargonium curviandrum. If you’re looking for a plant that brings a touch of the exotic with its uniquely shaped leaves and a wonderful, subtle fragrance, you’re in for a treat. And the best part? You can easily fill your garden or windowsills with more of these beauties by propagating them yourself! It’s a truly rewarding experience, watching a tiny cutting transform into a whole new plant. For Pelargonium curviandrum, I’d say propagation is moderately easy, a lovely challenge for those ready to move beyond the absolute basics.
The Best Time to Start
When it comes to getting the most bang for your buck with Pelargonium curviandrum propagation, spring and early summer are your golden windows. This is when the plant is actively growing and has plenty of energy to put into rooting. Aim for cuttings taken from healthy, non-flowering stems. Starting too late in the year might mean your new plants won’t have enough time to establish before cooler weather sets in.
Supplies You’ll Need
Gathering your supplies beforehand makes the whole process smoother. Here’s what I usually have on hand:
- Sharp pruning shears or a clean, sharp knife: For making clean cuts.
- Rooting hormone (optional but recommended): A powder or gel that encourages root development.
- Well-draining potting mix: I like a blend of equal parts peat moss or coco coir and perlite or coarse sand. You can also buy specialized succulent or cactus mixes.
- Small pots or seed trays: Clean ones are key to preventing disease.
- Watering can or spray bottle: For gentle watering.
- Plastic bags or propagation domes (optional): To create a humid environment.
- Labels: Because trust me, you’ll forget what’s what!
Propagation Methods
Let’s get our hands dirty! Stem cuttings are my go-to for Pelargonium curviandrum.
Stem Cuttings
- Select your parent plant: Choose a healthy, vigorous Pelargonium curviandrum that isn’t currently flowering.
- Take the cutting: Using your sharp shears or knife, carefully take a cutting about 4-6 inches long from the tip of a stem. Make a clean cut just below a leaf node (where a leaf attaches to the stem).
- Prepare the cutting: Gently remove the lower leaves from the cutting, leaving just the top 2-3 leaves. If the remaining leaves are very large, you can trim them in half to reduce water loss through transpiration.
- Apply rooting hormone (optional): Dip the cut end of the stem into your rooting hormone. Tap off any excess.
- Plant the cutting: Fill your small pots or trays with your well-draining potting mix. Make a hole in the center of the soil with your finger or a pencil. Insert the cut end of the Pelargonium curviandrum cutting into the hole, ensuring the leaf node is buried. Gently firm the soil around the base of the cutting.
- Water gently: Water the soil thoroughly but gently. You don’t want to dislodge your cuttings.
- Provide humidity: Cover the pot loosely with a plastic bag or place it inside a propagation dome. Make sure the leaves don’t touch the sides of the bag if possible.
- Place in bright, indirect light: Find a warm spot with plenty of bright light, but out of harsh direct sun.
Water Propagation (A Fun Alternative!)
While stem cuttings in soil are my preference for Pelargonium curviandrum, you can try water propagation if you’re feeling adventurous:
- Follow steps 1-3 for stem cuttings.
- Place in water: Fill a clean jar or glass with fresh water. Place the cuttings in the water, ensuring no leaves are submerged. This is crucial to prevent rot.
- Change the water regularly: Every couple of days, change the water to keep it fresh and oxygenated.
- Provide bright, indirect light: Similar to soil propagation, find a good spot.
- Watch for roots: Roots should start to appear within a few weeks. Once they are about an inch long, you can transplant them into potting mix.
The “Secret Sauce”
After years of digging in the dirt, I’ve learned a few tricks that can really boost your success rate:
- Let the cuttings callous: Before dipping in rooting hormone or planting, let your cuttings sit in a dry, airy spot for a day or two. This allows the cut end to dry out a bit, which helps prevent rot. It’s like giving the wound a chance to heal a little before it goes into the soil.
- Bottom heat is your friend: If you have it, using a gentle seedling heat mat under your pots can significantly speed up root formation. Pelargonium curviandrum loves a bit of warmth from below to get those roots moving.
Aftercare & Troubleshooting
Once you see those little roots peeking out from the drainage holes or emerging from the stem, it’s time for a little celebratory dance!
- Transition gradually: If you used a plastic bag or dome, gradually remove it over a week to help your new plant acclimate to drier air.
- Watering: Water more thoroughly once roots have developed, but still allow the soil to dry out slightly between waterings. Overwatering is the quickest way to disaster.
- Potting up: When the new plant is well-established and has a good root system, you can move it to a slightly larger pot.
Troubleshooting: The most common issue is rot, where the stem turns mushy and dark. This is usually a sign of too much moisture and not enough drainage or airflow. If you see this, sadly, the cutting is likely a goner. Ensure your soil is well-draining, your pots have drainage holes, and you’re not overwatering. Another sign of trouble is a cutting that just shrivels up and looks sad – it might not have had enough energy to start, or perhaps the environment was too dry.
A Gentle Encouragement
Propagating Pelargonium curviandrum is such a satisfying endeavor. It’s a chance to connect with your plants on a deeper level and multiply the joy they bring. Don’t be discouraged if your first attempt isn’t a resounding success – gardening is a journey of learning and patience. Keep trying, observe your plants, and before you know it, you’ll be surrounded by beautiful new Pelargoniums! Happy gardening!
Resource:
https://identify.plantnet.org/k-world-flora/species/Pelargonium%20curviandrum%20E.M.Marais/data