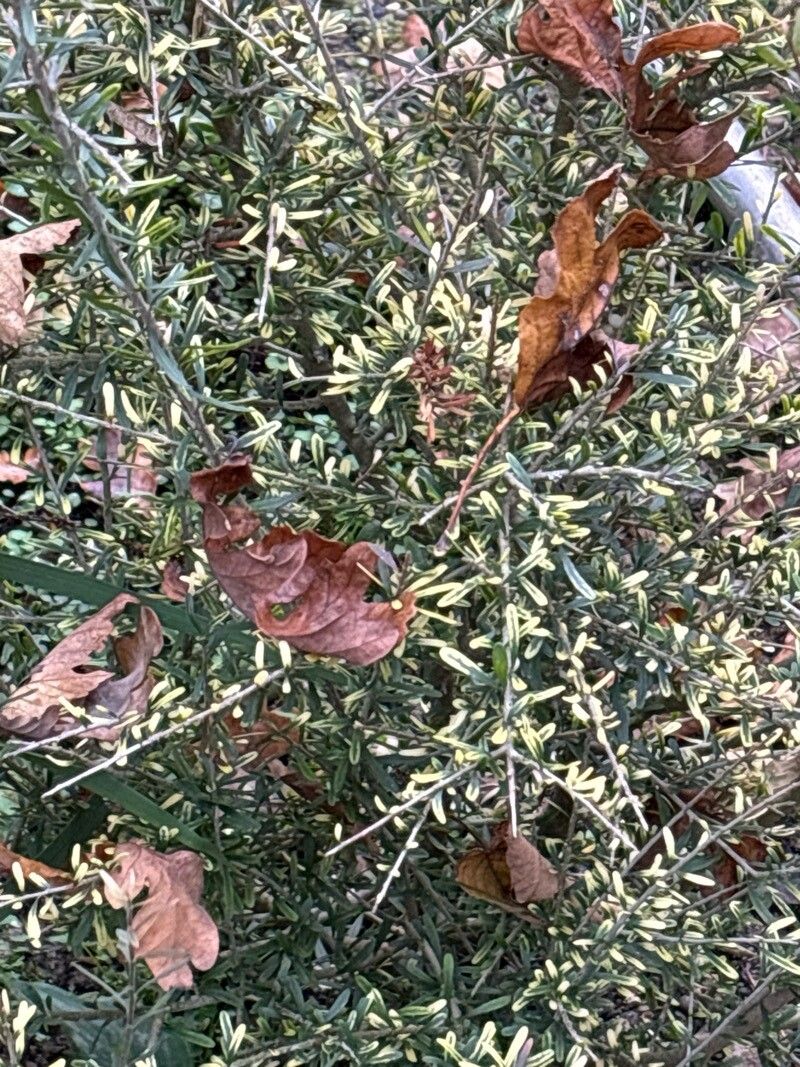
Hello, fellow plant lovers! I’m so excited to chat with you today about a truly charming native New Zealand shrub: Melicytus alpinus, or as it’s often called, the Pōhuehue. These tough little guys, with their delicate, often scrambling habit and dainty leaves, can bring such a unique texture and character to any garden, whether it’s a rock garden, a cascading feature, or even a pot.
If you’ve ever admired the resilience and beauty of Melicytus alpinus, you might be wondering if you can grow more of them. The good news is, yes! Propagating them yourself is incredibly rewarding. You get to nurture a brand new life from something you already have, and honestly, it’s not as daunting as you might think. While it might not be the absolute easiest plant for a brand-new beginner, with a little patience and these tips, you’ll be well on your way.
The Best Time to Start
For the highest chance of success with propagating Melicytus alpinus, I always recommend working with softwood cuttings taken in late spring to early summer. This is when the plant is actively growing and full of energy. The new growth is pliable and usually roots more readily than older, woodier stems. You want stems that are still flexible but not so flimsy that they just flop over.
Supplies You’ll Need
Here’s a little kit to get you started:
- Sharp, clean pruning shears or a sharp knife: Hygiene is crucial to prevent disease.
- Potting mix: A well-draining mix is key. I often use a blend of about 50% perlite and 50% peat moss or coco coir. You can also buy specialized cutting mixes.
- Small pots or seed trays: Clean thoroughly before use.
- Rooting hormone (optional but recommended): This powder or gel can significantly boost your success rate by stimulating root development.
- A watering can or spray bottle: For gentle watering.
- A plastic bag or propagation dome (optional): To create a mini-greenhouse effect.
- Labels: To keep track of what you’ve planted and when.
Propagation Methods
I’ve found that stem cuttings are the most reliable and common way to propagate Melicytus alpinus. Here’s how I do it:
- Take Your Cuttings: Choose healthy, non-flowering stems. With your clean shears, take cuttings that are about 10-15 cm (4-6 inches) long. Make your cut just below a leaf node (where a leaf attaches to the stem).
- Prepare the Cuttings: Gently remove the lower leaves from the cutting, leaving just a few at the top. This prevents them from rotting when they’re in the soil. If the remaining leaves are very large, I sometimes snip them in half to reduce water loss.
- Apply Rooting Hormone: Dip the cut end of each stem into your rooting hormone, tapping off any excess. This is where the magic happens!
- Plant Your Cuttings: Fill your pots or trays with your prepared potting mix. Make a small hole with your finger or a pencil, and insert the cutting about 2-3 cm (about an inch) deep. Firm the soil gently around it.
- Water Gently: Water the soil thoroughly but gently, ensuring it’s moist but not waterlogged. A good soak to start is important.
- Provide the Right Environment: This is where the plastic bag or dome comes in. Cover the pot loosely. This helps maintain humidity, which is vital for cuttings that haven’t developed roots yet. Place the pot in a bright spot but out of direct sunlight.
The “Secret Sauce” (Pro Tips)
Over the years, I’ve picked up a few tricks that seem to make all the difference:
- Bottom Heat is Your Friend: If you have a heat mat, placing your pots on it can dramatically speed up the rooting process. It encourages root development from below without drying out the top. It’s not strictly necessary, but it’s a game-changer.
- Don’t Overwater, but Don’t Let Them Dry Out: This is a fine balance. Check the soil moisture regularly. The potting mix should feel consistently damp, like a wrung-out sponge. If it feels dry, water gently. If it feels soggy, you might have too much moisture.
- A Little Air Circulation Goes a Long Way: While we want humidity, too much stagnant air can lead to fungal issues. If you’re using a plastic bag, open it for a few minutes each day to let fresh air in. This helps prevent rot and encourages stronger growth.
Aftercare & Troubleshooting
When your cuttings have started to show signs of new growth – new leaves unfurling or a slight tug resistance when you gently pull them – it’s a good sign that roots have formed. You can carefully transplant them into individual small pots. Use your regular potting mix now.
Keep them in a bright, protected spot. Continue to water them gently as they establish. Avoid exposing young plants to harsh conditions prematurely.
The most common issue you might encounter is rot. If you see a cutting turning black and soft, it’s likely rotted. This is usually due to too much moisture and not enough air circulation. If you catch it early, you might be able to salvage the parts that aren’t affected, but often, it’s best to discard it and try again, focusing on that perfect balance of moisture and air. Wilting can also happen if the cutting dries out too much before roots form, or if it’s placed in too much direct sun.
A Encouraging Closing
Propagating plants is an act of hope and patience. Not every cutting will succeed, and that’s perfectly okay! Each attempt teaches you something new. The satisfaction of seeing those tiny roots begin to form, and then watching your new Melicytus alpinus grow into a beautiful plant you nurtured yourself, is truly a joy. So, give it a go, enjoy the process, and celebrate every little success! Happy gardening!
Resource:
https://identify.plantnet.org/k-world-flora/species/Melicytus%20alpinus%20(Kirk)%20Garn.-Jones/data