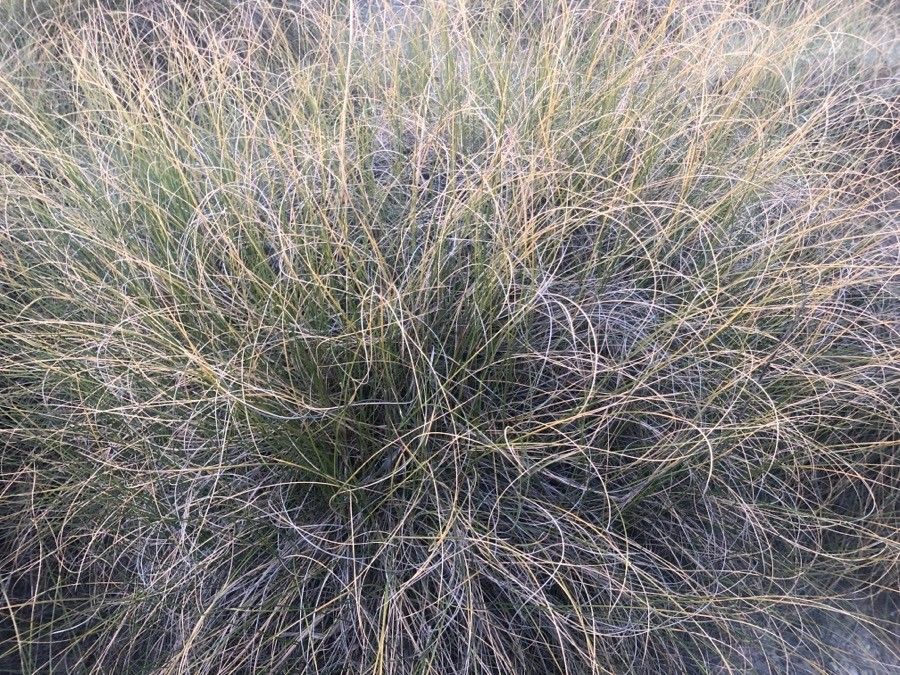
Hello, fellow plant lovers! Today, we’re going to delve into the wonderful world of propagating Macrochloa tenacissima, also known as Esparto grass. This tough, elegant grass brings such a lovely texture and movement to any garden, and the smell of its dried leaves is just divine. Plus, there’s a special kind of joy in coaxing new life from an existing plant, isn’t there? If you’re new to propagation, don’t worry – while Macrochloa tenacissima isn’t always the easiest plant to get going from a cutting, with a little patience and the right approach, it can be incredibly rewarding.
The Best Time to Start
For the best shot at success, I always recommend starting your propagation efforts in the late spring or early summer. This is when the plant is in its most vigorous growth phase. The warmer temperatures and longer daylight hours give those new cuttings or divisions the energy they need to establish themselves quickly. Think of it as giving them the best possible head start.
Supplies You’ll Need
Before we get our hands dirty, let’s gather our tools. Here’s what I always have on hand:
- Sharp Pruning Shears or a Knife: For clean cuts.
- A Well-Draining Potting Mix: I like a mix of equal parts perlite and peat moss, or a commercial seed-starting mix.
- Small Pots or Trays: Clean ones are key!
- Rooting Hormone (Optional but Recommended): This really gives your cuttings a boost.
- Watering Can or Spray Bottle: For gentle watering.
- Labels: So you don’t forget what you planted where.
- A Clear Plastic Bag or Dome: To create a humid environment.
- A Sunny, Warm Spot: For the new propagations to grow.
Propagation Methods
Macrochloa tenacissima is most commonly and successfully propagated through division, and less commonly, through stem cuttings. Let’s tackle division first, as it’s generally the most reliable for this grass.
Division: The Gardener’s Best Friend
This is like giving your mature plant a little refresh and getting free plants from the process!
- Gently Remove the Plant: Carefully dig up your Macrochloa tenacissima. You can do this while it’s still in the ground or if it’s in a pot. Loosen the soil around the edges.
- Inspect the Root Ball: Once it’s out, gently shake off some of the excess soil. You’ll see the plant has a clumping habit. Look for natural separations where new shoots are emerging from the base of the plant.
- Separate the Clumps: Using your hands or a trowel, carefully pull the clumps apart. You want each division to have a healthy portion of roots and at least a few shoots. If it’s a bit stubborn, a clean, sharp knife or trowel can help you make a clean cut through any tough root structures.
- Pot Them Up: Plant each division into its own clean pot filled with your well-draining potting mix. Make sure the crown of the plant (where the roots meet the shoots) is at soil level.
- Water Thoroughly: Give each new pot a good, gentle watering.
Stem Cuttings: A Bit More Niche
While less common, you can try stem cuttings, especially from new, vigorous growth.
- Take Cuttings: Select a healthy, non-flowering stem that is about 6-8 inches long. Using your sharp shears, make a clean cut just below a leaf node (where a leaf emerges from the stem).
- Prepare the Cutting: Remove the lower leaves, leaving just a few at the top. If you’re using rooting hormone, dip the cut end into the powder.
- Plant the Cutting: Insert the cut end about an inch deep into your prepared pot of propagation mix.
- Water Gently: Water lightly.
- Create Humidity: Cover the pot with a clear plastic bag or dome to keep humidity high. This is crucial for stem cuttings.
The “Secret Sauce” (Pro Tips)
Here are a few tricks I’ve learned over the years that can really help your Macrochloa propagations thrive:
- Don’t Overwater Divides: While divisions need consistent moisture, they hate sitting in soggy soil. Ensure excellent drainage and let the top inch of soil dry out slightly between waterings. This is especially important for divisions, as they already have an established root system that can rot if too wet.
- Bottom Heat for Cuttings: If you’re attempting stem cuttings and struggling to get them to root, try placing the pot on a heating mat designed for plants. This gentle warmth from below encourages root development without drying out the top of the soil too quickly.
- Be Patient with Division: Sometimes, divisions might look a bit sad for a week or two after separating them. This is normal! They are adjusting to their new homes. As long as they aren’t mushy or black (signs of rot), give them time.
Aftercare & Troubleshooting
Once your divisions are happily settled in their new pots, or your cuttings show signs of new growth (which usually means roots!), you can start treating them like young plants. Gradually reduce the humidity around cuttings as they root. Keep them in a bright spot, but avoid direct hot sun for a few weeks. Water when the top inch of soil feels dry.
The most common issue you’ll face is rot. If you see stem cuttings turning black and mushy at the base, or if your divisions start to show signs of wilting and the soil feels constantly wet and smelly, you’ve likely got rot. This is usually a sign of overwatering or poor drainage. In this case, it’s best to discard the affected propagations to prevent it from spreading.
A Closing Thought
Propagating Macrochloa tenacissima is a journey, not a race. Embrace the learning process, be gentle with your new charges, and celebrate every tiny sprout of new growth. Before you know it, you’ll have a whole collection of these beautiful grasses to enjoy and share! Happy gardening!
Resource:
https://identify.plantnet.org/k-world-flora/species/Macrochloa%20tenacissima%20(L.)%20Kunth/data