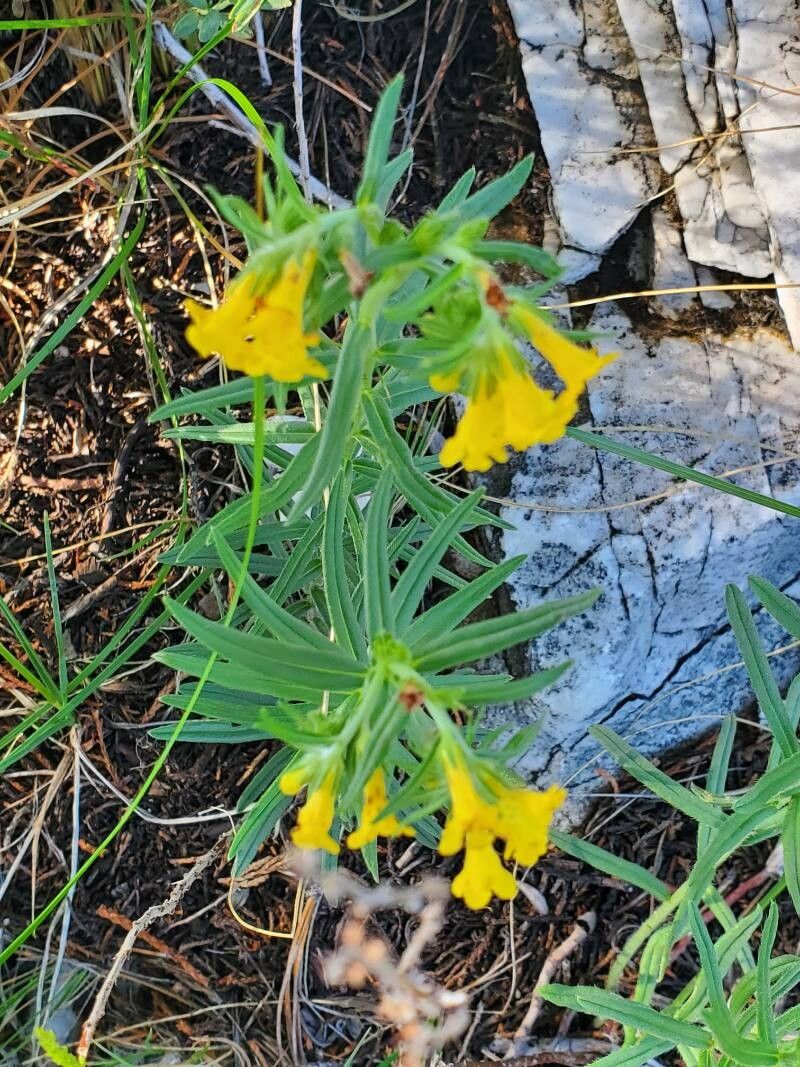
Oh, hello there! Come on in, grab a mug. I’ve been so excited to chat with you about Lithospermum multiflorum, or as I affectionately call them, “little blue jewels.” These beauties, with their delicate clusters of sky-blue flowers, are just absolutely charming. They bring a whisper of the wild to any garden, and honestly, I think they’re rather tenacious once they get going. Propagating them is a wonderfully rewarding project, and I’ll be happy to walk you through it. For beginners, well, it’s not the absolute easiest plant to start with, but with a little patience and a few key steps, you’ll be singing its praises too.
The Best Time to Start
For Lithospermum multiflorum, I’ve found the absolute best time to begin propagating is late spring to early summer. This is when the plant is actively growing and has plenty of energy to put into producing new roots. You want to look for stems that are not too woody, but also not brand new, flopsy growth. Think of stems that have just finished flowering or are just starting to firm up – they have that perfect “just right” quality for rooting.
Supplies You’ll Need
Here’s what you’ll want to have on hand before you get started:
- Sharp, clean pruning shears or a razor blade: For making nice, clean cuts.
- Rooting hormone (optional, but helpful): Look for one formulated for stem cuttings.
- Small pots or cell trays: About 3-4 inches in size works well.
- A well-draining potting mix: I like a blend of equal parts perlite, peat moss (or coco coir), and good quality potting soil. You can also buy specific succulent or cactus mixes that will work.
- A clear plastic bag or a propagator lid: To create a humid environment.
- A watering can or spray bottle: For gentle watering.
- Gloves (optional): If you find handling plants a bit messy.
Propagation Methods
The most successful way I’ve found to propagate Lithospermum multiflorum is through stem cuttings.
- Gather your cuttings: Select healthy, non-flowering stems. Gently cut a piece that’s about 4-6 inches long. Make your cut just below a leaf node (where the leaves attach to the stem). This is where the magic happens for root development.
- Prepare the cuttings: Remove the lower leaves from the cutting. You want to leave just a couple of leaves at the very top. This helps the plant conserve energy and prevents leaves from rotting in the damp soil.
- Dip in rooting hormone (optional): If you’re using rooting hormone, dip the cut end into the powder, tapping off any excess.
- Plant your cuttings: Fill your small pots or cell trays with your well-draining potting mix. Make a small hole in the center with your finger or a pencil. Gently insert the cut end of the stem into the hole. Firm the soil gently around the base of the cutting to ensure good contact.
- Water gently: Water the soil lightly until it’s evenly moist but not waterlogged. A spray bottle is great for this at first.
- Create humidity: Place the pot or tray into a clear plastic bag, sealing it loosely, or cover with a propagator lid. This will create a mini-greenhouse effect, keeping the humidity high, which is crucial for cuttings.
The “Secret Sauce” (Pro Tips)
Here are a couple of things I’ve learned over the years that really make a difference:
- Bottom heat is your friend: If you have a seedling heat mat, place your pots on it. This gentle bottom warmth encourages root development much faster than ambient room temperature alone. It’s like giving your little cuttings a warm hug, and they respond beautifully!
- Don’t be tempted to overwater: This is a big one! While humidity is key, sitting in soggy soil is a sure way to invite rot. You want the soil to be consistently moist, not wet. I often check by gently touching the soil surface. If it feels dry, it’s time for a gentle watering.
- Patience is paramount: Lithospermum can be a bit slow to root. Don’t panic if you don’t see progress immediately. It can take anywhere from 4-8 weeks for roots to form. Resist the urge to constantly check or pull them up!
Aftercare & Troubleshooting
Once your cuttings have developed a good root system – you can often tell by seeing roots peeking out of the drainage holes or a gentle tug offering slight resistance – it’s time to ease them into more regular care.
- Acclimate them slowly: Gradually remove the plastic bag or propagator lid over a week or so to let them get used to drier air.
- Water as needed: Continue to keep the soil consistently moist but not waterlogged. As the plant grows, you can start watering it like a mature Lithospermum.
- Fertilize sparingly: Once you see new, healthy growth, you can start feeding them with a diluted liquid fertilizer, probably at half strength.
- Troubleshooting: The most common issue you’ll face is rot. If a cutting turns black and mushy, it’s usually a sign of too much moisture or poor drainage. Discard any rotted cuttings. If cuttings simply refuse to root, they might have been too old, too young, or the conditions weren’t quite right. Don’t be discouraged; just try again with a fresh batch!
So there you have it! Propagating Lithospermum multiflorum is a journey, and it’s one that’s definitely worth taking. Be patient with yourself and with your cuttings. Enjoy the process of nurturing these little bits of greenery into something beautiful. Before you know it, you’ll have an abundance of these delightful blue blooms to share. Happy gardening!
Resource: