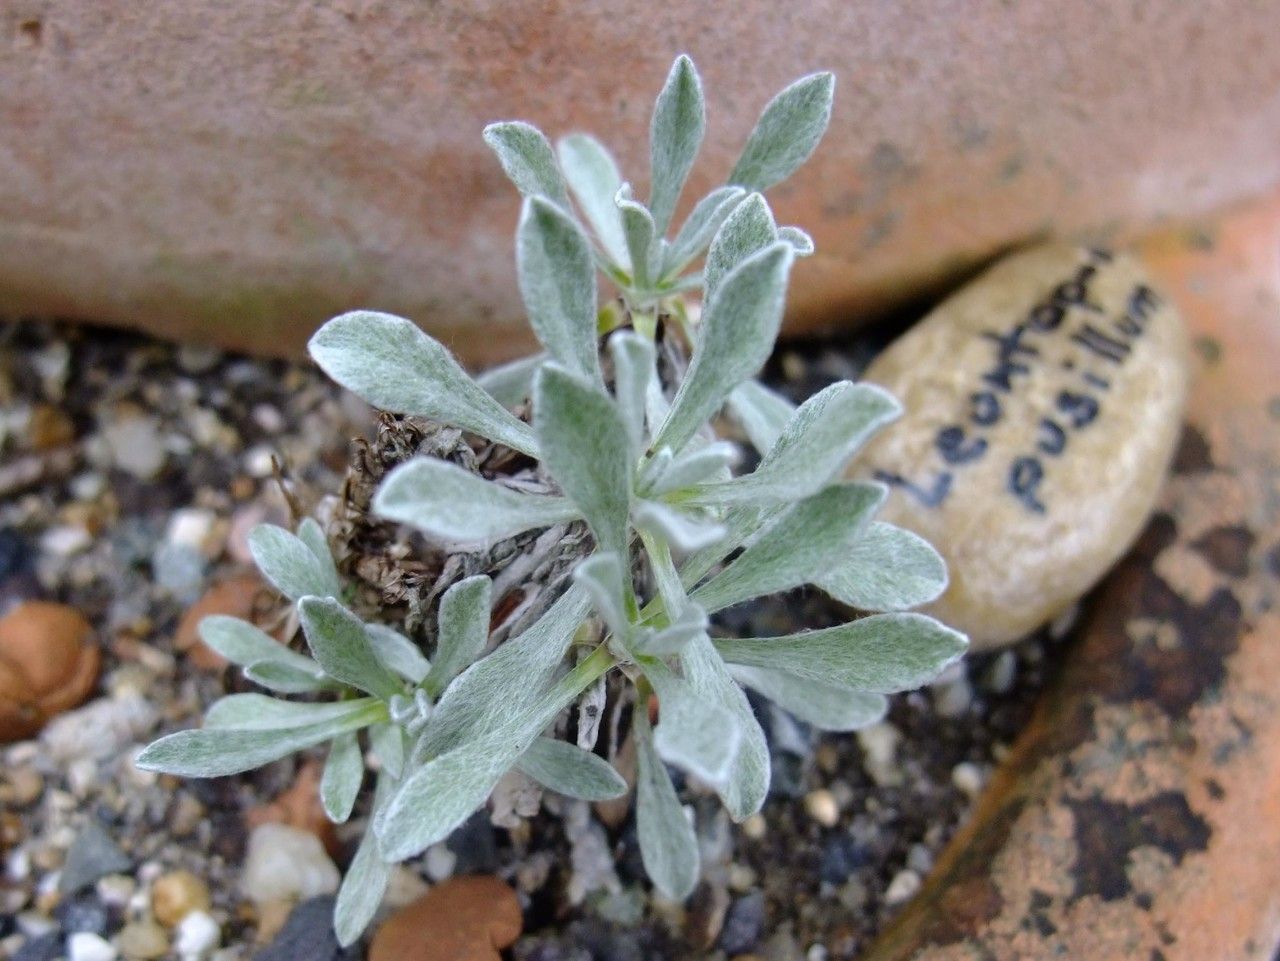
Hello fellow garden enthusiasts! Today, we’re diving into the wonderful world of Leontopodium pusillum, those charming little edelweiss relatives that bring a touch of alpine magic to our gardens. I’ve spent two decades coaxing all sorts of plants into new life, and I’m delighted to share how to multiply these fuzzy darlings. Propagating Leontopodium pusillum is a deeply satisfying process, a way to share its unique beauty and expand your own collection without breaking the bank. While not the absolute easiest plant to start from scratch, with a little care and attention, it’s certainly achievable for anyone with a bit of gardening grit.
The Best Time to Start
For Leontopodium pusillum, the sweet spot is usually late spring to early summer. This is when the plant is actively growing, and your cuttings or divisions will have the best chance of striking root. Look for healthy, vigorous stems that haven’t yet flowered. If you’re dividing an established clump, do it in early spring just as new growth begins to emerge, or in early fall after a heatwave has passed.
Supplies You’ll Need
- Sharp, clean pruning shears or a sharp knife: Essential for making clean cuts to minimize damage.
- Rooting hormone powder or gel (optional but recommended): Helps encourage root development on cuttings.
- Well-draining potting mix: I prefer a mix that’s about 50% perlite or horticultural grit and 50% good quality seed starting mix. Leontopodium pusillum hates soggy feet.
- Small pots or trays: Clean ones are a must to prevent disease.
- Plastic bags or a propagation dome: To create a humid environment for cuttings.
- Watering can with a fine rose or a spray bottle: For gentle watering.
- Labels and a marker: So you don’t forget what you planted and when!
Propagation Methods
We’ll focus on two tried-and-true methods for Leontopodium pusillum: stem cuttings and division.
Stem Cuttings:
- Take your cuttings: Using your sterile shears, snip stems that are about 3-4 inches long. Make the cut just below a leaf node (where a leaf attaches to the stem). Remove the lower leaves, leaving just a few at the top.
- Apply rooting hormone: Dip the cut end of each stem into rooting hormone, tapping off any excess.
- Plant the cuttings: Make small holes in your prepared, moist potting mix. Insert the cuttings, ensuring the leaf nodes are buried. Gently firm the soil around them.
- Create humidity: Water lightly. Then, cover the pot with a plastic bag or place it under a propagation dome. This will keep the humidity high, which cuttings love.
- Provide light and warmth: Place the pot in a bright spot that doesn’t get direct, scorching sun. A little warmth from a heat mat can speed things up, but it’s not strictly necessary.
- Be patient: Check regularly for moisture, and mist if the soil starts to dry out. You should see signs of root development in 3-6 weeks.
Division:
- Gently unearth the plant: Carefully dig up your established Leontopodium pusillum, trying not to disturb the root ball too much.
- Inspect and divide: Look for natural breaks in the root system where the plant has formed multiple crowns. Using your hands or a clean trowel, gently pull or cut the root ball into sections. Each section should have at least one healthy shoot and a good amount of root.
- Replant: Prepare new planting spots in your garden or fresh pots with your well-draining mix. Plant the divisions at the same depth they were previously growing.
- Water thoroughly: Water in the new divisions well.
- Keep them happy: Water regularly until they are established, especially during dry spells.
The “Secret Sauce” (Pro Tips)
- Don’t let the leaves touch the water if water propagating individual stems: If you happen to try water propagation for a few stems (though I find cuttings in soil are more successful for this species), it’s crucial that no leaves are submerged. Any submerged foliage will rot, which is a fast track to failure.
- Bottom heat is your friend for cuttings: While not essential, placing your pots on a gentle heated propagator mat will significantly speed up root formation. It mimics the warmth of spring soil and gives those little root hormones a real boost.
- A light dusting of fungicide on cuttings can prevent rot: Especially if your environment is a bit on the cool and damp side, a light dusting of a suitable fungicide powder on the cut surfaces of your cuttings before planting can act as a good insurance policy against damping off and rot.
Aftercare & Troubleshooting
Once your cuttings show signs of new growth and you feel they have a good root system (you can gently tug and feel resistance, or peek at the drainage holes), it’s time to transition them. Gradually acclimate them to less humid conditions by opening the plastic bag or propagation dome a little each day for a week. Then, you can pot them up into individual, slightly larger pots with your well-draining mix.
The most common issue you’ll encounter is rot. If your cuttings turn black and mushy at the base, it’s usually a sign of too much moisture and not enough air circulation. If this happens, you might need to discard the affected cuttings and start again, perhaps reducing watering frequency or improving drainage. Overwatering is the cardinal sin with these alpine beauties!
A Little Bit of Patience Goes a Long Way
Propagating plants is a journey, not a race. There will be successes and perhaps a few learning experiences along the way. So, grab your tools, get your hands in the soil, and enjoy the process of creating new life. Happy gardening!
Resource: