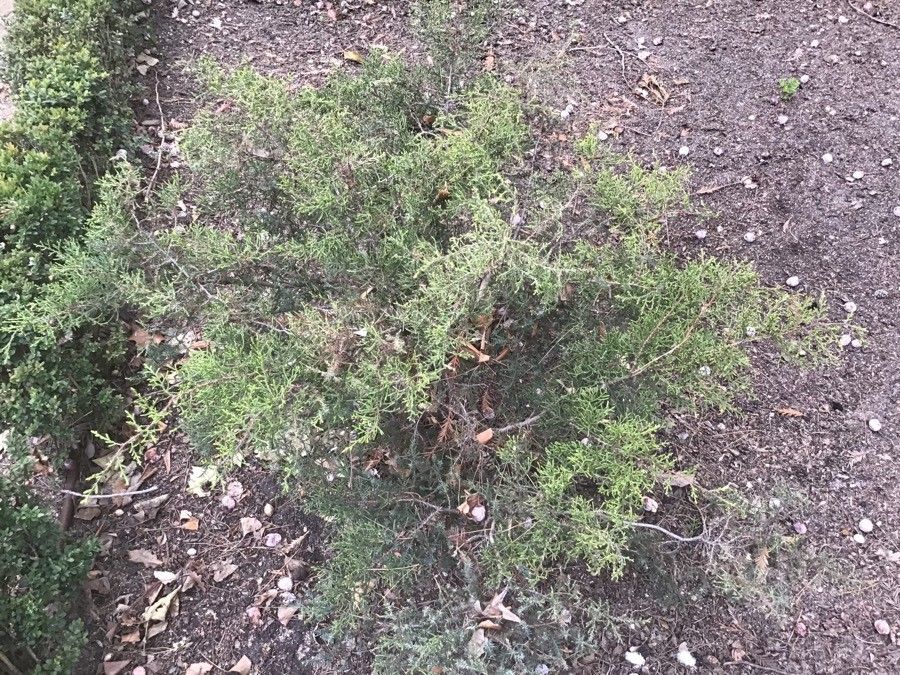
Oh, Juniperus ashei! You’re talking about Ashe’s juniper, right? Those beautiful, often scraggly, and wonderfully aromatic evergreens that just scream “Texas Hill Country” to me. I’ve always had a soft spot for them. Their unique form, hardiness, and the way they fit so perfectly into naturalistic landscapes make them a real treasure. And propagating them? It’s like unlocking a little bit of that wild spirit for your own garden. It can be a tad tricky, I’ll admit, but with a little patience and knowing a few tricks, it’s definitely a rewarding project, even for those newer to the gardening scene.
The Best Time to Start
For Juniperus ashei, timing is everything. I find the absolute sweet spot for taking cuttings is in the late spring or early summer, after the plant has finished its main flush of growth for the year but before the really intense heat kicks in. You want to catch those vibrant, new shoots that are still a bit flexible but have started to firm up. This gives them the best chance to establish before the cooler weather arrives.
Supplies You’ll Need
Gathering your tools beforehand makes the whole process much smoother. Here’s what I usually have on hand:
- Sharp, clean pruning shears or a sharp knife: For making clean cuts.
- Rooting hormone: A powdered hormone is my go-to for an extra boost.
- Well-draining potting mix: A good blend of peat moss, perlite, and coarse sand works wonders. You can even buy a specific succulent or cactus mix.
- Small pots or seed trays: With drainage holes, of course!
- Plastic bags or a propagation dome: To create a humid environment.
- A spray bottle: For misting.
- Labels: To know what you’ve planted!
Propagation Methods
While you can sometimes get these to root from seed, stem cuttings are generally the most reliable and quickest way to go for Juniperus ashei.
Stem Cuttings:
- Select Your Cuttings: Look for semi-hardwood cuttings. These are shoots that are from the current year’s growth but have started to harden off – they’re not floppy and green, but not tough and woody either. Aim for pieces about 4-6 inches long.
- Make the Cut: Using your sharp shears, make a clean cut just below a leaf node (where the leaves attach to the stem). Remove the lower leaves, leaving just a few at the very top.
- Dip in Hormone: Dip the cut end of the stem into your rooting hormone, tapping off any excess. This step is crucial for encouraging root development.
- Plant Your Cuttings: Fill your small pots with your well-draining mix. Make a small hole in the center with your finger or a pencil, and gently insert the cutting. Firm the soil around it so it stands upright.
- Create Humidity: Water gently, then cover the pot with a plastic bag or place it in a propagation dome. Make sure the bag doesn’t touch the leaves too much. If it does, try to prop it up with small sticks.
- Find a Spot: Place your pots in a bright location out of direct sunlight. A greenhouse bench or a bright windowsill is perfect.
The “Secret Sauce” (Pro Tips)
Here are a couple of things I’ve learned over the years that really make a difference:
- Don’t Overwater the Cuttings: This is probably the biggest killer. Once you’ve watered them in, let the soil surface start to dry out between waterings. It’s tempting to keep them super moist, but that’s a fast track to rot. A light misting with your spray bottle is sometimes all they need to maintain humidity.
- Consider Bottom Heat (Optional but helpful): If you have access to a heat mat designed for seed starting, placing your pots on it can significantly speed up root formation. The gentle warmth encourages those root cells to get busy. It’s not strictly necessary, but it’s a game-changer.
Aftercare & Troubleshooting
Once you start seeing signs of new growth, it’s a good indicator that roots are forming. You might even gently tug on a cutting – if there’s resistance, you’ve got roots!
- Gradual Acclimation: Once roots are established (which can take anywhere from 6 weeks to a few months), gradually begin to acclimate your new plants to open air by opening the plastic bag or dome a little more each day over a week.
- Watering: Continue to water when the top inch of soil feels dry. As they grow larger, you can transplant them into slightly larger pots.
- Common Issues: The most frequent problem you’ll encounter is rot, usually due to overwatering. If you see stems turning mushy or black, it’s usually a sign the cutting has rotted. Damping off, where seedlings or cuttings collapse at the soil line, is another common issue with overly wet conditions. If you notice mold, improve air circulation and back off the watering.
A Encouraging Closing
Be patient with your Juniperus ashei cuttings. They take their time, and there might be a few that don’t make it – that’s just part of the gardening process! Celebrate the successes, learn from the challenges, and most importantly, enjoy the journey of coaxing new life from a beloved plant. Happy propagating!
Resource:
https://identify.plantnet.org/k-world-flora/species/Juniperus%20ashei%20J.Buchholz/data