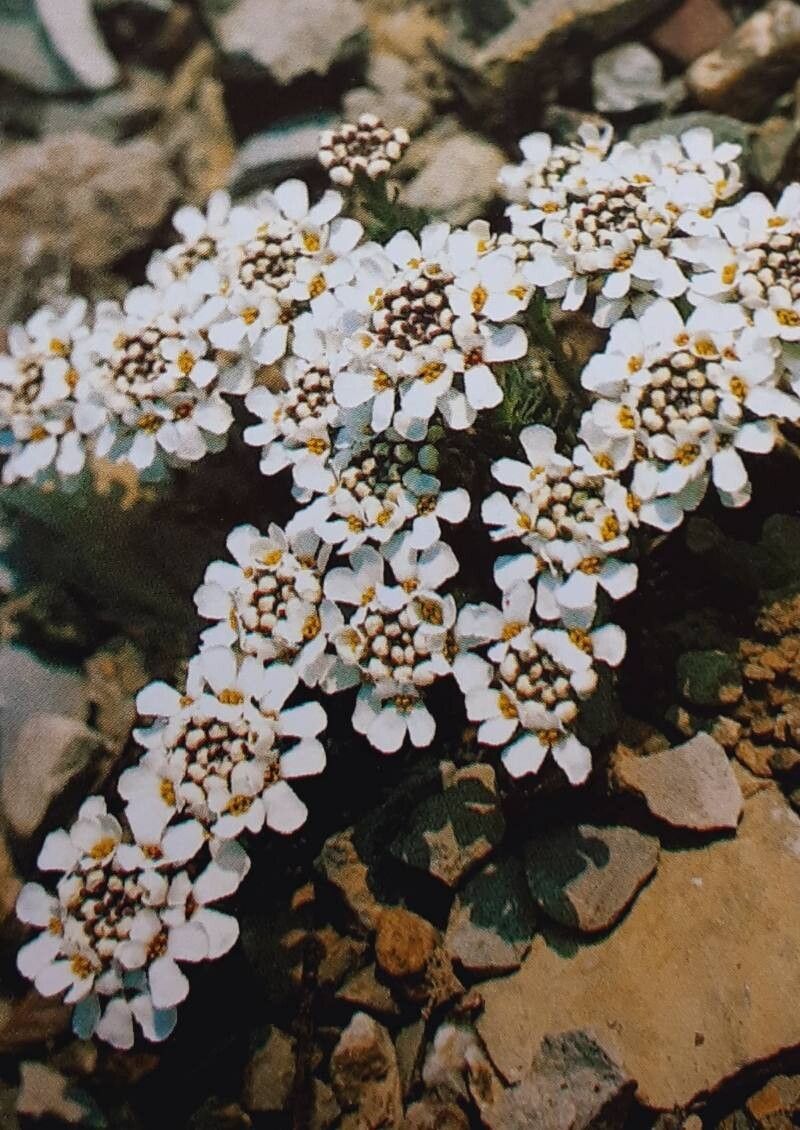
Hey there, fellow plant lovers! Today, we’re diving into the wonderful world of propagating Iberis carnosa, also known as Candytuft. If you’ve ever swooned over those delicate, snowy white flowers cascading over garden walls or spilling from containers, you’re not alone. Iberis carnosa is a real charmer, and the joy of creating more of these beauties from your existing plants is incredibly rewarding. Good news for the newbies out there: this one is a pretty forgiving friend to propagate, so don’t be shy!
The Best Time to Start
Honestly, when it comes to Iberis carnosa, late spring to early summer is your golden window. Think after it’s finished its main flowering burst, but before the summer heat really kicks in. The plant is usually full of energy then, and the cuttings have a good chance of establishing themselves before things get too toasty or too chilly.
Supplies You’ll Need
Here’s a little shopping list to get you prepped:
- Sharp, clean pruning shears or a sharp knife: Essential for making clean cuts.
- Rooting hormone (optional, but helpful): Gives your cuttings an extra boost.
- Well-draining potting mix: A good seedling mix or a blend of peat moss and perlite/vermiculite works wonders.
- Small pots or seed trays: Clean ones are a must to prevent disease.
- Plastic bags or a propagator lid: To create a humid environment.
- Watering can or spray bottle: For gentle watering.
- Labels and a pen: To keep track of your new little charges!
Propagation Methods
Let’s get our hands dirty with the most reliable ways to multiply your Iberis:
1. Stem Cuttings: My Go-To
This is my favorite method for Iberis, as it’s usually quite successful.
- Find a healthy stem: Look for a non-flowering stem that’s about 4-6 inches long. It should be somewhat firm but not woody – think of it as “semi-hardwood.”
- Make the cut: Using your clean shears or knife, make a cut just below a leaf node (that little bump where a leaf grows out from the stem).
- Prepare the cutting: Gently remove the lower leaves. You want to expose a couple of these nodes, as that’s where roots will form. If the cutting has any flower buds, pinch those off too – we want the energy going into roots, not flowers right now.
- Dip in rooting hormone (optional): If you’re using rooting hormone, dip the cut end into the powder or gel. Tap off any excess.
- Plant it up: Fill your clean pots with your well-draining mix. Make a small hole with a pencil or your finger and insert the cutting, making sure those exposed leaf nodes are buried in the soil. Gently firm the soil around the stem.
- Water gently: Give the soil a good, gentle watering so it’s moist but not waterlogged. You can use a spray bottle for this if you prefer.
2. Divisions: For Established Plants
If you have an older, established clump of Iberis, dividing it is a super simple way to get more plants and often revitalizes the parent plant.
- Gently dig up the plant: In the dormant season or early spring is best for this. Carefully lift the entire plant out of the ground or pot.
- Separate the clumps: You’ll usually see that the plant naturally divides into smaller sections. Use your hands or a clean trowel to carefully pull or cut the root ball into pieces. Ensure each division has plenty of roots and some leafy growth.
- Replant immediately: Get those new divisions back into the ground or into pots with fresh potting mix right away. Water them in well.
The “Secret Sauce” (Pro Tips)
Here are a few little tricks I’ve picked up over the years:
- The humidity tent is key: After planting your cuttings, slide a clear plastic bag over the pot, or place your pots in a propagator with a lid. This creates a mini greenhouse. Make sure the bag doesn’t touch the leaves – if it does, prop it up with a few tiny stakes or twigs. This keeps the moisture consistent for the cuttings until they root.
- Never let them dry out, but don’t drown them: This is so important! Keep the soil consistently moist, like a wrung-out sponge. A good way to check is to feel the weight of the pot. If it feels light, it’s time for a gentle watering.
- Bottom heat can work wonders: While not strictly necessary for Iberis, if you have a heat mat designed for seedlings, placing your pots on it can speed up root development significantly. Just a gentle warmth, not hot to the touch!
Aftercare & Troubleshooting
Once you start seeing tiny new leaves appearing, that’s a great sign roots are forming!
- Gradually acclimate: When you see good growth, start removing the plastic bag or propagator lid gradually over a few days. This helps the new plants get used to drier air.
- Care for them like young plants: Continue to water them regularly, ensuring the soil drains well. Once they have a decent root system and are growing well, you can transplant them into larger pots or their permanent garden spot.
- Watch for rot: The biggest enemy of cuttings is rot. If you see soft, mushy stems or leaves turning yellow and limp, it’s often a sign of too much moisture and poor drainage. Sometimes you can save them by letting the soil dry out a bit and ensuring you have good air circulation. If the whole cutting looks black and mushy, it’s likely a goner. Don’t despair, just try again!
Don’t get discouraged if a few don’t make it. Gardening is a journey, and every attempt is a learning experience. Be patient, enjoy the process of nurturing these little cuttings, and soon you’ll have a garden filled with the sweet, delicate blooms of your very own Iberis carnosa! Happy propagating!
Resource:
https://identify.plantnet.org/k-world-flora/species/Iberis%20carnosa%20Willd./data