Hello there, fellow plant lovers! Today, we’re diving into the wonderful world of propagating Gasteria batesiana. If you’ve ever admired the unique, tongue-shaped leaves and sculptural form of this succulent, you’re in for a treat.
Why Propagate Gasteria Batesiana?
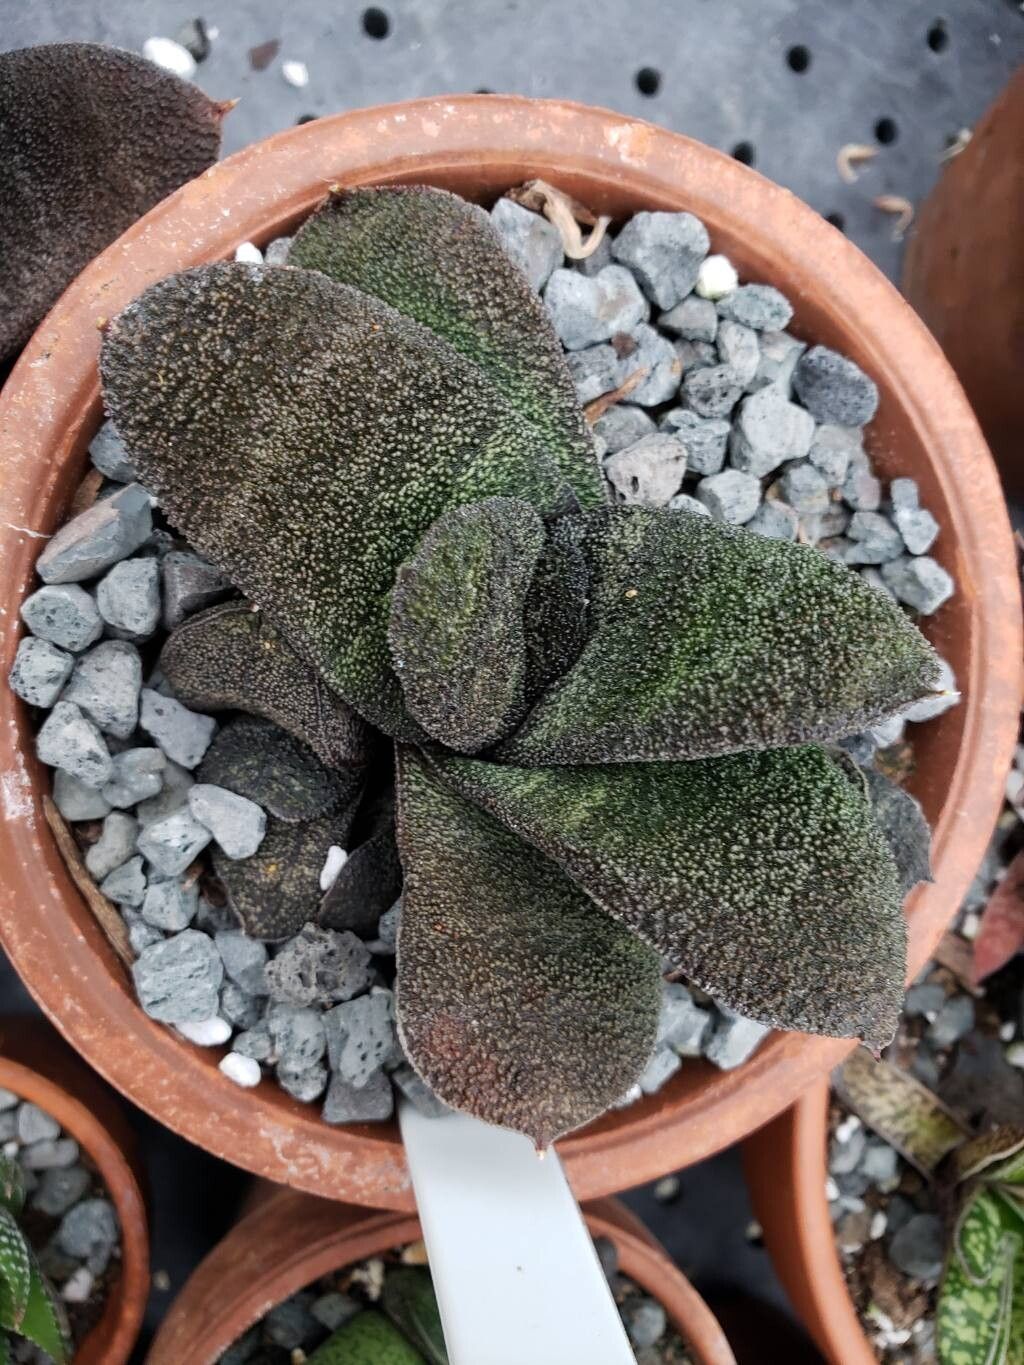
Gasteria batesiana, often called Ox Tongue or Aloe Vera’s less-talked-about cousin, is a real stunner. Its architectural leaves, often with delightful texture and markings, add a touch of modern elegance to any plant collection. The best part? Propagating them is incredibly rewarding. You get to multiply your joy, share the love with friends, or simply expand your own green sanctuary. For beginners, I’d say Gasteria batesiana is a solid choice. It’s not overly fussy, and with a little guidance, you’ll be surprised at how successful you can be.
The Best Time to Start
For the highest chance of success, I always lean towards spring or early summer. This is when the plant is actively growing and has the energy to put into developing new roots and leaves. You can certainly try other times of the year, but you might find things progress a bit slower.
Supplies You’ll Need
Gathering your supplies beforehand makes the whole process smoother. Here’s what I recommend:
- Well-draining potting mix: A cactus and succulent mix is perfect. You can also amend regular potting soil with perlite or coarse sand.
- Clean, sharp pruning shears or a sharp knife: For making clean cuts.
- Rooting hormone (optional but helpful): Especially for cuttings.
- Small pots or containers: With drainage holes, of course!
- Watering can or spray bottle: For gentle watering.
- A sunny, bright spot: But avoid direct, harsh sunlight initially.
- Warmth (optional but beneficial): A heat mat can speed things up.
Propagation Methods
There are a few ways to get new Gasteria batesiana plants, but my favorites are division and leaf cuttings.
Method 1: Division of Pups
This is often the easiest and quickest way to propagate Gasteria batesiana. These plants naturally produce little baby plants, called “pups,” around their base.
- Gently remove the plant from its pot. I like to do this when the soil is slightly dry. This makes unmolding easier.
- Locate the pups. You’ll see them growing from the base of the mother plant.
- Carefully separate the pups. Use your fingers or a clean knife to gently loosen the soil and detach the pup from the parent. Try to get at least one small root with each pup. If a pup doesn’t have roots yet, don’t worry; it will grow them.
- Allow the cut end to callus over. For division, this isn’t as critical as with leaf cuttings, but it’s good practice. Let the separated pup sit for a day or two in a dry, airy spot.
- Pot up the pup. Plant the detached pup in its own small pot filled with your well-draining soil mix.
- Water sparingly. Wait a few days to water. Be gentle.
Method 2: Leaf Cuttings
This method takes a bit more patience but is incredibly satisfying when those tiny plantlets emerge!
- Select a healthy leaf. Choose a mature, firm leaf from the parent plant.
- Make a clean cut. Using your sharp knife or shears, carefully cut the leaf from the stem. You want a clean break, not a tear.
- Let the cut end dry and callus. This is crucial! Leave the leaf cutting in a dry, well-ventilated spot for 3-7 days until the cut end forms a dry, papery scab. This prevents rot.
- Prepare your potting mix. Fill a shallow tray or small pots with your succulent mix.
- Place the leaf cutting. Lay the callused leaf on top of the soil, or insert the callused end about half an inch deep into the mix. I often find laying them on top works just as well and is less damaging.
- Provide indirect light and warmth. Place the tray in a bright spot that doesn’t get direct sun.
The “Secret Sauce” (Pro Tips)
Here are a couple of things I’ve learned over the years that really help:
- Don’t drown your cuttings! When propagating by leaf cuttings, the biggest mistake is letting the leaf sit in water or overly damp soil. The leaf needs to dry out between waterings. Think of what a succulent likes: dry spells are its friend.
- Bottom heat is your friend. If you have a seedling heat mat, placing your propagation tray on it can significantly speed up root and pup formation for both methods. It mimics the warmer soil temperatures of spring and summer.
Aftercare & Troubleshooting
Once you see roots emerging (for leaf cuttings) or the pup looks established (for divisions), it’s time for a little more attention.
- Watering: Once roots have formed, you can start watering more regularly, but always allow the soil to dry out completely between waterings. Overwatering is the number one killer of succulents, and it’s just as true for babies.
- Light: Gradually introduce your new plants to brighter light. Direct, scorching sun can burn tender new growth.
- Signs of Trouble:
- Rotting: This is usually a sign of too much moisture. The leaf or pup will turn mushy and brown. If you catch it early, you might be able to salvage a good section of the cutting to re-callus, but often the whole thing is a goner.
- Shriveling: If a leaf cutting shrivels up but doesn’t rot, it might be too dry. Try misting the soil lightly or ensuring it’s not in a drafty spot. However, some shriveling before roots appear is normal as the leaf uses its stored energy.
Keep Growing!
Propagating Gasteria batesiana is a journey of patience and observation. Don’t get discouraged if your first attempt isn’t perfect. Each plant is a little miracle, and watching a new life emerge from a leaf or a tiny pup is one of the most satisfying parts of gardening. Happy propagating, and enjoy watching your new green babies grow!
Resource:
https://identify.plantnet.org/k-world-flora/species/Gasteria%20batesiana%20G.D.Rowley/data