Bringing More of That Lush, Tropical Charm: Let’s Propagate Freycinetia schlechteri!
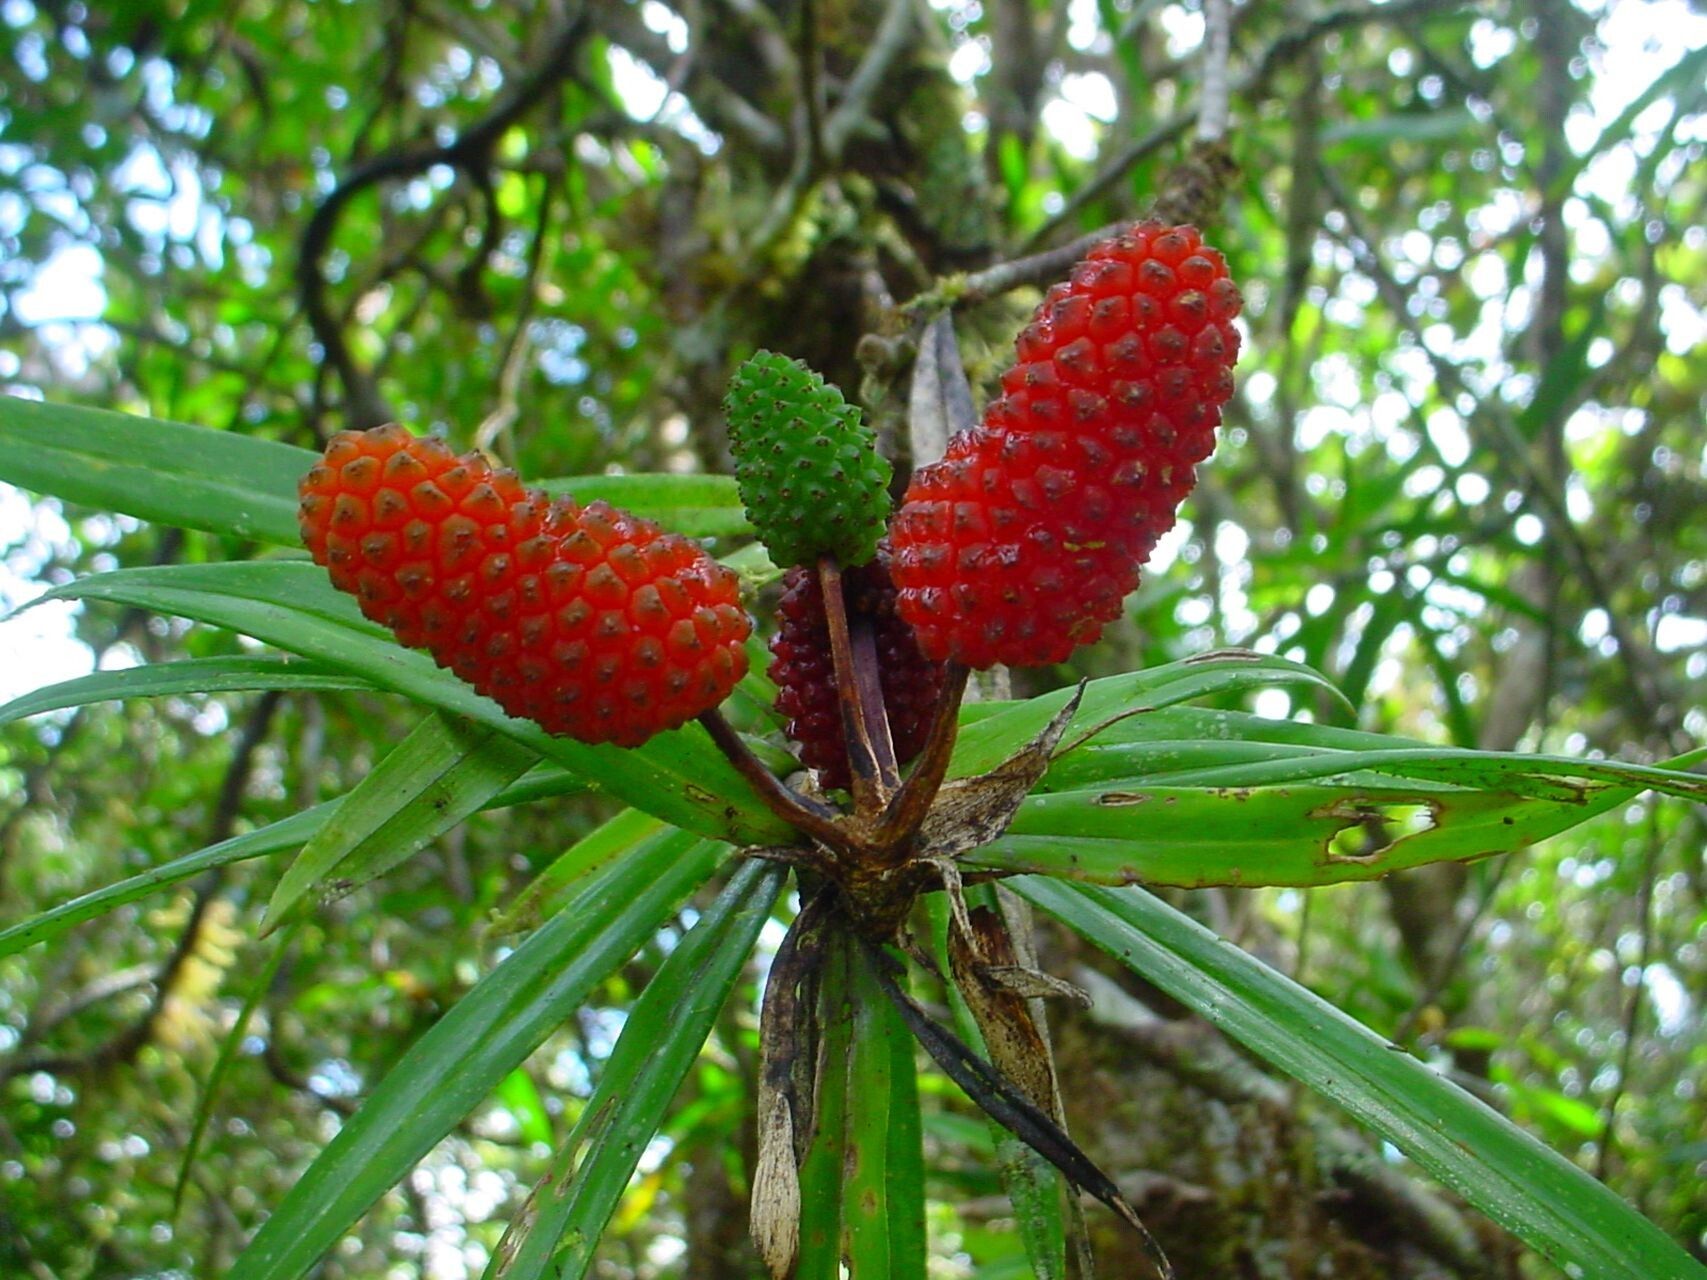
Oh, Freycinetia schlechteri, isn’t she a stunner? That cascade of vibrant, strap-like leaves, often with a touch of that glorious burgundy underneath – she just screams lush, tropical paradise, doesn’t she? I’ve been smitten with this plant for years. And the best part? You can easily bring that same beautiful vibe into more corners of your home, or even share it with gardening friends, by propagating your own. Now, I’ll be honest, Freycinetia schlechteri isn’t the absolute easiest plant for a complete beginner to propagate, but with a little care and following these steps, you’ll be well on your way to success. It’s a wonderfully rewarding feeling to watch a tiny cutting transform into a thriving new plant!
The Best Time to Start
For the highest success rate with Freycinetia schlechteri, I always recommend starting in the late spring or early summer. This is when the plant is actively growing and has plenty of energy to dedicate to rooting. You want to take cuttings from healthy, vigorous stems that are firm but not yet woody. Think of it as catching them at their peak!
Supplies You’ll Need
Gathering your supplies beforehand makes the whole process much smoother. Here’s what I usually have on hand:
- Sharp, clean pruning shears or a knife: Essential for clean cuts to prevent disease.
- Rooting hormone (optional but recommended): A little dab can really boost your success. Look for a powder or gel.
- Well-draining potting mix: I like to use a mix of equal parts peat moss or coco coir, perlite, and orchid bark. This airy mix is key.
- Small pots or propagation trays: Clean containers are a must!
- Clear plastic bags or a propagation dome: To create a humid environment.
- A spray bottle: For misting.
- Water: Of course!
Propagation Methods
Freycinetia schlechteri is quite amenable to propagation by stem cuttings. It’s my go-to method, and it’s generally the most reliable way to get new plants.
Stem Cuttings
- Select your cutting: Look for a healthy stem that has at least two to three leaf nodes (the points where leaves emerge from the stem). A good cutting will be about 4-6 inches long.
- Make the cut: Using your sharp shears or knife, make a clean cut just below a leaf node. This is where the magic happens in terms of root development.
- Prepare the cutting: Gently remove the leaves from the bottom half of the cutting. You want to expose those lower leaf nodes. If there’s a flower spike forming, pinch it off. The plant needs to focus its energy on roots, not flowers, at this stage.
- Apply rooting hormone: If you’re using rooting hormone, dip the cut end of the stem into the hormone powder or gel. Tap off any excess.
- Plant your cutting: Fill your small pots or propagation tray with your well-draining potting mix. Make a small hole in the center with your finger or a pencil.
- Insert the cutting: Gently place the cut end of the stem into the hole, ensuring at least one or two leaf nodes are buried in the soil. Firm the soil around the base of the cutting.
- Water gently: Water the soil thoroughly but gently. You don’t want to dislodge the cutting.
- Create humidity: Cover the pot or tray with a clear plastic bag, securing it around the base, or place it under a propagation dome. This will create a mini-greenhouse effect, keeping the humidity high, which is crucial for preventing the cutting from drying out. Pop a few air holes in the bag if you’re worried about too much condensation.
- Place in bright, indirect light: Avoid direct sunlight, which can scorch the delicate cutting. A Bright, warm spot is ideal.
The “Secret Sauce” (Pro Tips)
After years of trying to coax new life from my plants, I’ve picked up a few little tricks that seem to make all the difference.
- Bottom Heat is Your Friend: If you have a heat mat, placing your pots on it can significantly speed up rooting. Freycinetia schlechteri loves a bit of warmth from below, mimicking ideal tropical conditions. It’s like giving them a cozy little foot spa!
- Don’t Drench, Just Dampen: While humidity is key, soggy soil is the enemy. I like to check the moisture level by gently poking my finger into the soil. It should feel consistently moist but not waterlogged. Overwatering can lead to rot, which is heartbreaking.
- Patience and Observation: This isn’t always a super-fast propagator. Instead of constantly checking for roots, trust the process and observe the leaves. If the leaves remain firm and perky, and maybe you even see a tiny bit of new growth starting, that’s a good sign things are happening below the surface.
Aftercare & Troubleshooting
Once you spot those first signs of roots – you’ll feel a gentle tug when you lightly pull on the cutting, or you might even see them peeking through drainage holes – it’s time to adjust their care.
Continue to keep the soil consistently moist and humid. You can gradually start to reduce the humidity by opening the plastic bag a little more each day over a week or so, allowing the new plant to acclimate to your home’s regular humidity levels. Once the new growth looks robust and the roots are well-established, you can transplant your new Freycinetia schlechteri into its own slightly larger pot with fresh potting mix.
Now, the most common issue you’ll encounter is rot, which usually stems from overwatering or poor drainage. If your cutting starts to look mushy, the leaves turn yellow and limp, or a foul smell develops, it’s likely rot. Unfortunately, at that point, it’s usually too late to save it. That’s why that well-draining soil and careful watering are so important. Another sign of trouble is if the cutting simply refuses to root and looks dry and withered. This can happen if the humidity wasn’t high enough or the cutting wasn’t vigorous to begin with. Don’t be discouraged – just try again with a fresh cutting!
Happy Propagating!
Watching a new Freycinetia schlechteri emerge from a simple cutting is such a joy. It’s a testament to the resilience of nature and a wonderful way to expand your collection. Don’t be afraid to experiment, and remember to be kind to yourself. Every gardener learns through trial and error. Enjoy the process, and soon you’ll have your own little jungle of these beautiful plants!
Resource:
https://identify.plantnet.org/k-world-flora/species/Freycinetia%20schlechteri%20Warb./data