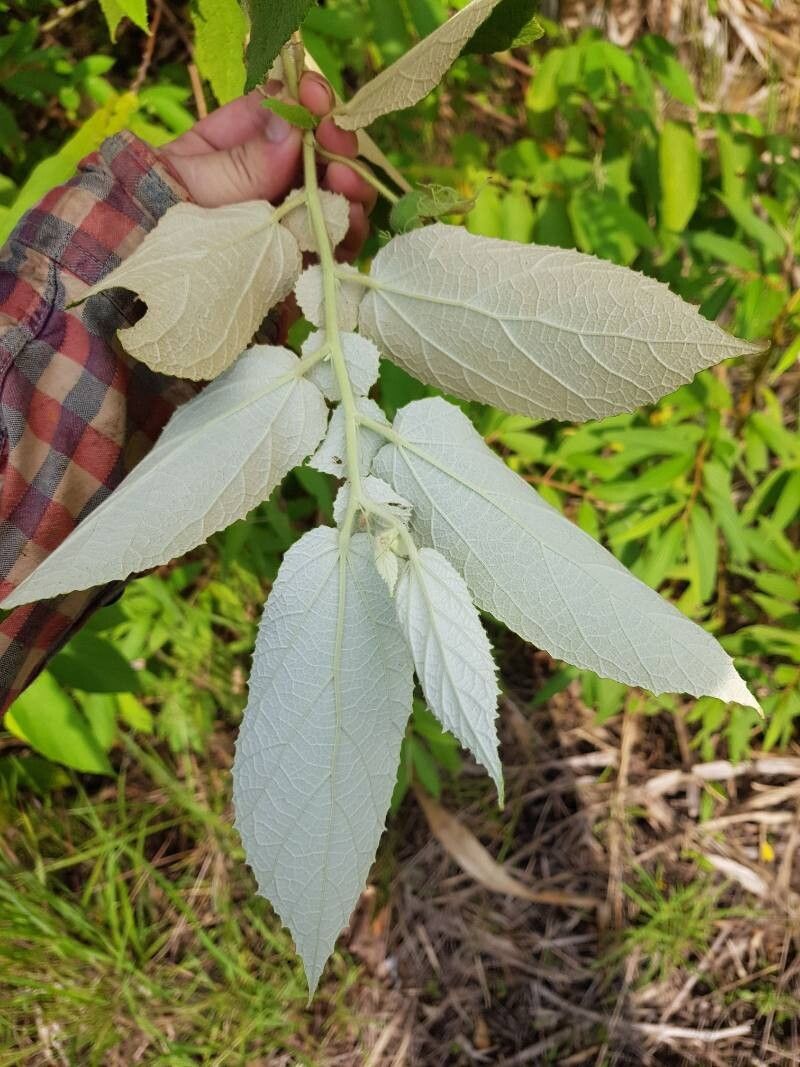
Hey there, fellow plant lovers! Today, we’re diving into the wonderful world of Dicraspidia donnell-smithii, also known as the gorgeous Doorway Plant. If you’ve seen one of these beauties cascading with its showy, orange-red flowers, you’ve probably been charmed. And trust me, wanting to bring more of that magic into your home or garden is a very natural (and rewarding!) impulse.
Propagating this plant is a fantastic way to share the joy or simply fill your space with more of these delightful blooms. Now, if you’re a beginner, I’d say Dicraspidia sits somewhere between a “let’s give it a go!” and a slightly more committed endeavor. It’s not the absolute easiest plant to start with, but with a little patience and the right approach, you’ll be well on your way.
The Best Time to Start
Honestly, the most successful propagation often happens when your plant is actively growing. For us in the Northern Hemisphere, this usually means late spring through early summer. When the days are getting longer and the plant is putting on new growth, it has the energy reserves to focus on creating those new roots. Avoid trying this when the plant is stressed by extreme heat or cold.
Supplies You’ll Need
Gathering your tools beforehand makes the process so much smoother. Here’s what I always have on hand:
- Sharp Pruning Shears or Knife: Clean cuts are crucial!
- Well-Draining Potting Mix: A good blend of peat moss, perlite, and compost works wonders. For Dicraspidia, I often use a mix specifically for epiphytes or add extra perlite to my regular indoor potting mix to ensure excellent drainage.
- Small Pots or Propagation Trays: Clean, empty pots around 3-4 inches in diameter are perfect.
- Rooting Hormone (Optional but Recommended): A powder or gel can significantly boost your success.
- Plastic Bag or Humidity Dome: To create a mini-greenhouse effect.
- Watering Can with a Fine Rose: Gentle watering is key.
Propagation Methods
The most reliable way I’ve found to make new Dicraspidia plants is through stem cuttings.
- Take Your Cuttings: Look for healthy, non-flowering stems that are at least 4-6 inches long. Using your sharp shears, make a clean cut just below a node (where a leaf attaches to the stem). Remove all but the top couple of leaves. You can even cut larger leaves in half to reduce water loss.
- Prepare the Cuttings: If you’re using rooting hormone, dip the cut end into it, gently tapping off any excess. This helps to stimulate root development.
- Plant Your Cuttings: Fill your small pots with your chosen well-draining potting mix. Make a small hole in the center of the mix with your finger or a pencil. Insert the cut end of your stem cutting into the hole, making sure at least one node is buried in the soil. Gently firm the soil around the cutting.
- Provide Humidity: Water the soil lightly, just enough to moisten it. Then, cover the pot with a clear plastic bag, securing it around the rim with a rubber band, or place it under a humidity dome. This traps moisture and mimics the conditions the cutting needs to root.
- Find the Right Spot: Place the potted cuttings in a bright location out of direct sunlight. They need warmth and light, but harsh sun will scorch those delicate new leaves.
The “Secret Sauce” (Pro Tips)
Over the years, I’ve picked up a few tricks that seem to make a big difference:
- Don’t let the leaves of your cuttings touch the soil! This is a prime spot for fungal growth and rot, and we want to avoid that at all costs. If a leaf is touching, trim it off.
- A little bit of bottom heat can work wonders. If you have a heat mat designed for seedlings, placing your pots on it can really encourage root development, especially if your home tends to be on the cooler side. It’s like giving those roots a warm little hug to get them growing.
- Resist the urge to constantly check! Every time you uncover the pot, you’re releasing precious humidity. Let that mini-greenhouse do its job.
Aftercare & Troubleshooting
Once you see signs of new growth, like tiny new leaves emerging, or if you gently tug on the cutting and feel resistance, congratulations! roots have formed.
Remove the plastic bag or humidity dome gradually over a few days, allowing the new plant to acclimate to the drier air. Water when the top inch of soil feels dry. Treat it like a mature plant, but with a bit more gentleness.
The most common issue you’ll encounter is rot. If your cutting turns mushy and black, it’s a sign of too much moisture and not enough air circulation. Sadly, at that point, it’s usually best to discard it and start again. Overwatering is your biggest enemy here.
A Encouraging Closing
Propagating plants is such a beautiful act of patience and observation. Don’t be discouraged if your first attempt doesn’t yield a forest of new Doorway Plants. Each try is a learning experience. Keep experimenting, keep observing, and most importantly, enjoy the process of nurturing new life. Happy planting!
Resource:
https://identify.plantnet.org/k-world-flora/species/Dicraspidia%20donnell-smithii%20Standl./data