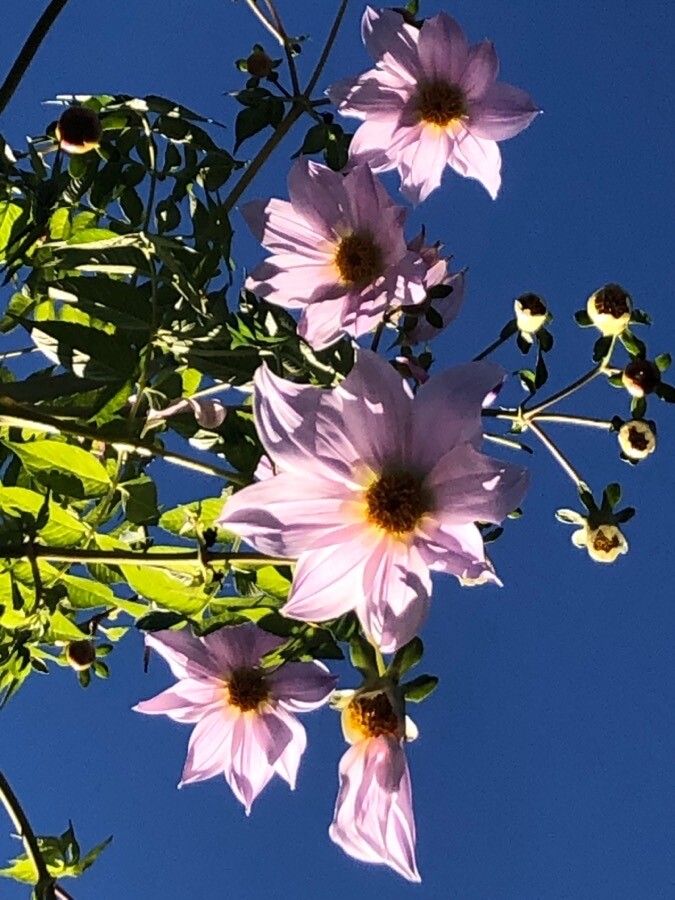
Hello fellow garden enthusiasts! Today, we’re diving into the wonderful world of Dahlias, specifically the elegant Dahlia excelsa. If you’ve ever fallen in love with those tall, graceful stems adorned with delicate blooms, you’re in for a treat. Propagating these beauties is incredibly rewarding, allowing you to fill your garden with more of their magic without breaking the bank. While Dahlia excelsa can be a little more particular than some of its clumpier cousins, with a few key tricks, even beginners can find success. Think of it as a delightful challenge that, when mastered, brings immense satisfaction.
The Best Time to Start
For most Dahlia propagation methods, early spring is your golden ticket. I usually aim for just after the last frost has passed but before things really heat up. This is when the plant is actively growing and has plenty of energy to put into new roots. You’re essentially working with the plant’s natural impulse to grow and expand.
Supplies You’ll Need
Gathering your tools beforehand makes the whole process smoother. Here’s what I always have on hand:
- Sharp Pruning Shears or a Craft Knife: Clean cuts are crucial.
- Rooting Hormone Powder or Gel: Not strictly mandatory, but it gives your cuttings a real boost. I find the powder easier to work with for Dahlias.
- Well-Draining Potting Mix: A mix of perlite, peat moss, and a bit of compost works wonderfully. Avoid heavy garden soil.
- Small Pots or Propagation Trays: Clean ones are a must to prevent disease.
- Labels and a Marker: Trust me, you will forget which is which!
- Watering Can with a Fine Rose or Spray Bottle: Gentle watering is key initially.
- Optional: Heating Mat: This can significantly speed up root development.
Propagation Methods
Let’s get our hands dirty! For Dahlia excelsa, I’ve found stem cuttings to be the most reliable and efficient method for creating new plants.
Stem Cuttings:
- Find a Healthy Parent Plant: Look for strong, new growth on your established Dahlia. I prefer stems that are about pencil-thick and have at least two sets of leaves.
- Take Your Cuttings: Using your clean shears, cut a piece of stem about 4-6 inches long. Make the cut just below a leaf node (where leaves attach to the stem). This is where the magic of root formation often begins.
- Prepare the Cuttings: Gently remove the lower leaves, leaving just one or two at the very top. This prevents them from rotting in the soil and reduces moisture loss. If your leaves are large, you can even cut them in half.
- Dip in Rooting Hormone: Lightly dip the cut end of the stem into your rooting hormone powder or gel. Tap off any excess. This step is like giving your cutting a little superpower to encourage root growth.
- Plant Your Cuttings: Fill your clean pots or trays with your prepared potting mix. Make a small hole in the center of the soil with your finger or a pencil. Insert the cut end of the stem, ensuring it’s firm in the soil. You can plant several cuttings in a single pot, just give them a little space.
- Water Gently: Water them in lightly to settle the soil around the cuttings.
The “Secret Sauce” (Pro Tips)
Here are a few things I’ve learned over the years that really seem to make a difference:
- Avoid Leaf-to-Water Contact: When you water your cuttings, or if you’re experimenting with water propagation, make sure no leaves are touching the water. This is a surefire way to invite rot. Trim any leaves that get too low.
- Bottom Heat is Your Friend: Dahlias love warmth to root. Placing your pots on a heating mat set to around 70-75°F (21-24°C) can dramatically shorten the time it takes for roots to appear. It mimics the cozy conditions they’d find underground in spring.
- Humidity is Key: Cuttings need a humid environment to prevent drying out before they can form roots. You can achieve this by placing your pots inside a clear plastic bag or a propagation dome. Just make sure to vent it daily for a few minutes to allow for air circulation.
Aftercare & Troubleshooting
Once your cuttings are planted, keep the soil consistently moist but not waterlogged. This is crucial. You’ll know your cuttings are taking hold when you see new leaf growth emerging from the top. This usually takes anywhere from 3 to 6 weeks, depending on the conditions.
The most common sign of failure is rot. If your cutting turns mushy or black, it’s likely succumbed to rot. This is often caused by too much water, poor drainage, or lack of air circulation. Don’t be discouraged; this is part of the learning process! Compost any failed cuttings and try again. Once your cuttings have a good root system (you can gently tug on them – if there’s resistance, roots have formed), they can be potted into individual, slightly larger pots.
Happy Gardening!
Propagating Dahlia excelsa is a journey, and like any good garden project, it requires a little patience and observation. Don’t be afraid to experiment and learn from each attempt. The joy of nurturing a new plant from a tiny cutting is truly special. Enjoy the process, and soon you’ll have armfuls of these gorgeous blooms to admire!
Resource:
https://identify.plantnet.org/k-world-flora/species/Dahlia%20excelsa%20Benth./data