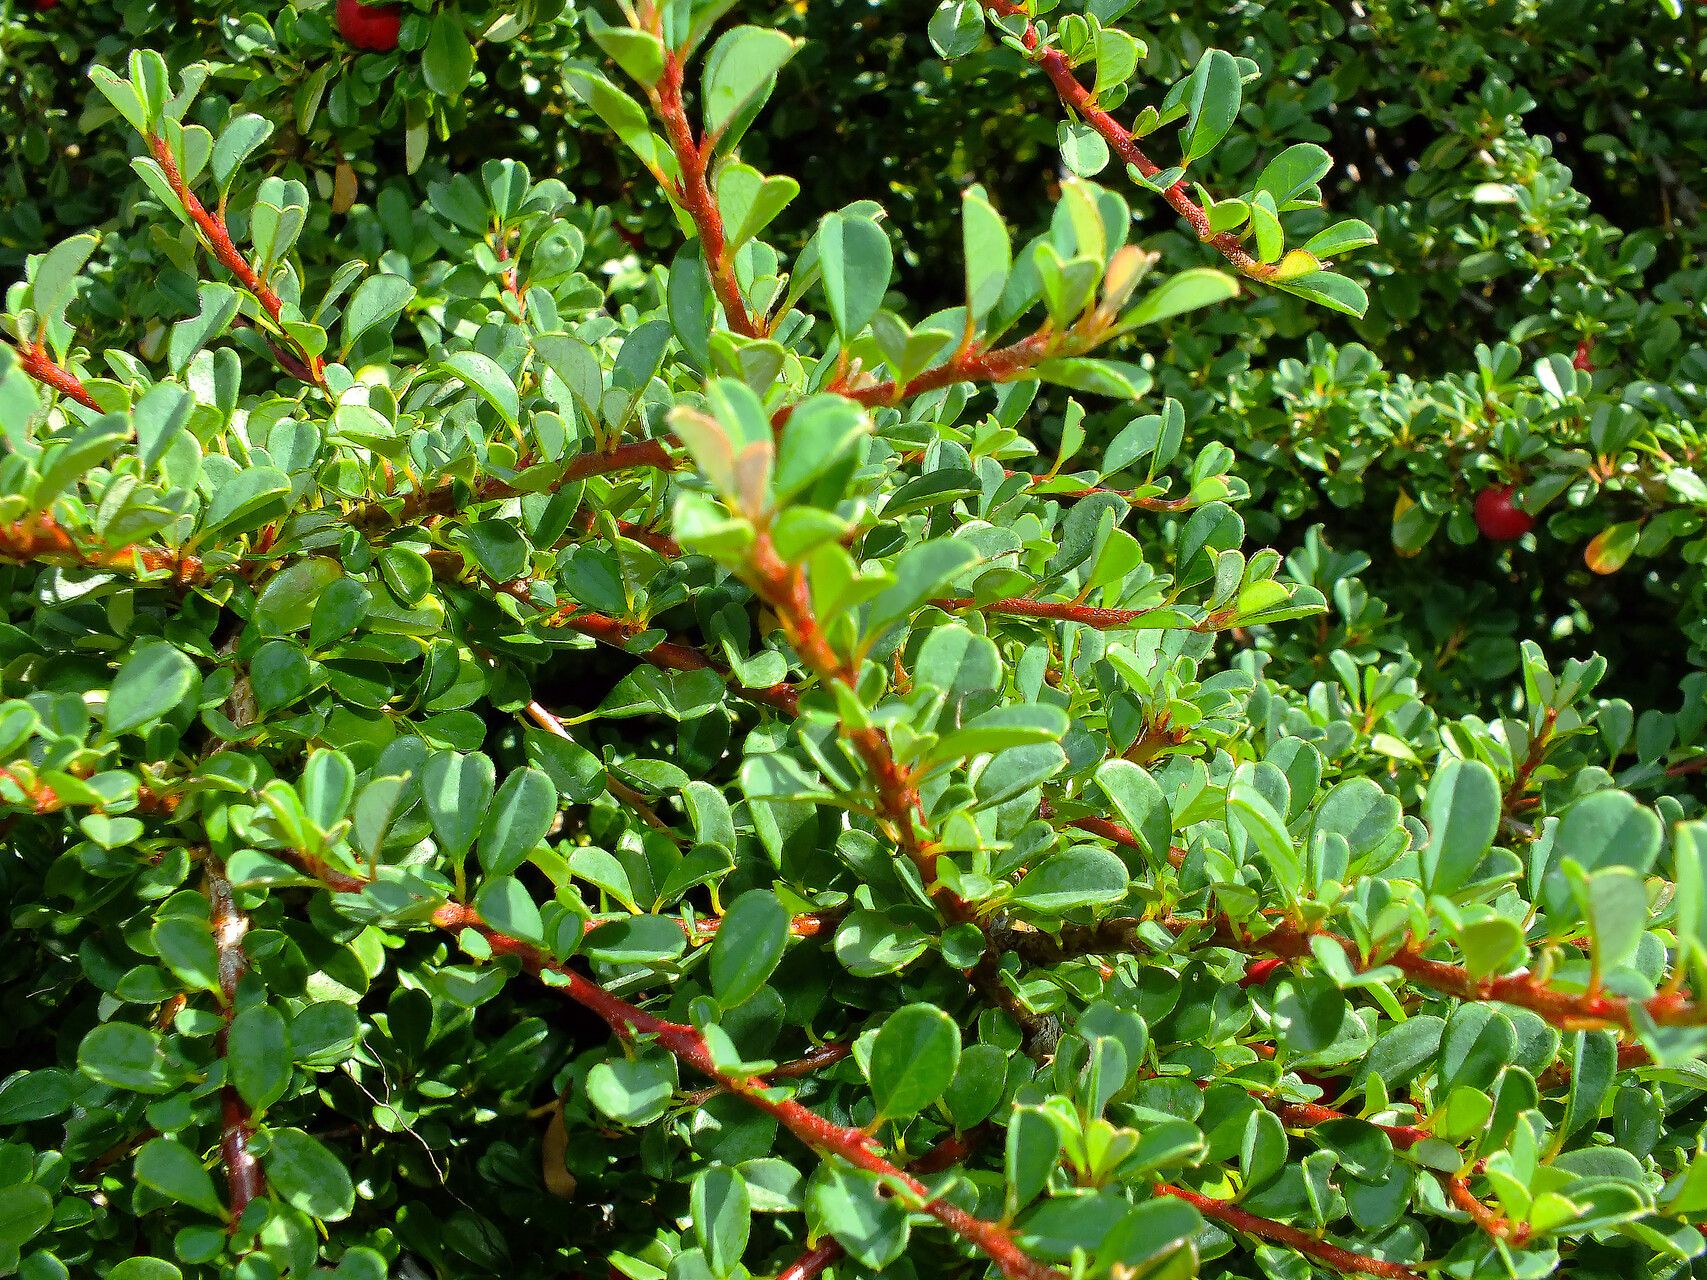
Hello, fellow plant enthusiasts! It’s so lovely to chat with you today. If you’ve ever admired those charming, low-growing Cotoneaster microphyllus hedges or seen their delicate white flowers and tiny red berries adorning a garden, you know they have a special appeal. They’re tough, reliable, and just so pretty. And the best part? They’re surprisingly rewarding to propagate. For beginners, I’d say Cotoneaster microphyllus is a solid “easy” to “moderately easy.” You’ll be well on your way to a whole garden of these beauties in no time!
The Best Time to Start
My personal favorite time to take cuttings is when the plant is actively growing. Think late spring to early summer. The stems have had a chance to firm up a bit, but they’re still somewhat flexible. This gives them the best energy reserves to develop roots. You can also have success with hardwood cuttings in the fall, but I find the softwood cuttings in spring are generally more forgiving.
Supplies You’ll Need
Gathering your supplies beforehand makes the process so much smoother. Here’s what I always have on hand:
- Sharp pruning shears or a clean knife: Essential for making clean cuts.
- Rooting hormone powder or gel: This isn’t strictly mandatory, but it really boosts your success rate. I swear by it!
- A good quality potting mix: I like a blend that drains well. A mix of peat moss, perlite, and a bit of compost is perfect. You can also buy specific seed and cutting mixes.
- Small pots or seedling trays: Clean ones, of course!
- A plastic bag or propagation dome: To create a humid environment.
- Water: For misting and the cuttings, naturally.
- Labels: To keep track of what you’ve planted.
Propagation Methods
Let’s dive into the fun part! Sticking cuttings is my go-to for Cotoneaster microphyllus.
Stem Cuttings (Softwood)
- Select Your Material: Look for healthy, non-flowering shoots from the current season’s growth. They should be about 4-6 inches long.
- Make the Cut: Using your sharp pruners, make a clean cut just below a leaf node (where a leaf attaches to the stem). This is where the magic happens for root formation.
- Prepare the Cutting: Gently remove the leaves from the bottom half of the cutting. You only want about two leaves left at the top. This prevents them from rotting in the soil and redirects the plant’s energy to root development.
- Apply Rooting Hormone: Dip the cut end of the stem into your rooting hormone, tapping off any excess.
- Plant Your Cuttings: Fill your pots with your prepared potting mix. Make a small hole with your finger or a pencil and gently insert the cutting, ensuring the nodes are buried.
- Water Gently: Water the soil thoroughly. You want it moist, but not waterlogged.
- Create Humidity: Cover the pot with a plastic bag or prop up a propagation dome over it. This traps moisture. Make sure the leaves aren’t touching the plastic if possible!
Water Propagation (Yes, it can work!)
While I prefer soil for Cotoneaster, I’ve had success with water for very young, fresh cuttings.
- Prepare Cuttings: Follow steps 1-3 above for preparing your stem cuttings.
- Place in Water: Put the prepared cuttings in a clean jar or vase filled with fresh water. Submerge the lower leaf nodes.
- Location: Place the jar in bright, indirect light.
- Change Water Regularly: Change the water every few days to keep it fresh and prevent bacteria buildup.
- Watch for Roots: You should see tiny white roots emerge from the nodes in a few weeks. Once the roots are about an inch long, you can carefully transplant them into potting soil following step 5 in the stem cutting method.
The “Secret Sauce” (Pro Tips)
Here are a few things I’ve learned over the years that make a real difference:
- Cleanliness is Key: Always use sterilized tools and clean pots. Diseases can spread incredibly quickly in propagation setups. It’s a small step that prevents big headaches.
- Bottom Heat is Your Friend: If you have space, placing your pots on a gentle heat mat can significantly speed up root development. It mimics the warm soil that plants love in spring. Don’t let it get too hot, though – just a gentle warmth.
Aftercare & Troubleshooting
Once you see tiny roots poking out of the drainage holes or new growth appearing, congratulations! You’ve successfully propagated!
- Gradual Acclimation: Slowly begin to remove the plastic bag or dome for increasing periods each day. This helps the new plant get used to drier air.
- Watering: Continue to keep the soil consistently moist but not soggy.
- Light: Gradually move the new plants into a brighter spot, but still avoid direct, scorching sun for a while.
Now, what if things don’t go as planned? The most common issue is rot. If your cuttings turn black and mushy, it’s usually a sign of too much moisture and poor air circulation. If you see this, sadly, it’s usually too late for that particular cutting. Discard it promptly to prevent spreading any fungal issues. Another sign of failure is if the cutting just looks sad and wilted after a few weeks with no sign of roots – they might simply not have taken. Don’t be discouraged! It happens to all of us.
Happy Propagating!
There you have it! Propagating Cotoneaster microphyllus is a wonderful way to expand your garden and share these charming plants with friends. Be patient with the process. Sometimes it takes a little longer than you expect, and that’s perfectly okay. Just enjoy watching those new roots form and the joy of growing something yourself. Happy gardening!
Resource: