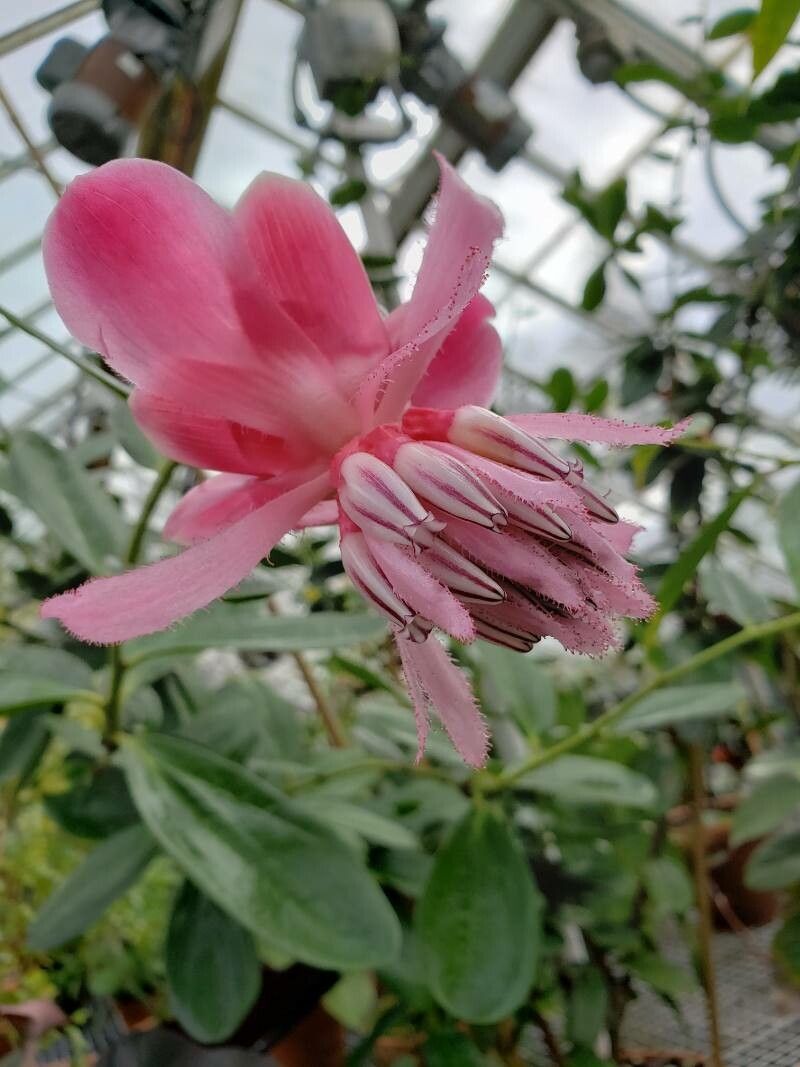
Hello there, fellow garden enthusiasts! Today, I want to talk about a truly gem: Cavendishia adenophora. If you’re looking for a plant that brings a touch of exotic charm and beautiful blooms to your shady corners, this is it. Its elegant, bell-shaped flowers are a delight, and the reward of growing your own from a tiny cutting is simply immense. Now, I won’t sugarcoat it – Cavendishia adenophora can be a little bit fussy to propagate, especially for absolute beginners. But with a bit of care and this guide, I’m confident you can succeed. Think of it as a rewarding challenge rather than an impossible hurdle!
The Best Time to Start
For Cavendishia adenophora, I’ve found the late spring to early summer is absolutely ideal. This is when the plant is actively growing and has plenty of energy to put into rooting. You’re looking for semi-hardwood cuttings, which are stems that are starting to firm up but aren’t yet old and woody. Think of a twig that snaps cleanly when you bend it, but isn’t brittle.
Supplies You’ll Need
Gathering your tools beforehand makes the whole process smoother. Here’s what I always have on hand:
- Sharp pruning shears or a clean, sharp knife: For making clean cuts.
- Rooting hormone powder or gel: This really gives your cuttings a boost.
- A well-draining potting mix: I like a blend of coco coir, perlite, and a little bit of peat moss. You want something that holds moisture but doesn’t stay soggy.
- Small pots or trays with drainage holes: About 3-4 inches is perfect.
- Clear plastic bags or a propagator lid: To create a humid environment.
- Dibber or pencil: For making planting holes.
- Watering can with a fine rose: For gentle watering.
Propagation Methods
While Cavendishia can sometimes be divided, stem cuttings are my go-to method for this particular beauty. It’s reliable and gives you multiple opportunities to get a new plant going.
Stem Cuttings
- Take Your Cuttings: With your clean shears, select healthy, vigorous stems from your mature Cavendishia. Aim for pieces that are about 4-6 inches long. Make your cut just below a leaf node (where a leaf attaches to the stem). This is where rooting hormones and new roots tend to form.
- Prepare the Cuttings: Gently remove the lower leaves from your cuttings, leaving just the top two or three sets. This reduces water loss and prevents leaves from sitting in the soil, which can lead to rot. You can even dip the stem in warm water for a few minutes to prevent wilting while you work.
- Apply Rooting Hormone: Dip the cut end of each stem into your rooting hormone. Gently tap off any excess.
- Plant Your Cuttings: Fill your clean pots with your prepared potting mix. Use your dibber or pencil to create a hole for each cutting. Then, carefully insert the cutting into the hole, ensuring the dipped end is well-covered by the soil. Gently firm the soil around the base of the stem.
- Water and Cover: Water your cuttings thoroughly but gently. Then, place the pots inside a clear plastic bag or cover them with a propagator lid. This creates a mini-greenhouse, keeping the humidity high, which is crucial for cuttings. Secure the bag or lid.
The “Secret Sauce”
Here are a couple of things I’ve learned over the years that make a big difference for these trickier propagations:
- Bottom Heat is Your Friend: Cavendishias absolutely love a bit of gentle warmth from below. Placing your pots on a heated propagation mat can significantly speed up root development. It mimics the warm soil they’d find in their native habitat.
- Don’t Be Afraid to Mist (Gently): While the plastic bag retains humidity, giving your cuttings a light misting with water every few days can be beneficial, especially if your environment is particularly dry. Just a quick spray from a fine mist bottle will do. Avoid waterlogged conditions!
Aftercare & Troubleshooting
Once you’ve got your cuttings planted, patience is key. Keep them in a bright, indirect light location. Avoid direct sunlight, as it can scorch those tender new stems.
Check your cuttings periodically. You’ll know they’re rooting when you see new leaf growth or feel a slight resistance when you gently tug on a cutting. This can take anywhere from 4 to 8 weeks, sometimes longer.
The most common issue you’ll encounter is rot. If a cutting turns black and mushy, it’s usually a sign of too much moisture and not enough air circulation. Unfortunately, rotted cuttings are lost. If you see this, remove the affected cutting immediately and check the moisture levels of the others. Sometimes, simply increasing ventilation can help prevent it.
A Encouraging Closing
Propagating Cavendishia adenophora is a wonderful way to expand your collection or share these beauties with friends. It might take a little time and a keen eye, but the reward of nurturing a new plant from something so small is truly special. Don’t get discouraged if your first attempt isn’t a roaring success – gardening is all about learning and adapting. Keep trying, observe your plants, and most importantly, enjoy the green journey! Happy growing!
Resource:
https://identify.plantnet.org/k-world-flora/species/Cavendishia%20adenophora%20Mansf./data