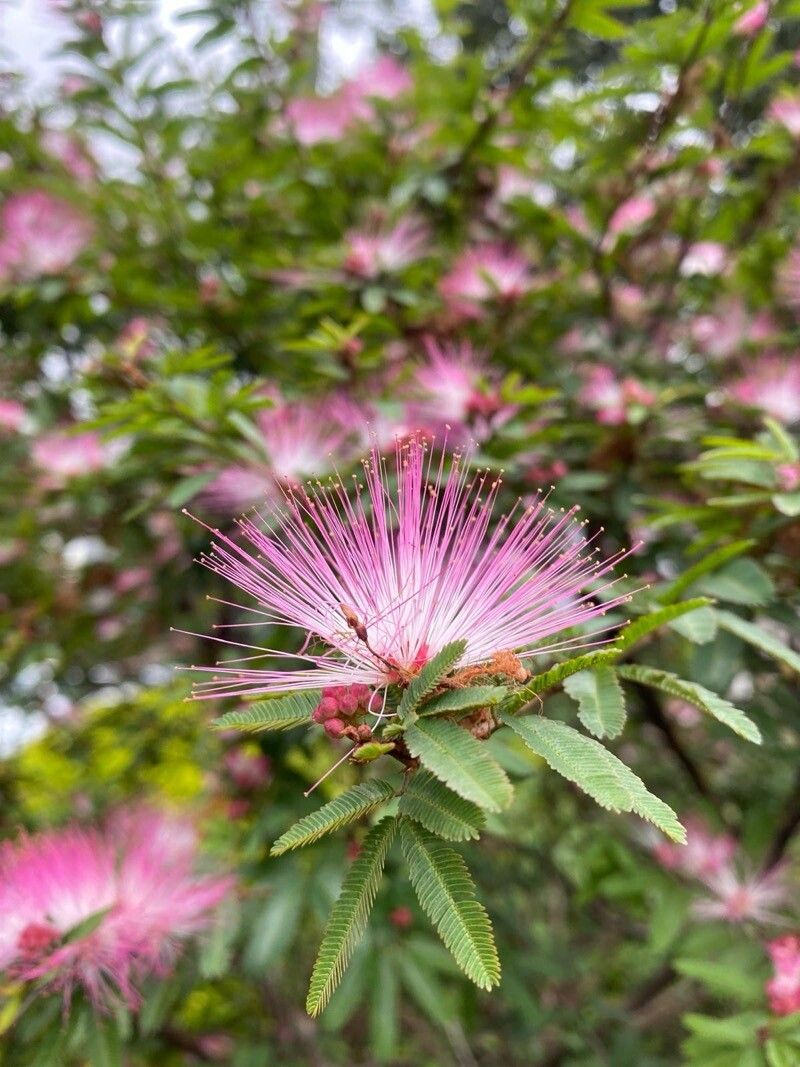
Hello, fellow garden lovers! It’s so lovely to connect with you today. I’ve been digging in the dirt for two decades now, and there’s a special kind of joy that comes from coaxing a new life from an existing plant. Today, we’re going to talk about a real gem: Calliandra selloi, often called Fairy Duster or Pink Powder Puff. Its whimsical, fluffy blooms are simply enchanting and reliably draw in pollinators. If you’ve ever admired this beauty and wished you had more, you’re in luck! Propagating Calliandra selloi is a rewarding endeavor, and while it has a few quirks, it’s certainly achievable for beginners with a little patience.
The Best Time to Start
For Calliandra selloi, you’ll find the most success when you take cuttings from actively growing, but not flowering, stems. This usually means late spring to early summer, after the initial flush of spring growth has settled a bit, but before the intense heat of midsummer. You want a stem that’s young and flexible, not old and woody.
Supplies You’ll Need
Before we get our hands dirty, let’s gather our tools. Having everything ready makes the process so much smoother.
- Sharp Pruning Shears or a Craft Knife: Clean cuts are crucial.
- Rooting Hormone: A powder or gel will give your cuttings a helpful boost.
- Potting Mix: A well-draining mix is non-negotiable. I like to use a blend of equal parts peat moss, perlite, and coarse sand, or a good quality succulent/cactus mix.
- Small Pots or Trays: About 4-6 inches deep is ideal. Make sure they have drainage holes!
- Plastic Bags or a Propagation Dome: To create a humid microclimate.
- Watering Can or Spray Bottle: For gentle watering.
- Labels and a Marker: To keep track of your cuttings.
Propagation Methods
Stem cuttings are the star of the show for Calliandra selloi. It’s straightforward and gives you the best chance of success.
Stem Cuttings:
- Select Your Cuttings: Look for healthy, semi-hardwood stems that are about 4-6 inches long. These are stems that have started to firm up but are still somewhat pliable. Avoid any that are actively flowering or too soft and green.
- Make the Cut: Using your sharp pruning shears or craft knife, make a clean cut just below a leaf node. A leaf node is where a leaf or bud emerges from the stem – this is where the magic of root formation happens! Remove any flowers or flower buds from the cutting.
- Prepare the Cutting: Strip off the lower leaves, leaving just two or three at the top. This reduces moisture loss and prevents leaves from rotting in the soil.
- Apply Rooting Hormone: Dip the cut end (about 1 inch) into your chosen rooting hormone. Gently tap off any excess.
- Plant Your Cuttings: Fill your small pots with your well-draining potting mix. Make a small hole in the center with your finger or a pencil. Insert the cutting into the hole, ensuring the leaf node where you made the cut is buried. Gently firm the soil around the stem.
- Water Gently: Water the soil thoroughly but carefully. You don’t want to dislodge the cutting.
- Create Humidity: Cover the pot with a plastic bag, securing it with a rubber band to create a mini-greenhouse effect. Alternatively, use a propagation dome. Make sure the leaves do not touch the plastic. If they do, you may need to prop up the bag with a few stakes.
The “Secret Sauce” (Pro Tips)
Now, for a few tricks I’ve picked up over the years that can really make a difference.
- Bottom Heat is Your Friend: While not strictly necessary for Calliandra selloi, bottom heat can significantly speed up root development. A seedling heat mat placed under your pots provides a consistent, gentle warmth that encourages root formation.
- Don’t Drench, Just Keep Moist: The biggest mistake is overwatering. The soil should feel consistently moist, but never soggy. I like to mist the cuttings lightly every few days, especially if I’m not using a plastic cover constantly.
- Air It Out: Once a day, lift the plastic bag or dome for a few minutes to allow for fresh air circulation. This helps prevent fungal diseases and rotting.
Aftercare & Troubleshooting
You’ve got your cuttings potted and covered – hurray! Now, patience is key. Keep them in a bright, indirect light location. Avoid direct sun, which can scorch the tender cuttings.
Roots will typically form within 4-8 weeks. You’ll know they’re ready when you see new leaf growth and feel a gentle resistance when you tug lightly on the cutting.
Common issues to watch for:
- Rotting: This is usually a sign of overwatering and poor drainage. If a cutting looks mushy or black at the base, sadly, it’s likely a goner. Remove it immediately to prevent it from spreading.
- Wilting: If your cutting wilts significantly, it might be too dry, or the roots haven’t formed yet to support it. Ensure the humidity is good and the soil isn’t bone dry.
- No Growth: Sometimes, it just takes a little longer. Don’t give up too soon! Make sure it’s receiving adequate light and consistent moisture.
Once your cuttings have established a good root system, you can carefully remove the plastic cover and gradually acclimatize them to normal room humidity. Then, it’s time to transplant them into their own slightly larger pots.
A Encouraging Closing
Propagating plants is a journey, and like any good adventure, it has its moments of excitement and learning. Don’t be discouraged if every cutting doesn’t make it. Each attempt is a lesson learned. The satisfaction of nurturing a new Calliandra selloi from a simple stem is immense. So, grab your tools, enjoy the process, and soon you’ll have a whole collection of these delightful pink puffballs to admire! Happy gardening!
Resource: