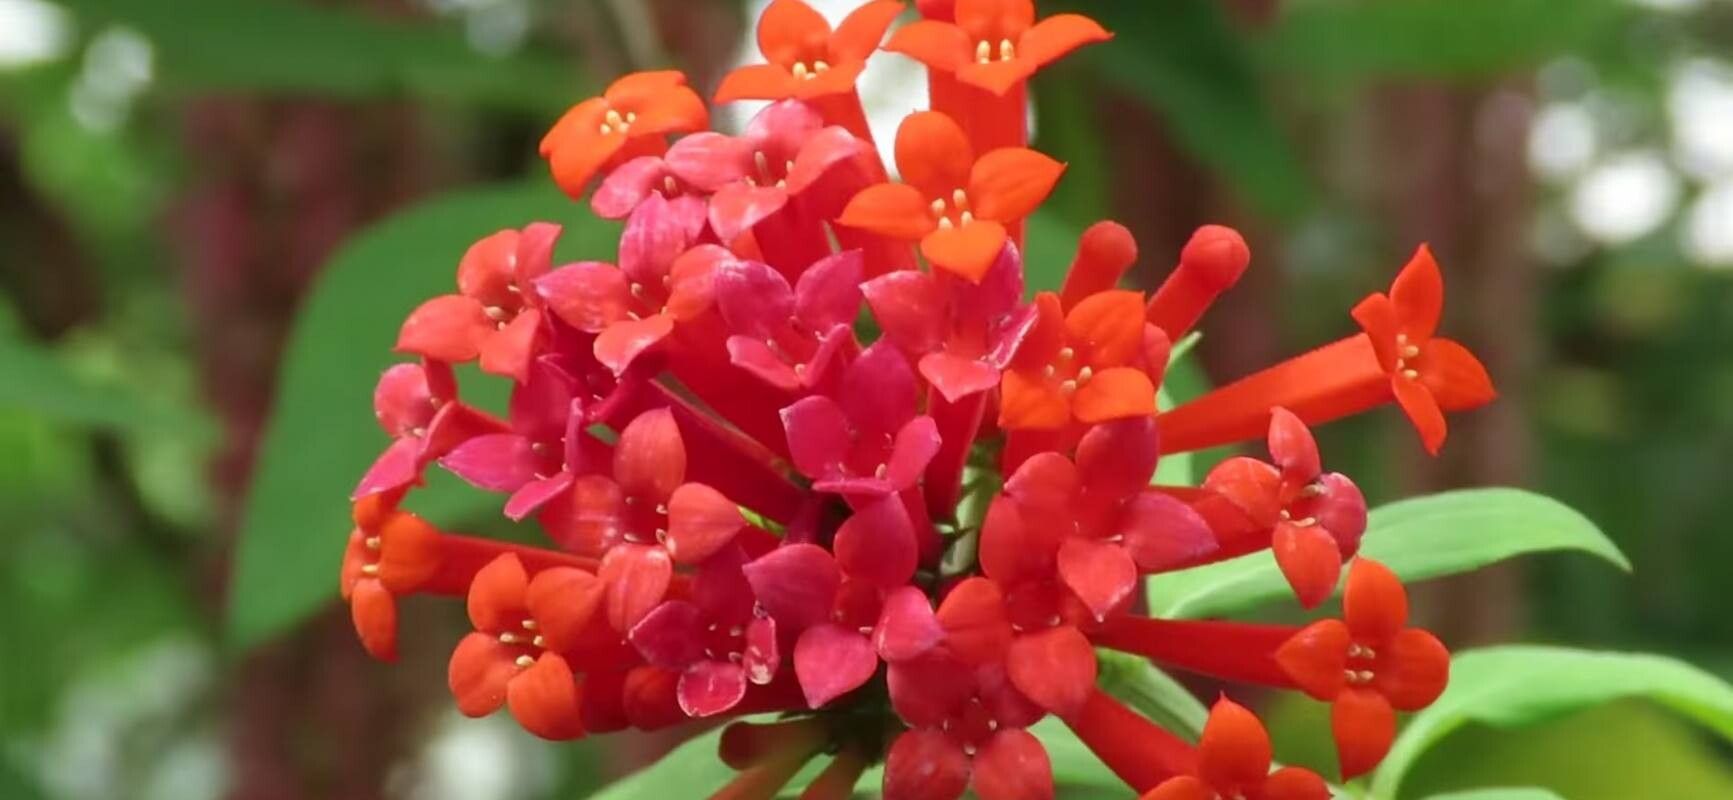
Oh, Bouvardia ternifolia! If you’re looking for a burst of vibrant color and a lovely, understated fragrance, this is a plant that truly delivers. Its trumpet-shaped flowers are a magnet for hummingbirds, and the glossy, dark green foliage provides a beautiful backdrop. And the best part? You can easily share this joy with friends and neighbors by propagating your own plants. While it’s not quite as foolproof as, say, a spider plant, I’ve found it to be wonderfully rewarding and certainly within reach for most home gardeners. Let’s get those little bits of Bouvardia growing!
The Best Time to Start
For Bouvardia, the sweet spot for taking cuttings is during its active growing season. Think late spring or early summer. This is when the plant is putting on new growth, and the stems have enough energy stored to fuel root development. You’re looking for stems that are not too soft and new, but also not old and woody. A semi-hardwood cutting is usually your best bet.
Supplies You’ll Need
Gathering your supplies ahead of time makes the whole process so much smoother. Here’s what I usually have on hand:
- Sharp Pruning Shears or a Clean Knife: For making clean cuts that heal well.
- Rooting Hormone Powder or Gel: This helps encourage faster and stronger root development. I’ve had great success with a standard willow bark-based one.
- Small Pots or Seedling Trays: About 3-4 inches deep works well. Make sure they have drainage holes!
- Well-Draining Potting Mix: I like to use a blend of equal parts peat moss or coco coir and perlite or coarse sand. This prevents waterlogging, which is crucial for Bouvardia.
- Plastic Bags or a Clear Propagation Dome: To create a humid environment for the cuttings.
- Patience! (This is the most important tool, really.)
Propagation Methods
My favorite and most reliable method for Bouvardia is stem cuttings. It’s straightforward and yields great results.
Stem Cuttings
- Select Your Material: Head out to your healthy Bouvardia plant and look for those semi-hardwood stems. You want pieces that are about 4-6 inches long. Try to get them with at least two sets of leaves.
- Make the Cut: Just below a leaf node (where a leaf attaches to the stem), make a clean cut with your sharp shears or knife. This is where roots are most likely to form.
- Prepare the Cutting: Gently remove the leaves from the bottom half of the cutting. This prevents them from rotting once planted. If the remaining leaves are very large, you can carefully trim them in half to reduce water loss.
- Apply Rooting Hormone: Dip the cut end of the stem into your rooting hormone. Tap off any excess. This step isn’t strictly mandatory, but it really gives your cuttings a head start.
- Plant the Cuttings: Fill your small pots with your prepared potting mix. Make a small hole with a pencil or your finger, and insert the cutting. Gently firm the soil around the base to ensure good contact. You can typically fit 2-3 cuttings per small pot.
- Water Gently: Water the soil thoroughly until it’s evenly moist but not soggy.
- Create Humidity: Cover the pot with a clear plastic bag, ensuring the leaves don’t touch the plastic. You can use stakes to keep the bag away from the foliage. Alternatively, a propagation dome works beautifully. Place the pots in a bright spot, but out of direct sunlight, which can scorch the delicate cuttings.
The “Secret Sauce” (Pro Tips)
I’ve learned a few tricks over the years that really boost success with cuttings like these:
- Bottom Heat is Your Friend: If you have a propagation mat, placing your pots on it can make a huge difference. That gentle warmth encourages root development from below, speeding things up considerably.
- Don’t Drown Them: While humidity is vital, soggy soil is the fastest way to rot your cuttings. Watering sparingly after they’re planted and ensuring good drainage is key. A light misting of the leaves can help, but the soil should be a gentle dampness, not a swamp.
- Sterilize Everything: Before you start, make sure your tools, pots, and even your hands are clean. This drastically reduces the chance of introducing any nasty diseases that can kill off your precious cuttings.
Aftercare & Troubleshooting
Keep an eye on your cuttings. They’ll need that humid environment for a few weeks. Check the soil moisture every few days and water lightly if the surface feels dry to the touch. You’ll know your cuttings have rooted when you see new leaf growth appearing. This usually takes anywhere from 4-8 weeks, depending on conditions.
The most common problem you’ll face is rot. If you see stems turning black and mushy, especially at the soil line, it’s usually a sign of overwatering combined with poor drainage. Unfortunately, these cuttings are usually lost, but don’t despair! You can always take more. Another sign of trouble is if the cuttings wilt dramatically and don’t perk up after watering – this can also indicate rot or that they just aren’t establishing.
Once your cuttings have a good root system and some new growth, you can start to gradually acclimate them to drier air. You can do this by slowly opening the plastic bag or propagation dome for longer periods each day. Once they’re used to it, you can transplant them into slightly larger pots with your regular potting mix.
A Encouraging Closing
Propagating Bouvardia might take a little patience, but seeing those first tiny roots emerge is a truly magical moment. It’s a fantastic way to fill your garden with more of these delightful blooms and to share the joy of gardening with others. Don’t be afraid to experiment, and remember, every gardener has lost cuttings along the way. Just keep at it, and soon you’ll have a whole collection of your own beautiful Bouvardias! Happy growing!
Resource:
https://identify.plantnet.org/k-world-flora/species/Bouvardia%20ternifolia%20(Cav.)%20Schltdl./data