Hey there, fellow plant lovers!
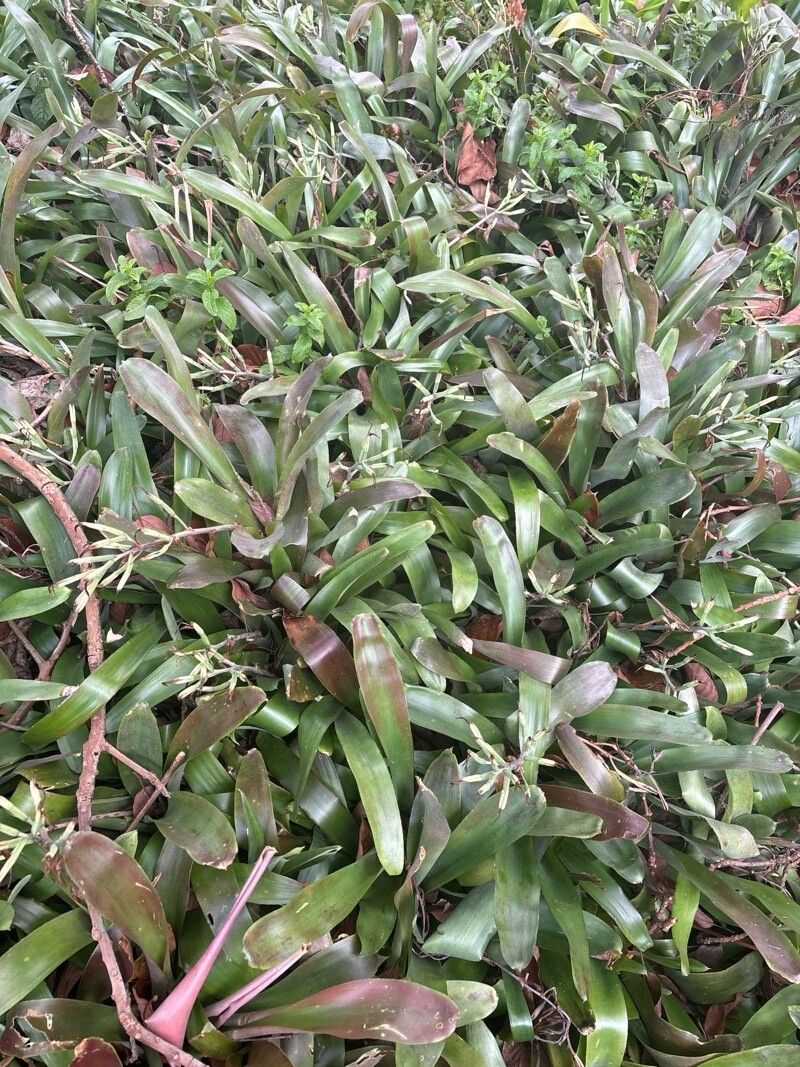
Today, we’re diving into the wonderful world of Billbergia amoena. If you’ve ever admired those striking, upright bromeliads with their vibrant, often speckled foliage and beautiful, long-lasting blooms, then you’ll know exactly what I’m talking about. Propagating these beauties is not only incredibly rewarding, but it’s also a fantastic way to expand your collection or share the plant love with friends. And guess what? For those of you just dipping your toes into the plant-propagation pool, Billbergia amoena is quite a forgiving friend. You’ll find success here!
The Best Time to Start
Honestly, the best time to propagate Billbergia amoena is when the plant is actively growing, which usually means late spring through summer. This is when the plant has plenty of energy to put towards new growth, making it more likely to root and thrive. You’ll often see those lovely little pups, or offsets, starting to emerge from the base of the mother plant during this period. That’s your cue!
Supplies You’ll Need
Gathering your supplies before you start makes the whole process smoother. Here’s what I like to have on hand:
- Sharp, clean pruning shears or a sharp knife: For making clean cuts. Sterilize them with rubbing alcohol between cuts if you’re working with multiple plants.
- Well-draining potting mix: A mix specifically formulated for bromeliads or a good general houseplant mix amended with perlite or orchid bark works wonders.
- Small pots or containers: Enough for your new propagations. Old yogurt cups with drainage holes work in a pinch!
- Rooting hormone (optional but helpful): This can give your cuttings a little boost. I prefer the powder form.
- Watering can or spray bottle: For gentle watering.
- Patience!
Propagation Methods
Billbergia amoena is a champion of producing pups, making division the easiest and most successful method.
Method: Division of Pups (Offsets)
This is your go-to for Billbergia amoena. These plants naturally form adorable little babies, or pups, around their base.
- Wait for the Pup to Grow: Look for pups that are at least one-third the size of the mother plant. They’ll have their own small roots starting to form at their base.
- Gently Remove Excess Soil: Carefully remove the mother plant from its pot. Gently brush away some of the soil around the base of the pup you want to separate. This allows you to see exactly where it’s attached.
- Make the Cut: Using your sterilized pruning shears or knife, carefully cut the pup away from the mother plant. Try to get as much of its own root system as possible. If the pup is very close to the mother stem, you might need to make a clean cut right at the connection point.
- Allow to Callus (Optional but Recommended): Let the cut end of the pup air dry for a day or two. This helps to form a callus, which reduces the risk of rot when you plant it.
- Potting Up: Fill your clean small pot with your well-draining potting mix. Make a small hole in the center.
- Plant the Pup: Gently place the callused pup into the hole, ensuring its roots are covered with soil. Firm the soil gently around the base. If you are using rooting hormone, dip the cut end of the pup into the hormone powder before planting.
- Watering: Give your newly potted pup a gentle watering. You want the soil to be moist, but not soggy.
The “Secret Sauce”
Here are a couple of tricks I’ve learned over the years that can really boost your success rate:
- Don’t Drown It: When you water your new pup, try to water the soil directly, not the center cup of the bromeliad. While bromeliads love to hold water in their cups, a very young pup can be more susceptible to rot if that central cup stays constantly filled. A light watering of the soil is all it needs to encourage root growth.
- A Warm Hug: Bromeliads appreciate a little warmth for root development. Placing the potted pups in a warm spot, maybe near a sunny window, and out of any cold drafts, will make them very happy and encourage faster rooting. You can even use a heat mat if you have one, but it’s not strictly necessary!
Aftercare & Troubleshooting
Once your pup is planted, treat it like a proud parent.
Caring for Your New Propagations:
- Light: Place them in bright, indirect light. Direct sun can scorch those delicate new leaves.
- Watering: Keep the soil consistently lightly moist. Avoid letting it dry out completely, but also steer clear of waterlogged conditions. A good sign is when the top inch of soil feels slightly dry.
- Humidity: Most bromeliads appreciate a bit of humidity. Misting the air around them occasionally can be beneficial.
Troubleshooting Common Issues:
- Rotting: This is the most common problem, usually caused by overwatering or poor drainage. If you notice the base of the pup turning mushy and black, it’s likely rot. Unfortunately, this is often difficult to recover from. Prevention is key here! Ensure your soil drains well and you’re not overwatering.
- No Root Growth: This can happen if the conditions aren’t quite right (too cold, too dry, or not enough light). Be patient! Sometimes it takes longer than you expect. Ensure it’s in a warm spot with consistent moisture.
A Little Encouragement
Propagating plants is a journey, and sometimes it takes a little trial and error. Don’t get discouraged if your first attempt isn’t perfect. The joy is in the process, watching those tiny roots emerge, and seeing your new Billbergia amoena thrive. Be patient, observe your plant, and most importantly, enjoy the green magic you’re creating! Happy propagating!
Resource:
https://identify.plantnet.org/k-world-flora/species/Billbergia%20amoena%20(G.Lodd.)%20Lindl./data