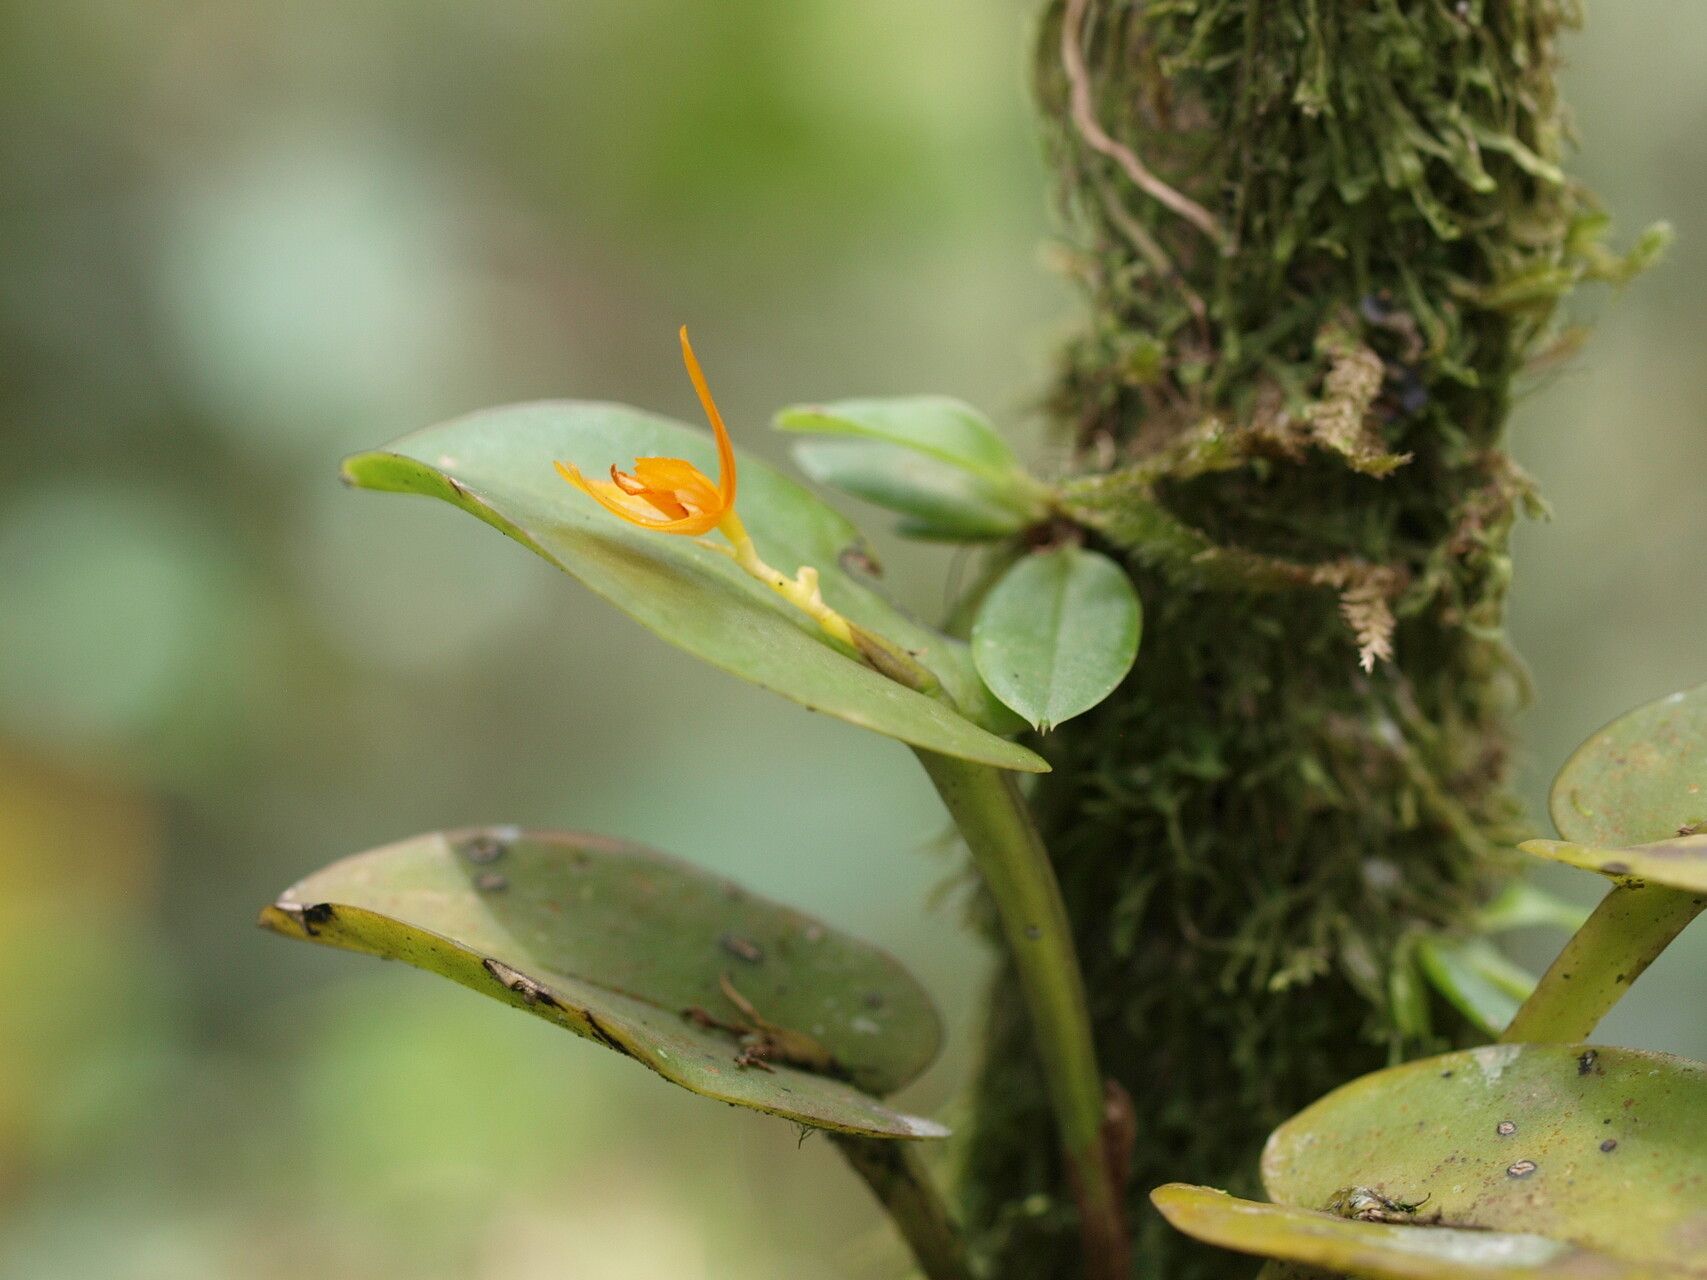
Hello, fellow plant enthusiasts! Today, we’re diving into the wonderful world of propagating Acianthera polystachya. If you’re drawn to its delicate, star-shaped blooms and lovely fragrance, you’re in for a treat. Growing more of these beauties from an existing plant is incredibly satisfying. Honestly, it’s not the most straightforward orchid to propagate, but with a little patience and the right approach, even beginners can achieve success. Think of it as a fun challenge that rewards you with even more gorgeous blooms!
When to Get Your Hands Dirty
The absolute best time to propagate Acianthera polystachya is during its active growing season. For most of us, this means spring and early summer. You’ll want to wait until you see new leaf growth or flower spikes starting to emerge. This tells you the plant has plenty of energy to put into developing new roots and shoots. Trying to propagate when the plant is dormant is far less likely to yield results.
Your Propagation Toolkit
Gathering your supplies beforehand makes the whole process much smoother. Here’s what I recommend:
- Sharp, sterile pruning shears or a clean knife: Essential for making clean cuts. Sterilize them with rubbing alcohol before and between divisions.
- Well-draining orchid mix: A blend of bark, perlite, and sphagnum moss is usually perfect. You want something that dries out but still retains some moisture.
- Rooting hormone (optional but helpful): A powder or gel can give cuttings an extra boost.
- Small pots or trays: Clean, small containers are ideal for propagating.
- Distilled water or rainwater: Tap water can sometimes be too harsh for sensitive orchid roots.
- Labels: Don’t forget to label your propagations with the date!
Bringing Forth New Life: Propagation Methods
Acianthera polystachya is primarily propagated through division, which is essentially splitting a mature plant into smaller sections.
- Prepare Your Plant: Gently remove your Acianthera polystachya from its pot. If it’s tightly root-bound, you might need to gently tease apart the roots or even rinse away some of the old potting mix to get a better view of the rhizomes.
- Locate Division Points: Look for the natural growth points, called pseudobulbs or rhizomes. You want to divide the plant into sections, each having at least one or two healthy-looking pseudobulbs and a good portion of roots.
- Make the Cut: Using your sterile pruning shears or knife, carefully cut through the rhizome on either side of the division point. Be as gentle as possible with the roots, but a clean cut is crucial.
- Inspect and Trim: Remove any dead or mushy roots and dried-up leaves. If there are any damaged pseudobulbs, it’s best to trim those off as well.
- Pot Up Your Divisions: Place each division into its own small pot filled with your fresh, well-draining orchid mix. Ensure the pseudobulbs are just at the surface of the mix, not buried too deeply.
- Initial Watering: Water your newly potted divisions thoroughly.
The “Secret Sauce”: My Insider Tips
Here are a few things I’ve learned over the years that make a big difference:
- Don’t Over-Pot: For divisions, resist the urge to put them in a huge pot. Small pots encourage quicker root development for new divisions. They feel more secure and less prone to waterlogging.
- Think “Dry Rest” After Division: After dividing and repotting, wait a few days before giving them their first really good watering. This allows any minor nicks or cuts to callus over, reducing the risk of rot. Once you do water, water thoroughly.
- Humidity is Your Friend: While we want good air circulation, newly divided orchids appreciate a bit more humidity. A humidity tray or placing them in a slightly more sheltered, humid spot in your growing area can really help them settle in.
Nurturing Your New Sprouts and Troubleshooting
Once your divisions are potted, give them a bright, indirect light spot. Water them when the potting mix starts to feel dry to the touch. You’ll know your propagation is taking hold when you see new root growth or a new leaf emerge from a pseudobulb.
The biggest challenge you might encounter is rot. If you see your pseudobulbs turning mushy or black, it’s a sign of too much moisture and not enough air circulation. If this happens, gently remove the affected division from the pot, trim away the rotted parts with sterile tools, and repot in fresh, dry mix. You might need to let it dry out a bit longer before watering again. Don’t be discouraged if not every division makes it; it’s a natural part of the process!
Go Forth and Grow!
So there you have it! Propagating Acianthera polystachya might require a touch more care than some other plants, but the reward of watching those little divisions thrive and eventually bloom is truly special. Be patient with yourself and your new plants. Enjoy the journey of nurturing them into their own beautiful specimens. Happy growing, everyone!
Resource: